


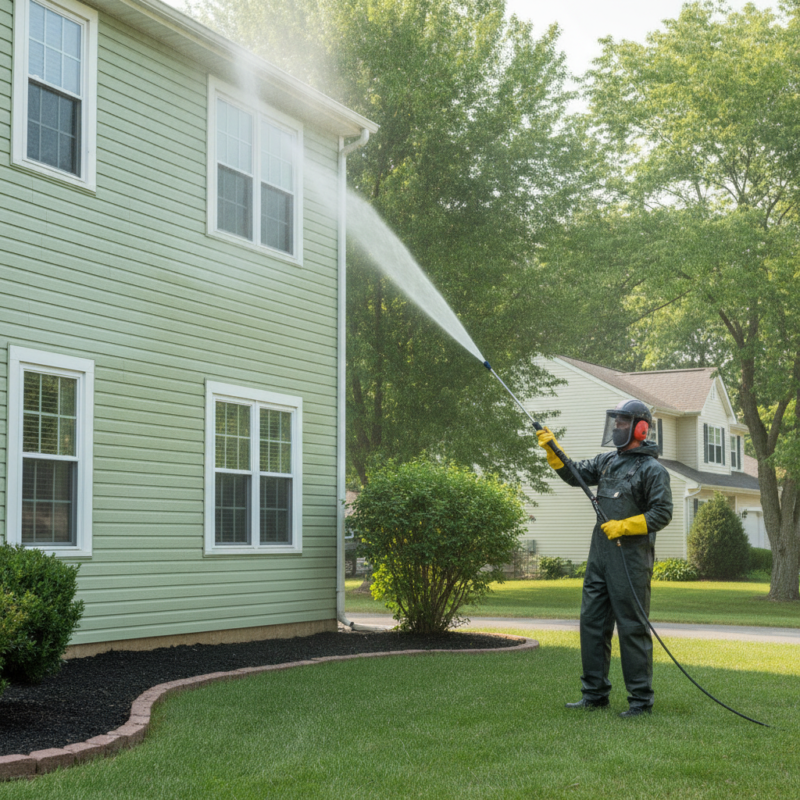
Power washing and pressure washing are high-pressure water cleaning methods used to remove dirt, algae, mildew, and old finishes from exterior surfaces. Power washing uses heated water; pressure washing does not. For Milton homeowners near 316 Bergamot Ave, the right approach cleans effectively without damaging siding, decks, or masonry—and sets perfect conditions for paint, stain, or sealing.
By ZIKRIA MUJAHID • Last updated: 2026-06-26
Overview
This guide explains how power washing (hot water) differs from pressure washing (cold water), when soft washing is safer, and how to prep siding, decks, concrete, and masonry for painting or sealing. You’ll learn equipment basics, safe settings, step-by-step processes, and real examples from Home Painter Services’ prep workflows.
When exterior cleaning is done right, paint and stain last longer, surfaces look fresh, and repairs hold. Done wrong, you can etch concrete, raise wood grain, or force water behind siding. Below is how we approach cleaning before painting, staining, sealing, or re-caulking in the Milton area.
- Understand the difference between power, pressure, and soft washing
- Pick the right nozzles, PSI, GPM, detergents, and techniques
- Prep for deck sanding, fence and deck staining, driveway sealing, and exterior painting
- Protect windows, landscaping, and coatings you plan to keep
- Follow safety, ventilation, and containment best practices
What Is Power Washing and Pressure Washing?
Power washing uses heated, pressurized water to dissolve grease and grime faster; pressure washing relies on unheated, pressurized water for general cleaning. Both remove contaminants from surfaces so coatings bond better. The right method depends on the surface, soil type, and finish you plan to apply next.
In simple terms, both methods use a pump to deliver high-pressure water through a hose and nozzle. Power washers add a burner or heat coil to raise water temperature—useful for oil, grease, and stubborn biological growth. Pressure washers clean effectively when chemistry, dwell time, and technique are dialed in.
Key definitions and where each shines
- Pressure washing (cold water): Versatile for siding, basic concrete cleaning, and prep before repainting. Typical residential machines run around 1.5–3.0 GPM and 1,500–3,000 PSI.
- Power washing (hot water): Adds heat (often 140–200°F), which helps emulsify oils and speed up organic removal. Handy for driveways with tire marks or winter grime.
- Soft washing (low pressure + detergent): Under ~500 PSI with wider tips (25–40°) to protect delicate substrates like wood decks, fences, and oxidized siding.
At Home Painter Services, we match the method to your goal. Prepping a cedar deck for stain demands different pressure and chemistry than cleaning a concrete driveway before sealing or washing vinyl siding prior to repainting trim.
Why Exterior Washing Matters Before Painting, Staining, or Sealing
Clean surfaces bond better. Proper washing removes chalk, mildew, dust, and oils so primers and stains adhere uniformly. Skipping or rushing this step leads to early peeling, uneven color, and premature wear—especially in high-use areas like decks, railings, and driveways.
Surface contamination breaks coatings. Even a thin biofilm can reduce adhesion significantly, while chalking (oxidized paint powder) prevents primers from gripping. A controlled wash followed by the right dry time prepares the surface for sanding, priming, staining, painting, or sealing.
- Decks and fences: Low-pressure washing clears mildew and gray fibers so deck sanding can level the grain without clogging abrasives.
- Driveways and walkways: Thorough cleaning removes winter salts and grime so driveway sealing penetrates consistently.
- Siding and trim: Washing knocks down chalk and dirt so exterior paint lays flatter and cures as designed.
- Windows and caulking: Cleaning and drying frames improves adhesion for exterior window caulking replacement and limits moisture intrusion.
In our experience across Milton and nearby Mississauga, the most durable results pair smart washing with meticulous prep: targeted repairs, sanding and priming, and quality materials like weather-resistant exterior paint and UV-protective stains.
How the Equipment Works: PSI, GPM, Nozzles, Heat, and Chemistry
Two numbers define washing power: PSI (pressure) and GPM (flow). PSI dislodges grime; GPM carries it away. Nozzle angle controls intensity. Hot water increases cleaning speed on oils and grease. Detergent and dwell time reduce the need for excessive pressure, protecting surfaces.
Understanding settings keeps you safe and efficient. Higher PSI is not always better; flow and chemistry often matter more. Technique—distance, angle, and passes—prevents damage.
Working ranges that protect common home surfaces
- Vinyl/aluminum siding: 1,200–2,000 PSI with a 25–40° tip; start 12–18 inches away and move with the lap to avoid forcing water behind panels.
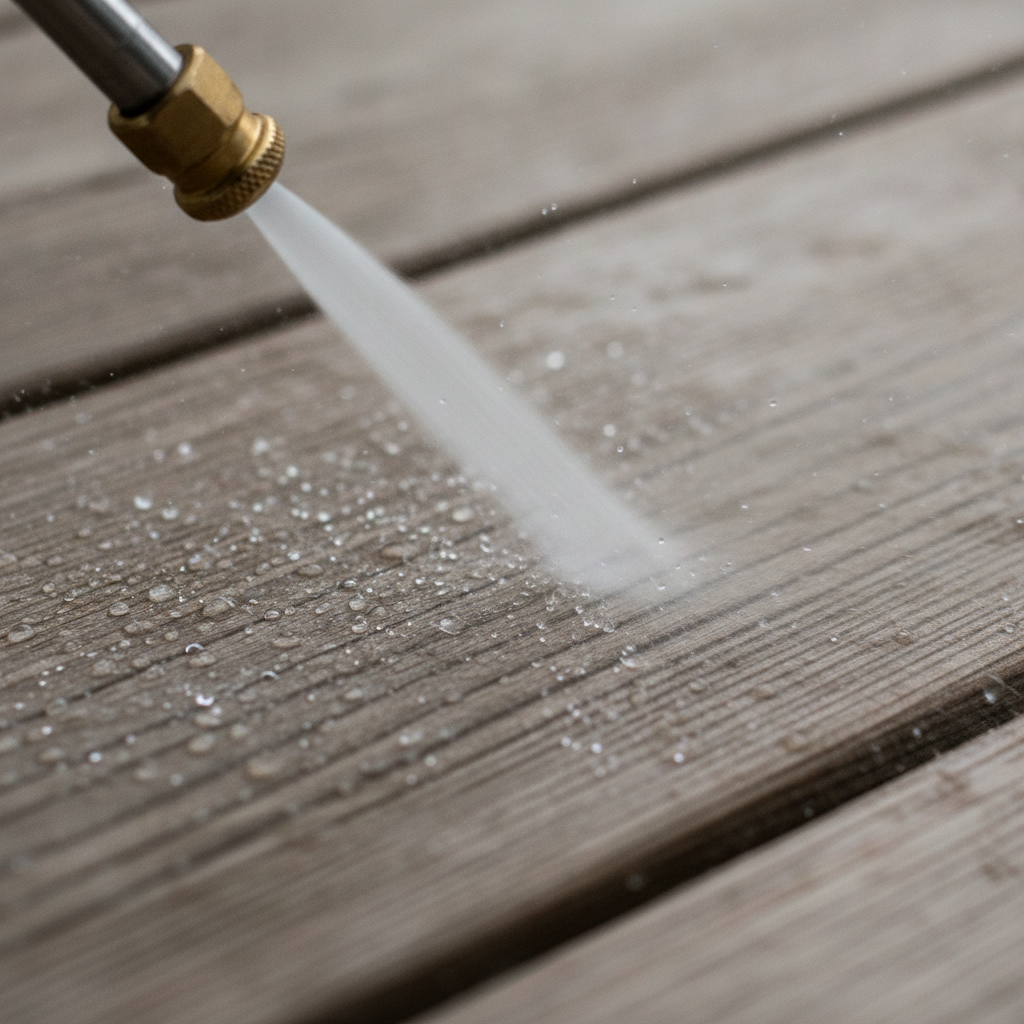
- Wood decks/fences: Soft wash under ~500 PSI; 25–40° tip; follow with deck sanding where fibers have raised.
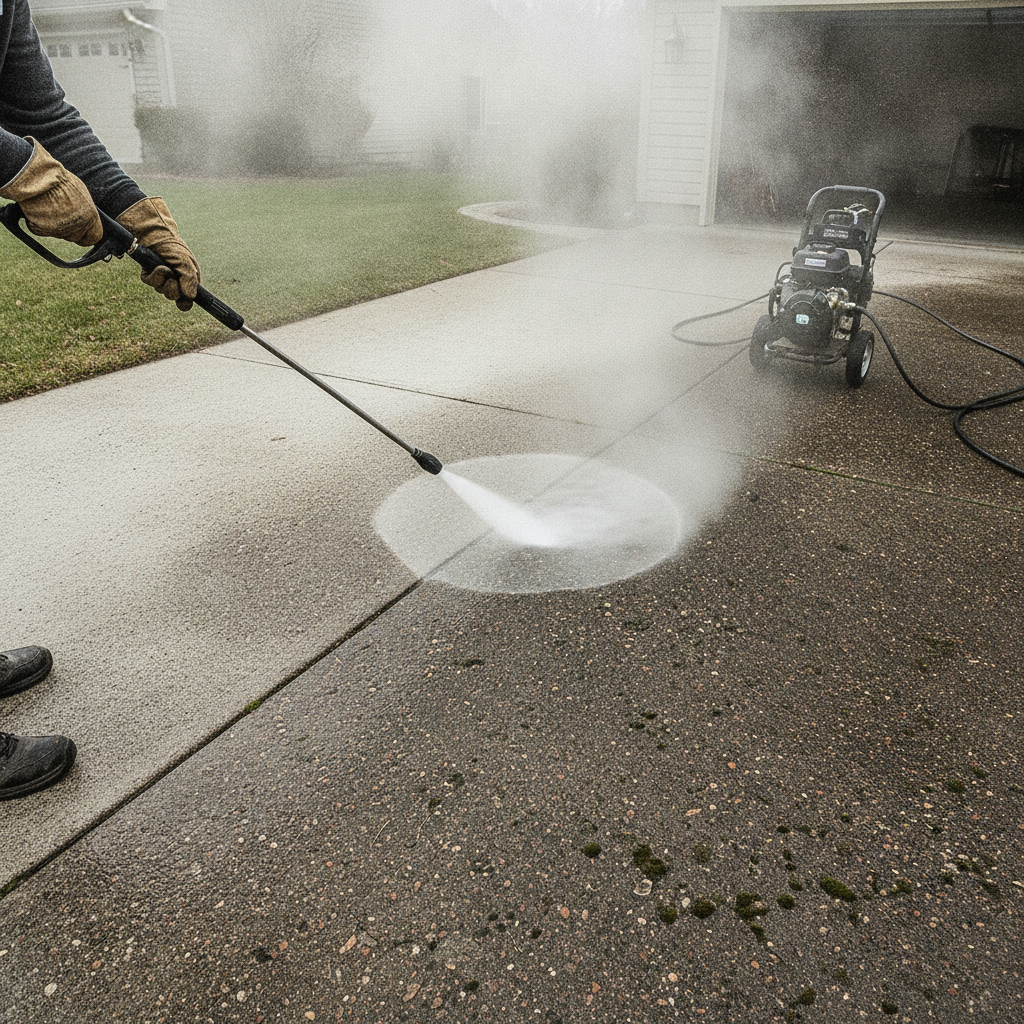
- Concrete driveways: 2,500–3,500 PSI with a 15–25° tip or a surface cleaner; hot water helps remove tire marks and oil.
- Brick and masonry: 1,500–2,500 PSI, 25° tip; test an inconspicuous spot to avoid mortar loss.
Nozzles, distance, and passes
- Nozzle angles: 0°, 15°, 25°, 40°, and specialty soap tips. Wider angles reduce intensity for delicate surfaces.
- Distance control: Closer increases impact; further softens it. Keep the wand moving to avoid lines and etching.
- Pass strategy: Overlap 50% with even, side-to-side strokes for uniform results.
Heat and chemistry
- Hot water: Typically 140–200°F; accelerates cleaning of grease and heavy grime.
- Detergents: Use cleaners compatible with the surface and follow label directions. Let solutions dwell 5–10 minutes, then rinse thoroughly.
- Rinse volume: Higher GPM removes soils faster with less pressure—kinder to wood and oxidized paint.
Our crews pair these settings with protection measures: masking fixtures and outlets, shielding delicate plants, and capturing runoff where needed. This discipline prevents avoidable callbacks and keeps your property tidy.
Types, Methods, and When to Use Each
Use pressure washing for general dirt on durable surfaces, power washing when heat helps remove oils, and soft washing for delicate wood or oxidized siding. Always test, start with the gentlest method, and adjust PSI, tip, heat, and chemistry to the surface and soil.
Choosing the right method is part science, part judgment. Factors include substrate strength, existing coatings, sun exposure, and the finish you plan to apply next (paint, stain, epoxy, or sealer).
Quick comparison: methods at a glance
| Method | Typical Use | PSI Range | Nozzle | Heat | Notes |
|---|---|---|---|---|---|
| Pressure washing | Siding, general concrete, pre-paint cleaning | 1,200–3,000 | 25–40° | Cold | Good baseline; combine with detergent as needed. |
| Power washing | Grease, oil, heavy grime, tire marks | 2,000–3,500 | 15–25° | Hot (140–200°F) | Heat speeds cleaning; monitor for expansion on delicate areas. |
| Soft washing | Wood decks/fences, oxidized siding | Under ~500 | 25–40° | Cold or warm | Relies on detergent and dwell time, then gentle rinse. |
As a paint-first company, we prefer the least aggressive method that achieves a clean, bondable surface. That choice reduces sanding effort, preserves wood fibers, and helps primers and stains cure correctly.
Best Practices for Siding, Decks, Masonry, and Concrete
Protect finishes by testing first, working top-down, and using the lowest effective pressure with wider tips. Pre-wet plants, mask fixtures, apply detergent, allow 5–10 minutes dwell, rinse evenly, and let surfaces dry fully before sanding, staining, or painting.
Below are the field-proven steps our crews follow across common exterior surfaces before painting, staining, sealing, or re-caulking.
Vinyl and aluminum siding
- Inspect and repair loose panels, caulking gaps, and failed trim seals.
- Use a 25–40° tip around 1,200–2,000 PSI; start 12–18 inches away.
- Spray with the lap to avoid water intrusion; avoid spraying upward under laps.
- Rinse windows and fixtures promptly to prevent spotting.
Wood decks and fences
- Soft wash using under ~500 PSI and a 25–40° tip; keep wand moving with the grain.
- After drying, perform deck sanding to level raised grain before applying a UV-protective stain.
- Target stubborn spots with detergent and a nylon brush instead of extra pressure.
Concrete driveways and walks
- Degrease tire marks; consider hot water for faster results.
- Use 2,500–3,500 PSI with a 15–25° tip or a surface cleaner for uniform passes.
- After full dry, proceed with driveway sealing to restore protection.
Brick and masonry
- Test first; older mortar can be fragile. Start near 1,500 PSI and a 25° tip.
- Address efflorescence with appropriate cleaner; rinse thoroughly.
- Avoid needle-fine tips that can chew mortar or glaze brick faces.
These practices tie directly to durable finishes: clean, dry, sound surfaces are mandatory for weather-resistant exterior paint and long-lasting stains and sealers.
Tools, PPE, and Helpful Resources
Choose a washer with adequate flow (2.0–3.0 GPM for most homes), a range of tips (0–40°), and a reliable detergent system. Add PPE—gloves, eye and hearing protection—and use plant-safe detergents where possible. Keep extension wands, brushes, and tarps on hand for control and protection.
Right tools make the job safer and faster. We prioritize flow, stability, and tip selection over sheer PSI, and we always stage tarps, tape, and covers to protect fixtures and landscaping.
- Washer and tips: 1.5–3.0 GPM units with 0°, 15°, 25°, 40°, and soap tips.
- Accessories: 12–24 ft extension wand for second-story work, surface cleaner for concrete, foam applicator or downstream injector for detergents.
- PPE: Non-slip boots, gloves, safety glasses, and hearing protection; consider respirators where detergents or old coatings are involved.
- Protection kit: Plastic sheeting, painters’ tape, and fabric drop cloths to shield outlets, lights, trims, and plants.
For a homeowner-friendly overview of exterior prep steps before painting, see this concise painting prep checklist. Thinking about ultra-gentle cleaning? Browse a regional directory entry describing soft wash power clean approaches.
Step-by-Step: A Safe, Repeatable Exterior Washing Process
Stage the area, pre-wet plants, apply detergent from bottom up, dwell 5–10 minutes, rinse top down with a 25–40° tip, and let dry fully before sanding, staining, or painting. Adjust PSI and distance per surface. Test first and stay with the least aggressive effective method.
- Walk the site: Note outlets, vents, loose trim, gaps needing exterior window caulking replacement, and sensitive landscaping.
- Protect: Mask fixtures and outlets; cover plants. Stage ladders or extension wands safely.
- Mix detergent: Follow label; test on a small area. Apply from bottom up to prevent streaking.
- Dwell: Allow 5–10 minutes. Agitate stubborn areas with a soft brush.
- Rinse: Work top down with a 25–40° tip; maintain 12–18 inches on siding and keep the wand moving.
- Detail: Address missed spots; reduce pressure for delicate edges and trims.
- Dry time: Allow adequate dry-out before deck sanding, staining, priming, or sealing.
- Final check: Confirm that water hasn’t pooled behind laps or in weep systems.
Documenting PSI, tip, and detergent ratios helps you (and us) repeat a successful outcome on similar surfaces the next season.
Case Studies and Real-World Examples
Real projects show how tailored washing protects materials and boosts coating life. These quick examples mirror Home Painter Services’ prep flow for decks, siding, concrete, and trim so paint, stains, sealers, and caulking perform as designed in Milton’s climate.
- Cedar deck revive: Soft wash under ~500 PSI with a 40° tip, let dry, then deck sanding and UV-protective stain for a richer tone.
- Fence refresh: Low-pressure detergent rinse removes gray; a semitransparent stain finishes the look.
- Driveway sealing prep: Hot-water power washing clears tire marks; after a full dry, we apply driveway sealing for uniform sheen.
- Vinyl siding pre-paint: 1,500 PSI with a 25–40° tip removes chalk; trim repainted with weather-resistant exterior paint.
- Brick mildew removal: Detergent dwell and controlled rinse (~1,800 PSI) avoid mortar loss while restoring color.
- Garage epoxy floor: Degrease and rinse; interior work then proceeds with diamond grinding and industrial-grade epoxy.
- Popcorn ceiling removal setup: Exterior washing keeps dust-sensitive areas cleaner before interior containment and skim coating.
- Window re-caulking: Clean and dry frames improve adhesion for new, weatherproof caulking beads.
- Patio algae and slip risk: Soft wash plus brush agitation reduces slip hazards before family gatherings.
Each example uses the lightest effective pressure and pairs cleaning with the next-step prep (sanding, priming, sealing) for a durable result.
Planning and Timing Around Milton Weather
Schedule washing when daytime highs and overnight lows allow proper dry time before coating—typically mild, dry stretches. Avoid windy days, and don’t wash immediately before rain. Warmer water and sun speed dry-outs, but shade reduces flash-drying and streaks on detergents.
Our Milton crews often bundle washing with repairs: spot carpentry, sanding and priming, exterior window caulking, then paint or stain. Sequencing saves return trips and shortens the total project timeline.
Local considerations for 316 Bergamot Ave
- Plan mid-morning starts to avoid early dew; shaded sides near Walker Park may dry slower—check moisture before staining.
- Busier curb fronts near Tremaine at Bergamot can collect road film; a pre-rinse lowers grit that could mar paint.
- Spring pollen and fall leaves demand extra rinsing on trims and gutters so new caulking and paint cure clean.
Safety, Containment, and Property Protection
Wear eye, hand, and hearing protection, stabilize ladders or use extension wands, and control runoff. Test detergents, avoid spraying into vents or under laps, and maintain safe distances to prevent etching concrete or shredding wood fibers.
We also manage simple but critical controls: GFCI protection for nearby circuits, splash guards over outlets and lights, and controlled rinses around door thresholds and weep systems. On older homes, take extra care with any legacy coatings during prep.
- PPE: Safety glasses, gloves, hearing protection, and non-slip footwear.
- Work positioning: Use extension wands for height; keep ladders anchored.
- Containment: Divert or capture runoff around beds; pre-wet and post-rinse plants.
- Equipment checks: Inspect hoses, tips, and quick-connects; purge air before detergent application.
These practices keep people safe and protect finishes you intend to keep—especially windows, fixtures, and surrounding landscape elements.
How We Integrate Washing with Our Painting and Protective Services
Washing is step one in our start-to-finish prep: clean, dry, repair, sand, prime, and finish. We tailor pressure, tips, and detergents to the substrate so deck stains, exterior paint, driveway sealers, and window caulking adhere and endure in Milton’s conditions.
As a residential painting and property-care contractor, we tie washing directly to:
- Decks & fences staining: Soft wash, dry, deck sanding, UV-protective stain.
- Exterior paint: Wash, targeted carpentry, sanding and priming, premium exterior-grade coatings.
- Driveway sealing: Degrease, rinse, allow cure-ready dryness, then seal evenly.
- Exterior window caulking replacement: Clean, dry, remove failed beads, apply weatherproof sealant.
- Garage epoxy flooring: Clean, then diamond grind for strong epoxy adhesion.
This sequencing minimizes surprises and creates repeatable, warrantable finishes for families throughout Milton and Mississauga.
Free Exterior Prep Assessment
Thinking about repainting, staining, or sealing? Book a quick assessment. We’ll recommend the safest washing method and a clear prep plan for your surfaces.
Frequently Asked Questions
Homeowners ask when to use heat, how to avoid damage, and how washing fits into painting or staining timelines. These concise answers cover the differences between methods, safe settings, and realistic drying windows before you coat.
What’s the difference between power washing and pressure washing?
Power washing uses heated water, which helps remove oils and heavy grime. Pressure washing relies on unheated water and is versatile for general cleaning. For delicate materials or oxidized paint, use soft washing—low pressure plus detergent—then rinse gently.
Is washing always necessary before painting or staining?
Yes. Washing removes chalk, dust, mildew, and oils that block adhesion. Clean, dry surfaces help primers, stains, and paints bond and cure properly. Skipping this step often leads to early peeling, uneven color, and visible lap marks.
How do I avoid damaging wood decks when washing?
Use a 25–40° tip, keep pressure under about 500 PSI, and move the wand with the grain. Let detergents do the heavy lifting. After drying, sand raised fibers before applying a UV-protective deck stain for a smooth, durable finish.
When can I seal a driveway after power washing?
Allow the slab to dry thoroughly—timing varies with temperature, humidity, and shade. A simple test is to tape a small plastic sheet to the concrete for several hours; if no condensation appears, it’s closer to ready for sealer.
Will washing force water behind vinyl siding?
It can if sprayed upward or too close. Aim with the lap, maintain 12–18 inches, and use a 25–40° tip. Keep the wand moving and avoid direct shots at seams, vents, and weep holes.
Conclusion and Next Steps
Choose the gentlest method that achieves a clean, bondable surface, then follow with sanding, priming, staining, painting, or sealing. When in doubt, test first, reduce pressure, and rely on chemistry and technique over brute force for durable, beautiful results.
Here’s what works across Milton homes: match the method to the surface, protect the property, and integrate washing into a full prep plan. The payoff is coatings that look great longer.
Key takeaways
- Power washing adds heat; pressure washing does not. Soft washing protects delicate materials.
- PSI, GPM, nozzle angle, distance, and dwell time determine safety and success.
- Clean, dry, sound surfaces are non-negotiable for lasting finishes.
- Deck sanding, driveway sealing, epoxy floors, and exterior paint all start with proper washing.
- When uncertain, start gentle and escalate only as needed.
Ready for a safer, cleaner start? If you’re near 316 Bergamot Ave, our team can prep wash and transition directly into sanding, priming, staining, painting, sealing, or re-caulking—so you get a smooth, on-time finish.
