


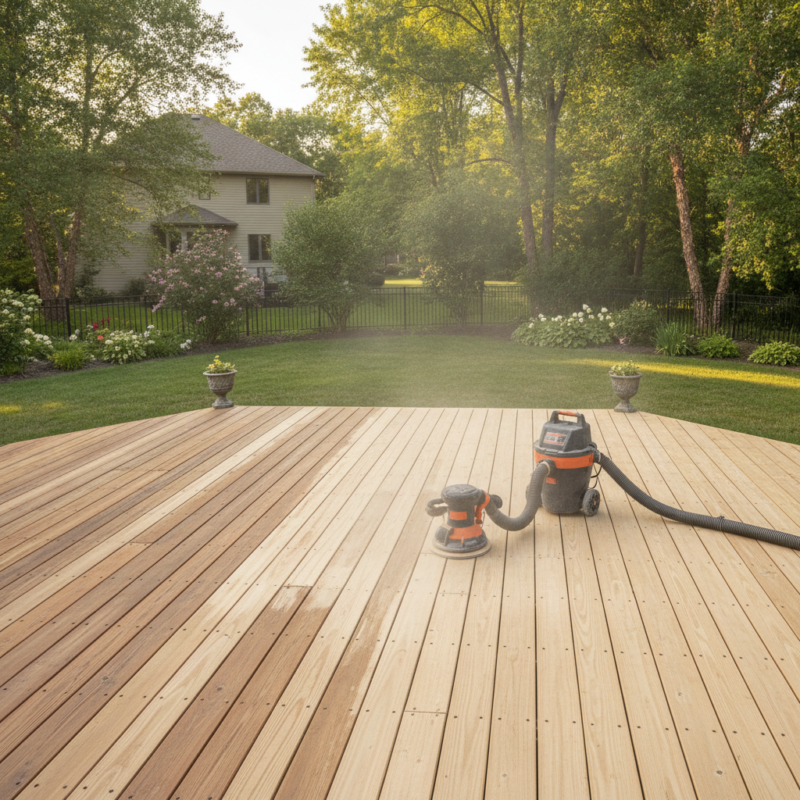
Deck sanding is the controlled removal of weathered fibers and failing finishes from wood decking to create a smooth, clean surface that accepts stain or sealers evenly. For homes near the 316 Bergamot Ave area of Milton, sanding restores traction, improves stain adhesion, and extends deck life when paired with proper cleaning and UV-protective finishing.
By ZIKRIA MUJAHID • Last updated: 2026-07-07
Above the fold: why this guide matters + table of contents
This complete guide explains what deck sanding is, when to do it, the exact grit sequence to use, and how to finish for long-term protection. You’ll learn the step-by-step process, pro tools, safety, and local timing tips for the 316 Bergamot Ave area—so you can refinish confidently or hire with clarity.
Whether you’re tackling the work yourself or planning to bring in our crew, this page is designed to save you time and protect your deck for years.
- What deck sanding is and how it works
- When sanding is essential vs. when cleaning alone is enough
- Grit selection, tools, and dust control that prevent swirl marks
- Step-by-step process from prep to stain
- Best practices for softwoods (cedar, PT) and hardwoods (ipe)
- Local timing tips for Milton’s weather windows
- How sanding connects to staining, power washing, and exterior care
Local considerations for 316 Bergamot Ave
- Evening shade near Walker Park can slow dry times after washing. Plan 24–48 hours of drying before sanding or staining.
- Prevailing winds along Tremaine at Bergamot can carry dust. Use HEPA vacs and shrouds to keep debris off nearby gardens and cars.
- Our crews schedule midday stain application windows to keep board temperatures consistent and avoid lap marks on sunny spring days.
What is deck sanding?
Deck sanding is the abrasive leveling of deck boards to remove gray fibers, mill glaze, and failing coatings so stains bond evenly. It’s typically performed after thorough washing and drying, using 36–80 grit passes followed by vacuuming, to achieve a clean, uniform surface ready for protective finish.
In plain terms, sanding resets your deck’s top layer. A typical pass removes a thin fraction of a millimeter, smoothing splinters and opening wood pores so oil- or water-based stain penetrates consistently. On sunburned cedar, one careful sanding cycle can transform traction and color uniformity across 100–300 square feet per hour depending on deck layout.
- Main goals: smoothness, adhesion, and safety under bare feet.
- Best timing: after a deep clean and at least 24–48 hours of dry weather, with wood moisture under 15%.
- Where it helps most: high-traffic stairs, rail tops, and gray boards with raised grain.
Because sanding makes stain behave predictably, it’s the key prep step before any durable deck staining. Our team pairs sanding with UV-protective stains to resist fading in peak summer sunlight.
Why deck sanding matters
Sanding matters because finishes bond to clean, level fibers—not to oxidized gray wood or flaky coatings. Proper sanding reduces premature peeling, evens color, and improves traction. When combined with quality stain, it can extend maintenance cycles from a single season to multiple seasons, especially on softwoods.
Here’s the thing: coatings fail early when they sit on loose fibers. Freshly abraded wood accepts stain more evenly, which translates to fewer touch-ups and steadier color across sun and shade. In our experience refinishing decks around Milton, even a single 60–80 grit pass on cedar dramatically improves stain uniformity across handrails and horizontal boards.
- Adhesion boost: Sanding creates micro-scratches that increase mechanical grip for stains and sealers.
- Safety gains: Removing splinters reduces snagging on socks and pet paws; light texture improves wet traction.
- Visual payoff: Raised grain flattens, giving a “factory-planed” look once stained.
- Maintenance window: With the right finish and prep, many homeowners see longer intervals between re-coats.
When we pair sanding with a rinse, targeted repairs, and professional power washing services, we see a clear difference in stain uptake on the first coat, even on weather-exposed rail caps.
How deck sanding works
Effective deck sanding follows wash → dry → sand → clean → finish. Start with a deep clean, allow 24–48 hours of drying, then sand with the right grit. Vacuum with HEPA filtration, detail edges, and apply stain when wood moisture is under 15% and relative humidity is moderate.
Think of sanding as a controlled, low-depth resurfacing. Random orbital sanders running roughly 7,000–12,000 orbits per minute keep scratch patterns tight and swirl-free when paired with 60–80 grit discs on softwoods. Edge tools and hand blocks address corners and stair nosing where round pads can’t reach. A final vacuum removes fines that would otherwise interfere with finish adhesion.
| Deck condition | Starting grit | Progression | Notes |
|---|---|---|---|
| Gray, fiber-raised softwood | 60–80 | One pass only | Stop early to preserve surface texture for traction. |
| Old semi-transparent stain | 40–60 | Then 80 as needed | Target blotchy patches; do not over-sand. |
| Thick film-forming finish | 36–40 | Then 60 | Expect slower progress and more disc changes. |
| Newly installed PT lumber (mill glaze) | 80–100 | Light pass | Open pores; avoid polishing. |
After sanding, we often schedule stain in early afternoon when board temperatures stabilize. That’s especially helpful in mixed sun/shade yards near the 316 Bergamot Ave corridor.
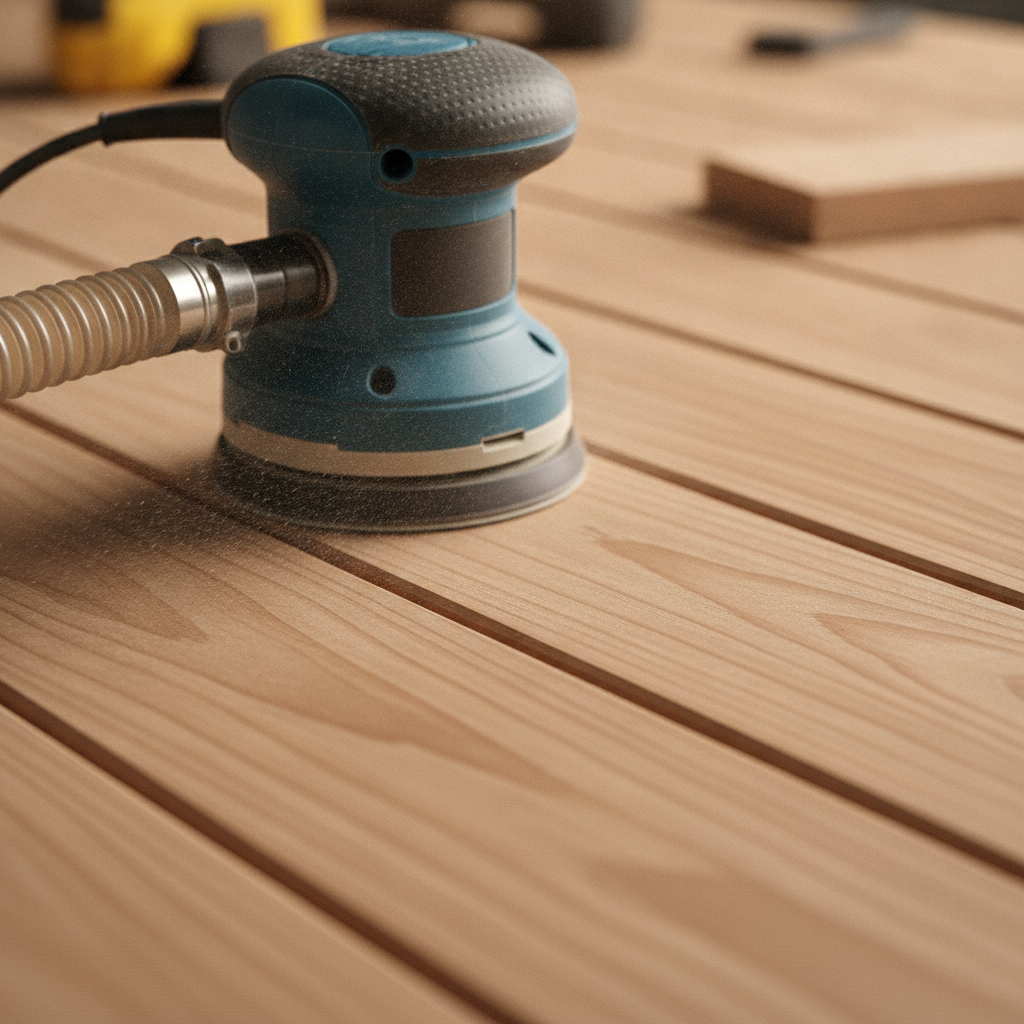
Deck sanding step-by-step (from prep to finish)
Clean thoroughly, let wood dry to under 15% moisture, then sand with appropriate grit, detail edges, and vacuum. Finally, apply stain within the same weather window. This sequence minimizes swirl marks, prevents blotching, and locks in protection before weather shifts.
- Pre-inspection (15–20 minutes). Mark protruding fasteners, cupped boards, and slippery areas. Countersink or replace screws so heads sit 1/16 inch below the surface.
- Wash and rinse (60–90 minutes). Use a fan-tip nozzle or surface cleaner to avoid furring. Our power washing guide shows safe PSI ranges and wand travel speeds.
- Dry thoroughly (24–48 hours). Aim for wood moisture under 15% with a reliable meter. Low wind and RH under ~70% help; shaded areas can take longer.
- Main sanding passes (1–3 hours). Random orbital sander; 60–80 grit for cedar/PT, 36–40 only for heavy failures. Work board by board; keep the pad flat.
- Edge detailing (30–60 minutes). Use a trim sander, sponge blocks, or careful hand-pass on corners, balusters, and stair nosing.
- Vacuum + inspect (20 minutes). HEPA shop vac with a dust shroud around the pad keeps fines out of pores. Look for shiny spots; those often indicate insufficient abrasion.
- Spot-correct (10–30 minutes). Feather transitions with a quick 80-grit pass to avoid halo marks when staining.
- Finish application (timed to weather). Apply a quality stain the same dry window. Back-brush to even out roller texture and saturate end-grain.
- Final cure control. Keep foot traffic light for 24 hours; protect from rain per product label.
If you prefer to orchestrate this with one team, we combine washing, sanding, and deck staining services under one guaranteed schedule—our crews coordinate weather windows so you don’t lose momentum between steps.
Types, methods, and approaches
Use random orbital sanders for most decks, edge tools for corners, and hand blocks for detail. Avoid aggressive flooring drum sanders that can gouge softwoods. Choose grit by deck condition, and keep dust managed with shrouds and HEPA vacuums to maintain finish adhesion.
Common sander types and where they shine
| Tool | Coverage | Pros | Trade-offs | Best for |
|---|---|---|---|---|
| 5–6″ random orbital | 100–300 sq ft/hr | Swirl-free, versatile, easy control | Discs clog on gummy finishes | General deck boards, rails |
| 1/4-sheet palm sander | 60–150 sq ft/hr | Great for edges and small parts | Slower on large surfaces | Stairs, balusters, nosing |
| Detail/triangle sander | 30–80 sq ft/hr | Reaches tight inside corners | Small pad = more time | Post corners, spindles |
| Floor drum/edger | Fast but risky | Rapid removal of heavy films | Can gouge softwoods in seconds | Experienced pros only |
Grit choices and patterns
- Softwoods (cedar, PT): 60 or 80 grit single pass. This opens pores without polishing.
- Hardwoods (ipe, mahogany): 80–100 grit light pass; always test—over-sanding can cause blotching.
- Film failure: 36–40 grit spot removal, then 60–80 to refine.
- Motion: Keep the pad flat, move with the board grain at 1–2 inches per second, and overlap 30–50%.
We’ve found that keeping discs fresh makes more difference than pressing harder. If the pad heats or the dust turns gummy, swap discs; heat-glazed abrasives scratch without cutting.
Best practices for a flawless finish
Prioritize safety, dust control, and consistent abrasion. Keep fasteners below the surface, use HEPA vacuums, and sand in stable temperatures. Finish within the same dry window and back-brush to avoid lap marks. These basics prevent most swirl, blotch, and peeling issues.
- Safety first: Wear eye protection, hearing protection, and a P100 respirator. Wood dust is fine particulate; treat it with care.
- Fastener prep: Reset nails/screws 1/16 inch below boards to protect sanding pads.
- Dust control: Combine a shroud + HEPA shop vac and frequent vacuuming. Fine dust can block stain penetration.
- Weather window: Aim for board temps around 50–85°F with RH under ~70%. Avoid direct midday sun for stain application.
- Traction matters: Don’t over-polish stairs or high-traffic zones; stop at 80 grit on softwoods.
- End-grain saturation: Brush stain into cut ends; end-grain drinks 2–3x more than face grain.
- Clean edges: Hand-sand inside corners to avoid circular halos from round pads.
- Wash wisely: If you plan to wash first, follow techniques in our pressure washing guide to prevent furring you’ll need to re-sand.
Ready to take the heavy lifting off your plate? Our crew can prep, sand, and stain on a coordinated schedule—and we back the work with our on-time completion commitment. See how this integrates with our residential painting process.
Tools and resources you’ll need
For most decks, a 5–6 inch random orbital sander, 60–80 grit discs, a HEPA shop vacuum, moisture meter, and PPE (P100 respirator, hearing and eye protection) are the core kit. Add trim/detail sanders, hand blocks, and back-brushes to perfect corners and end-grain.
- Power tools: 5–6 inch random orbital sander (with dust shroud), quarter-sheet palm sander, detail/triangle sander for corners.
- Abrasives: 36–40 grit (spot removal), 60–80 grit (main pass), 100 grit (light pass on hardwoods only). Expect several disc changes per 100 sq ft on heavy removal.
- Dust management: Shop vac with HEPA filter and auto tool-start if available.
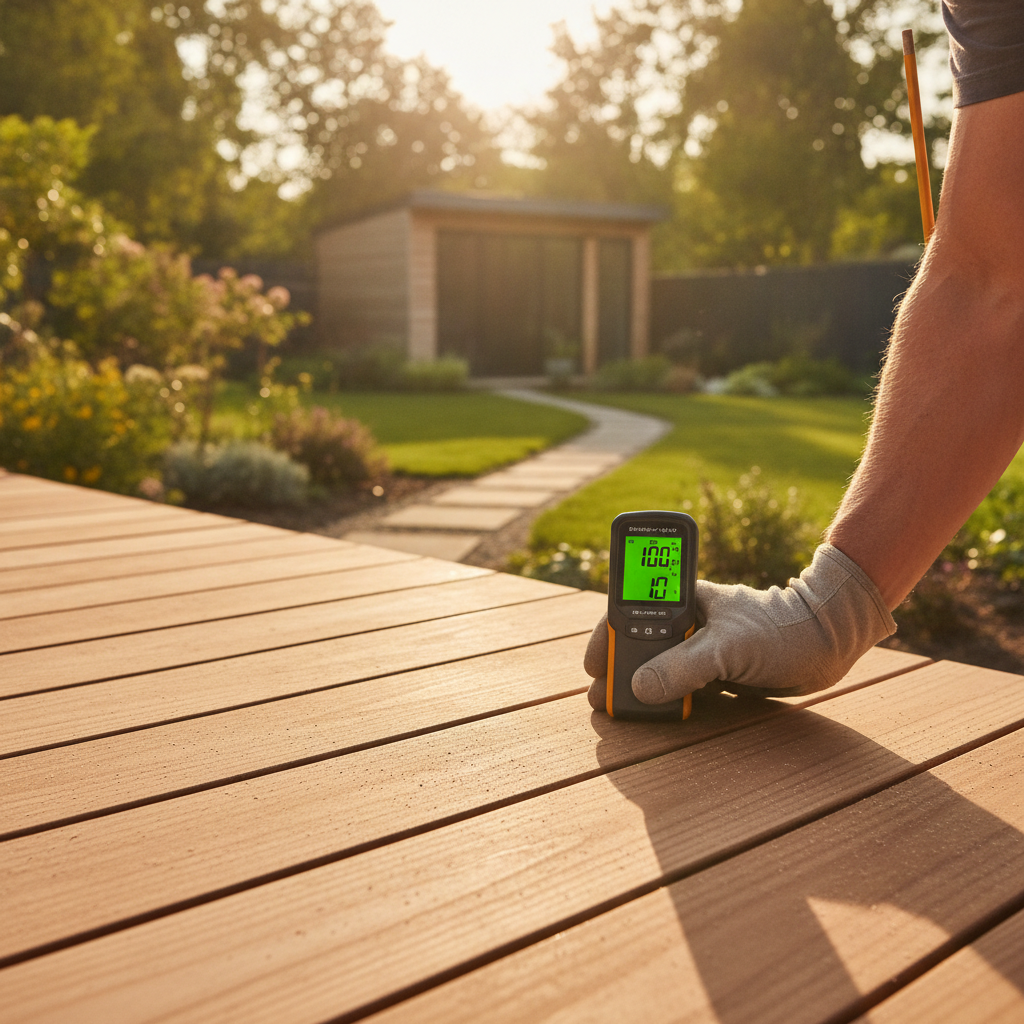
- Moisture meter: Target under 15% before staining; check shady boards separately.
- PPE: P100 respirator, safety glasses, hearing protection (many sanders exceed 85 dB), gloves, and knee pads.
- Finishing: High-quality brush for rail tops, 3/8–1/2 inch roller for flats, and a stain-compatible tray. Back-brush to even absorption.
As part of our service, we can include pre-paint cleaning with power washing prep, then return for staining in the same dry spell. That coordination keeps the project on track.
Prefer a guaranteed timeline? We combine washing, sanding, and staining with our free color consultation and an on-time completion promise. Tell us about your deck, and we’ll align work to your weather window.
How deck sanding connects to staining and exterior care
Sanding is the bridge between cleaning and staining. It evens blotchy boards so stain penetrates uniformly and sets your maintenance clock. Done well, it reduces re-coat frequency and supports broader exterior care like caulking and paint touch-ups.
We often pair sanding with deck and fence staining to lock in UV protection that raw wood loses in weeks. In the same mobilization, our team can inspect window seals and suggest exterior window caulking replacement if gaps or drafts are apparent. Keeping water out of the building envelope prevents paint failures on adjacent trim.
If you’re weighing a full-yard spruce-up, combine sanding/staining with a siding rinse using the safe techniques in our power washing service overview and this pressure washing guide.
Case studies and real-world examples
On local decks, small adjustments—like resetting screws, respecting moisture targets, and timing stain to stable board temperatures—deliver big improvements. These quick snapshots show how sanding choices affect adhesion, color evenness, and traction in everyday scenarios.
- Shaded deck near Walker Park. After washing, moisture hovered around 17% in shaded corners. We waited another afternoon, then sanded with 80 grit and stained at 14%—yielding even color between sun and shade and fewer lap marks.
- High-traffic stairs at Tremaine at Bergamot. We capped sanding at 60 grit for texture, then brushed stain into nosing and end-grain. Slip complaints dropped immediately after the first rain.
- Mixed-age cedar boards. Older rails had fuzzy grain from prior pressure washing. Targeted 60-grit passes plus back-brushing produced a uniform finish and eliminated ropey streaks.
Looking to level up other spaces while we’re on-site? Many homeowners add interior painting with ZERO VOC paints to refresh a living room during deck drying time. See our interior painting companies guide for planning tips.
Quick summary
Wash, dry, sand with 60–80 grit (softwoods), vacuum, and stain within the same dry window. Keep moisture under 15%, avoid over-polishing, and back-brush for even color. Done right, deck sanding restores safety, looks better, and helps stain last through multiple seasons.
For wood species, choose gentle abrasion, confirm dryness, and prioritize dust control. These three habits prevent most adhesion and blotch issues.
Frequently asked questions
These quick answers cover grit choices, washing order, drying times, and special cases like pressure-treated or hardwood decks. Each response is concise so you can act fast and avoid common mistakes.
What grit should I use to sand a deck before staining?
On most softwood decks (cedar or pressure-treated), start and stop at 60–80 grit for a single pass. Use 36–40 grit only to spot-remove thick film finishes. Hardwoods may need a lighter 80–100 grit touch. Always test a small area and avoid over-polishing.
Should I power wash or sand first?
Wash first to remove dirt and oxidized fibers, then allow 24–48 hours of drying before sanding. Sanding on a clean, dry deck keeps abrasives cutting effectively and prevents grinding grime into the wood. After sanding, vacuum thoroughly and proceed to stain in the same weather window.
How long should I wait to stain after sanding?
If the deck is already dry (under 15% moisture), you can stain immediately after sanding and vacuuming—ideally later the same day when board temperatures are stable. If any areas feel damp or freshly washed, wait until readings are consistently below your target.
Can I sand pressure-treated wood safely?
Yes. Use 60–80 grit with light pressure and always wear a P100 respirator to control dust. Newer pressure-treated lumber benefits from a gentle pass to remove mill glaze. Confirm moisture is under 15% before staining so finish penetrates reliably.
Key takeaways
Deck sanding is the bridge to long-lasting stain performance. Choose the right grit, respect moisture targets, and control dust. Pair sanding with quality staining to extend maintenance cycles and restore safety and curb appeal.
- Wash → dry → sand → vacuum → stain is the winning sequence.
- Keep moisture under 15% and avoid polishing beyond 80 grit on softwoods.
- Back-brush stain, saturate end-grain, and manage shade to prevent lap marks.
- Combine with exterior care—washing and caulking—to protect adjacent finishes.
Conclusion: ready to refinish your deck?
If your deck feels rough, looks gray, or repels stain unevenly, sanding is the reset that makes finishes last. We can coordinate washing, sanding, and staining under one schedule—aligned to Milton’s weather windows and your calendar.
Book a friendly walk-through in the 316 Bergamot Ave area of Milton and we’ll recommend the best sequence—washing, sanding, staining, and any helpful touch-ups. If you’re planning a broader refresh, our teams can also handle exterior painting touch-ups while we’re on-site.
Prefer more reading first? See our power washing overview and indoor painting services guide for smart planning.
For general background on outdoor wood choices and maintenance approaches, you can explore these broader overviews: deck wood selection basics, this deck refinishing tips guide, and a professional deck services overview.
