


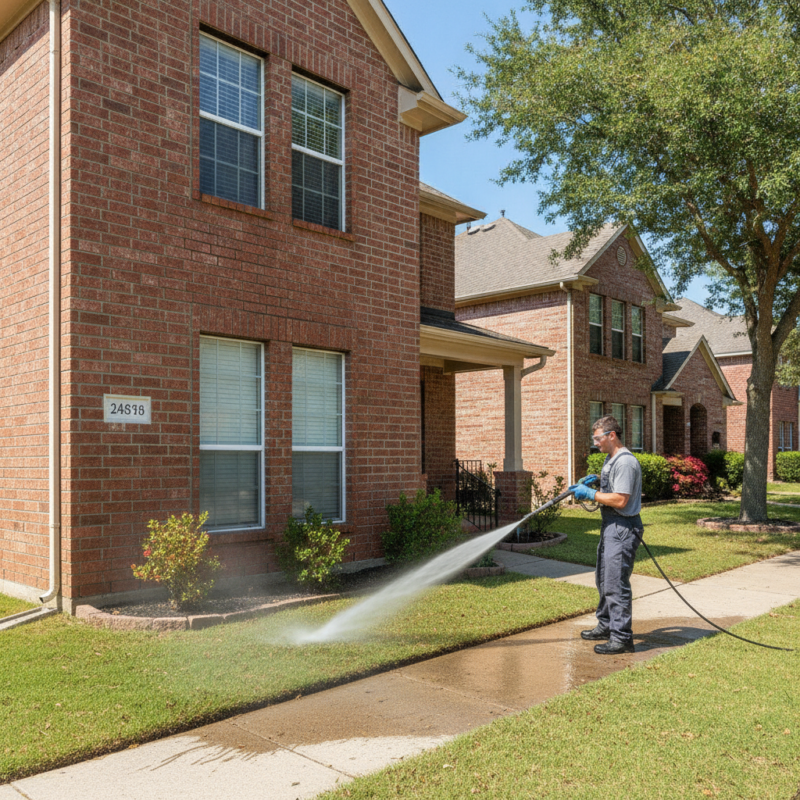
Power washing services are professional exterior cleaning methods that use pressurized water (and sometimes detergents) to remove grime, algae, mildew, and old residues from surfaces. In Milton near 316 Bergamot Ave, they prep siding, decks, driveways, and fences for paint or sealing, improve curb appeal, and help finishes last longer by creating a clean, bond-ready surface.
By ZIKRIA MUJAHID — Home Painter Services
Last updated: 2026-07-05
Above the Fold: Why Homeowners Choose Power Washing + Quick TOC
Homeowners choose power washing to quickly restore curb appeal and prepare surfaces for long-lasting paint, stain, or sealer. It removes contaminants that sanding or brushing miss, reduces failure risks, and shortens project timelines when paired with professional prep, masking, and the right detergents for each surface.
Here’s the thing: if you’re planning exterior painting, deck staining, or driveway sealing, clean substrate is non-negotiable. A wash-first approach often adds years to coatings. Use this guide to decide when to DIY and when to bring in our crew in Milton.
- What is power washing?
- Why it matters before paint or stain
- How the process works
- Methods: soft wash vs pressure
- Where it’s used around a home
- Best practices and safety
- Tools and resources
- DIY vs hiring a pro
- Value factors (no pricing)
- Local case examples
- FAQ
What Is Power Washing?
Power washing is exterior cleaning that uses pressurized water and targeted detergents to strip away dirt, algae, mildew, and chalky paint. It prepares surfaces for coatings by restoring profile and cleanliness so primers and sealers can adhere as designed, reducing premature peeling and discoloration.
In practical terms, “pressure washing” typically refers to using cold water at 1,200–3,000 PSI with 1.8–4.0 GPM flow. “Power washing” often implies heated water. “Soft washing” limits pressure (commonly under 500 PSI) and relies on detergents to safely clean delicate surfaces.
- Purpose: Remove contaminants that block adhesion and cause early coating failure.
- Core variables: Pressure (PSI), flow (GPM), temperature, chemistry, dwell time, and nozzle angle.
- Results: Cleaner, safer, brighter exteriors and a substrate that’s ready for primer, stain, or sealer.
We pair washing with prep steps like scraping, light sanding, and priming to deliver smooth, durable results with premium coatings. That consistency matters when you expect years of service from paint or stain.
Why Power Washing Matters Before Paint, Stain, or Sealer
Washing first extends coating life, prevents peeling, and improves color uniformity. It removes chalking, mildew, and invisible residues, so primers and stains bond correctly. Skipping the wash phase often shortens coating life and forces rework long before the finish should need it.
Surface contamination is the top hidden reason new coatings fail early. We routinely see chalky oxidized paint on siding, traffic film on concrete, and sunscreen residue on deck rails. A proper wash removes these films and opens wood pores for stain.
- Better adhesion: Clean, lightly profiled surfaces create stronger mechanical and chemical bonds.
- Uniform appearance: Even stain uptake and consistent sheen reduce blotchiness and lap marks.
- Longer life: Removing algae and mildew reduces moisture retention that degrades coatings over seasons.
- Safety: Algae on steps can be slick. Washing restores friction on walkways and stairs.
When we prep exteriors for our ZERO VOC interior paints inside the home, we also think upstream: clean siding and trims keep dust and spores from re-entering through open windows during projects.
How Power Washing Works (Step-by-Step)
Effective washing follows a sequence: inspect, protect, wet, apply detergent, dwell, agitate if needed, rinse top-to-bottom, and verify. Adjust PSI, nozzle, and chemistry by surface. This consistent method cleans fast without damage and sets the stage for sanding, priming, and coating.
- Inspect and test: Identify oxidation, mildew, loose paint, hairline cracks, and failing caulk. Test a small area to set PSI and nozzle.
- Mask and protect: Cover outlets, lights, door sweeps, landscaping, and nearby vehicles. Close windows; confirm weather seals.
- Pre-rinse: Wet the work area to reduce chemical shock and keep detergents from drying too quickly.
- Apply detergent: Use surface-appropriate cleaners. Typical dwell times are 5–10 minutes; keep surfaces wet.
- Agitate if needed: Soft-brush stubborn spots; switch to a wider fan tip before raising PSI.
- Controlled rinse: Work top to bottom with 25°–40° tips. Maintain safe stand-off distances (often 6–18 inches).
- Post-wash check: Look for etching, felting on wood fibers, or water intrusion. Plan spot sanding or repairs.
Flow rate (GPM) often cleans faster than sheer PSI because more water carries soil away. For mildew-prone zones, we may apply a post-rinse conditioner to slow organic regrowth before staining or painting.
Types, Methods, and When to Use Each
Choose soft wash for delicate siding and painted trims, higher-pressure with wider tips for concrete, and rotary surface cleaners for large flat areas. Heated water helps with oils. The right method minimizes risk while hitting the clean standard needed for coatings.
Common approaches we use
- Soft wash: Low pressure (often under 500 PSI) with detergents for vinyl, aluminum, painted wood, and stucco.
- Standard pressure wash: 1,500–3,000 PSI with 25°–40° tips for masonry, brick, and resilient surfaces.
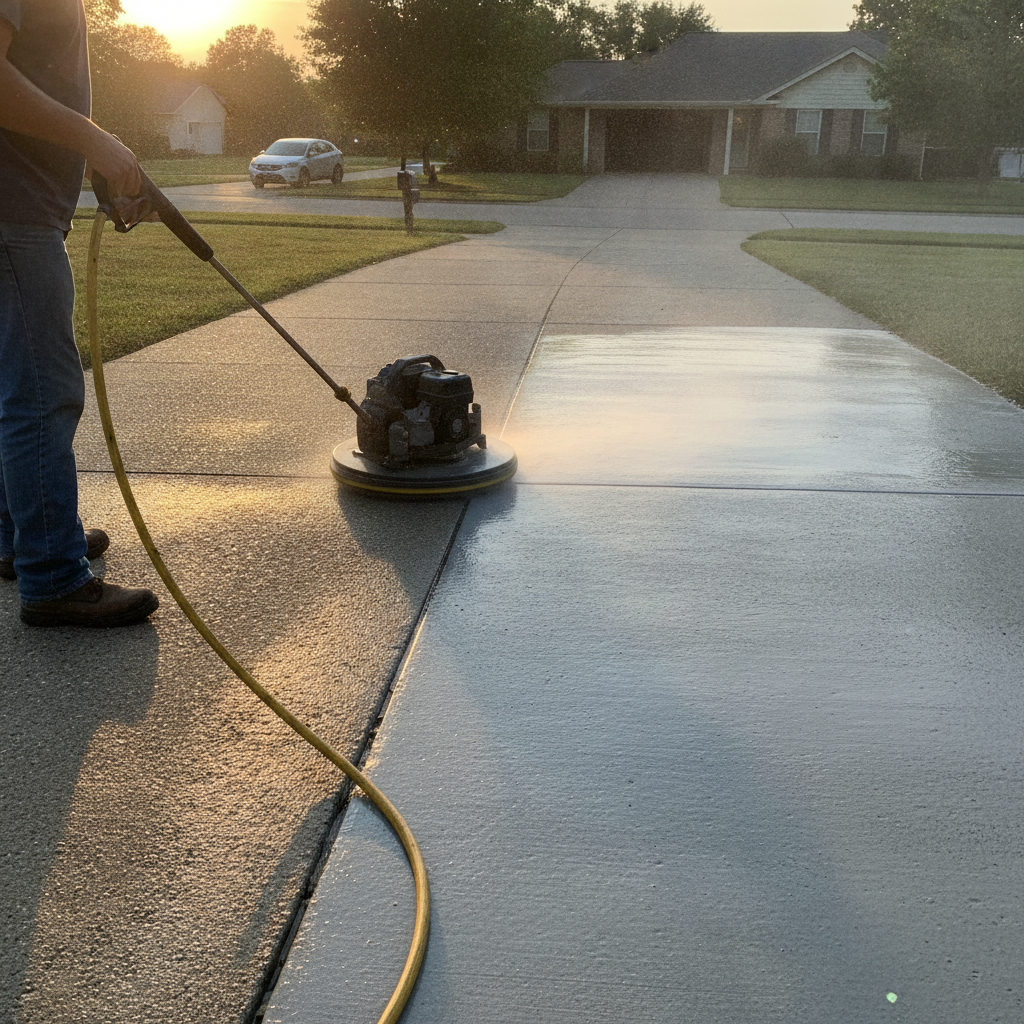
- Rotary surface cleaner: A spinning bar evens pressure on driveways and patios, preventing zebra-striping.
- Heated water (power wash): Hot water speeds grease removal on garage pads and stubborn stains.
- Foam and brush assist: Clings to verticals and allows gentle agitation without gouging.
Method selection also accounts for age of materials and project goals. Pre-stain deck cleaning, for example, aims to lift gray lignin and open pores—without tearing wood fibers you’ll later need to sand down.
| Method | Ideal Surfaces | Typical PSI | Detergent | Pros | Watch-outs |
|---|---|---|---|---|---|
| Soft Wash | Vinyl, aluminum, painted wood, stucco | < 500 | Yes | Low risk, great for mildew | Requires dwell time and rinse control |
| Pressure Wash | Brick, stone, concrete, pavers | 1,500–3,000 | Optional | Fast removal of grime | Potential etching on soft materials |
| Surface Cleaner | Driveways, sidewalks, patios | 1,800–2,800 | Optional | Even results, no stripes | Edges need careful detailing |
| Heated Power Wash | Grease-stained concrete, garage pads | 1,500–3,000 | Helpful | Faster oil lift | Monitor sealants and joints |
| Rinse Only | Dusty but intact coatings | 800–1,200 | No | Quick dust removal | Won’t remove films or mildew |
Where Power Washing Delivers the Most Value
Use washing on siding, decks and fences, driveways, and trims to remove chalk, algae, and embedded dirt. Clean first, then sand or repair, then coat. This sequence protects wood and masonry and helps stain, paint, or sealer last through multiple seasons.
Siding and exterior trims
- Vinyl and aluminum: Soft wash, 40° tip, overlap strokes to avoid tiger-striping.
- Painted wood siding: Soft wash, then hand-scrape loose paint. Spot-sand and prime bare areas.
- Brick and stone: Moderate pressure with wider fan tips; avoid forcing water into weep holes.
After washing, our crews often perform targeted sanding and priming so premium exterior paints build uniform color and sheen.
Decks and fences (prep for staining)
- Goal: Lift gray fibers and contaminants while preserving wood integrity.
- Approach: Detergent-assisted soft wash, 25°–40° tips, with the grain.
- Follow-up: Light deck sanding to correct raised grain before applying UV-protective stains.
Our deck staining services pair wash + deck sanding + UV-protective stain to handle both beauty and weather exposure. That combination reduces splintering and color fade over time.
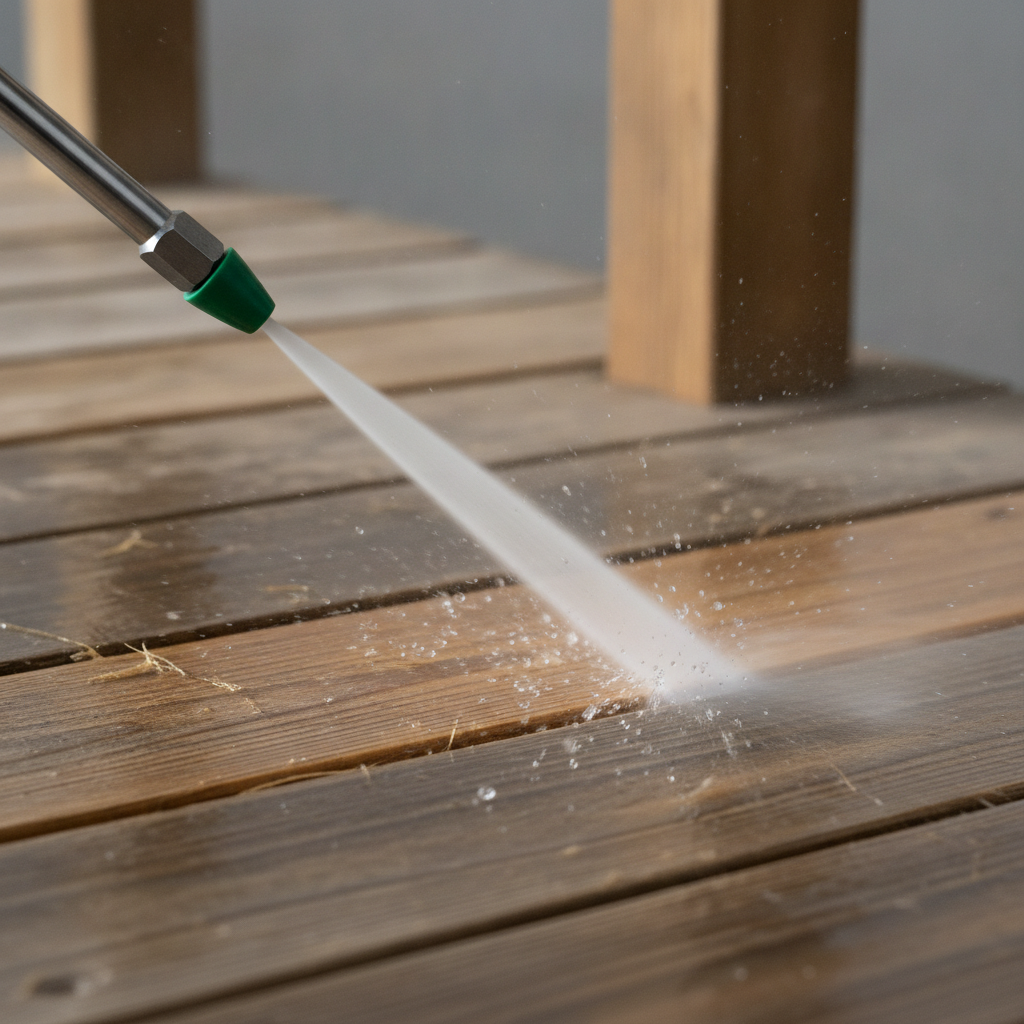
Driveways, garage pads, and walkways
- Concrete and pavers: Surface cleaner for uniform results, followed by edge detailing.
- Before sealing: Clean pores so driveway sealing bonds well and cures evenly.
- Slip resistance: Removing algae and oil improves traction, especially at entries.
We often schedule driveway cleaning a day before sealing to allow dry-down. Even a small moisture pocket under sealer can telegraph as haze—clean and dry beats fast and risky.
Windows and exterior caulking
- Pre-wash check: Identify failed beads before washing; reseal after drying.
- Gentle rinse: Avoid direct jets on seals. Use low pressure and broader tips.
- Energy efficiency: Fresh caulking reduces drafts and moisture intrusion before winter.
Exterior window caulking replacement often follows washing during our paint projects. A clean, dry, dust-free joint is essential for durable adhesion.
Best Practices We Follow on Every Project
We standardize inspection, protection, safe settings, and methodical rinsing. This reduces surface damage, prevents leaks, and prepares substrates for sanding, priming, and premium coatings—our recipe for finishes that look better on day one and hold up season after season.
Protect people, pets, and property
- Confirm GFCI outlets and keep cords and hoses tidy to avoid trip hazards.
- Cover landscaping; pre-wet plants and rinse them after detergents.
- Seal mail slots, vents, and light fixtures; close windows and test weatherstrips.
Dial in safe machine settings
- Start with the widest fan tip (40°), then step down only if needed.
- Maintain stand-off distances; on wood, a wider pattern at lower PSI preserves fibers.
- Use flow (GPM) and chemistry before raising PSI when cleaning organics.
Prep for the coating system, not just “clean”
- Target chalk removal on aged paint; wipe a finger across siding to verify.
- Plan follow-up sanding where grain lifts; prime bare spots promptly.
- Schedule wash-to-coat timing so surfaces dry fully and stay dust-free.
These habits are small, but they compound. They prevent callbacks and keep projects on our Guaranteed On-Time Completion track.
Tools, Equipment, and Useful Resources
Effective washing blends the right washer, tips, hoses, and detergents with surface know-how. A capable setup cleans faster at lower pressure, which protects materials and shortens prep time before primer, stain, or sealer.
- Washer and tips: Units delivering 2.0–4.0 GPM with 25°–40° tips handle most homes; turbo tips are for tough masonry only.
- Hoses and reels: Full-flow hoses reduce pressure loss over long runs.
- Surface cleaner: Ideal for large concrete areas and pavers.
- Detergents: Use substrate-appropriate cleaners; rinse thoroughly to neutralize.
- Safety gear: Eye protection, gloves, hearing protection, and slip-resistant boots.
Want more context on exterior care planning? See this local take on seasonal maintenance planning. For deck projects, a quick decking materials comparison helps set expectations for cleaning and staining cycles. For a broader view of wash techniques, skim these commercial power washing tips.
DIY vs. Hiring a Pro: Side-by-Side
DIY washing suits small, accessible areas when you know surface limits. Hire a pro for multi-story homes, prep before painting or sealing, delicate materials, or when timelines matter. The risk of etching wood and forcing leaks rises fast without experience.
| Consideration | DIY | Pro Crew (Home Painter Services) |
|---|---|---|
| Scope & access | Small, ground-level zones | Whole-home, multi-story, complex access |
| Surface safety | Learning curve; risk of etching | Dialed-in PSI, tips, and detergents |
| Project timeline | Weekend pace | Coordinated with sanding, priming, coating |
| Results consistency | Variable | Documented prep standards |
| Follow-on work | Separate vendors for paint/stain/seal | One team carries through to finish |
Here’s what most people don’t realize: the fastest way to a flawless finish isn’t higher PSI—it’s coordinated prep that respects each surface and the chemistry of the coating system that follows.
Value Factors (Not Pricing)
Value depends on scope, soil level, access, material sensitivity, and follow-on work like painting, staining, or sealing. The best projects time washing so surfaces dry correctly and crews can move straight into sanding, priming, and coating without delays.
- Scope and height: More square footage and higher elevations add logistics and safety steps.
- Soil type and severity: Mildew, algae, and oil require dwell time and tailored detergents.
- Material sensitivity: Old wood, oxidized paint, or soft stone demand lower pressure and hand work.
- Access and protection: Landscaping, glass, and fixtures may require extra masking.
- Weather window: Drying time matters before stain, paint, or driveway sealing.
We offer a Free Estimate Visit to define scope and sequence so washing boosts—not bottlenecks—your project timeline.
Safety, Weather, and Environmental Notes
Protect electrical components, manage runoff, and choose detergents matched to the surface. Work in safe weather windows and confirm dry-down before coatings. Thoughtful prep avoids damage and keeps landscaping and hardscapes looking their best.
- Electrical: Avoid direct spray at outlets and fixtures; confirm GFCI protection.
- Runoff: Divert or capture where needed; pre-wet plants and rinse them after cleaning.
- Weather: Target mild days; extreme heat dries detergents too fast and reduces dwell time.
- Drying: Decks and masonry often benefit from overnight dry-down before stain or sealer.
Local considerations for 316 Bergamot Ave
- Schedule washing on calmer days; winds that funnel near Tremaine at Bergamot can overspray neighboring fences and gardens.
- After spring thaws, algae often blooms on shaded paths toward Walker Park; plan an anti-organic rinse before staining or sealing.
- For exterior window caulking replacement, wash early morning so joints are fully dry before resealing later in the day.
Quick Case Examples From Our Crew
Local homes see faster, longer-lasting finishes when washing is sequenced with sanding, priming, and coating. These mini-examples show how pairing cleaning with the next trade step prevents bottlenecks and premature failures.
- Deck refresh in Milton: Detergent-assisted soft wash lifted gray fibers without gouging. A same-day deck sanding pass smoothed raised grain. UV-protective stain delivered even color and bead-up water performance by the weekend.
- Driveway sealing prep in Mississauga: Surface cleaner removed oil residues; edges were detailed with a 40° tip. The driveway sealed evenly with a tight, uniform sheen the next day.
- Exterior paint prep in Oakville: Soft wash removed chalking on sun-facing siding. We scraped and spot-primed the next morning, then applied premium exterior paint for a rich, uniform finish.
- Window comfort boost: A wash-first approach revealed failed caulking on two elevations. After dry-down, we performed exterior window caulking replacement, noticeably reducing drafts by autumn.
Thinking about a summer spruce-up? Our team sequences washing with deck sanding and staining, driveway sealing, and exterior painting. Book a Free Estimate Visit and a color consultation so your project moves smoothly from clean to coat.
Power Washing Services: Frequently Asked Questions
Here are concise answers to common homeowner questions about power washing services, from timing and methods to paint and stain preparation. Each response is practical, action-focused, and based on our field process in Milton and the surrounding area.
How soon can I paint or stain after power washing?
Allow surfaces to dry fully before coatings. Deck boards and masonry often need overnight dry-down; shaded areas may take longer. We verify with moisture checks, then proceed to sanding, priming, or staining for a durable bond.
What’s the difference between soft washing and pressure washing?
Soft washing uses low pressure and targeted detergents for delicate surfaces like vinyl or painted wood. Pressure washing uses higher PSI and wider tips for resilient materials like brick or concrete. We choose the safest method per surface.
Will power washing damage my wood deck?
Not when done correctly. We use wider tips, lower pressure, and work with the grain. After washing, we perform light deck sanding to smooth raised fibers before applying UV-protective stain for an even finish.
Is washing necessary if my siding looks clean?
Yes for pre-paint projects. Invisible residues—chalky oxidation, pollen, and oils—interfere with adhesion. A controlled wash removes them so primers and topcoats bond and age evenly, reducing early peeling.
Key Takeaways
Clean first, then coat. The right washing method protects materials, speeds prep, and makes paint, stain, and sealer last. When timelines or access are complex, a pro crew coordinates each step so the work looks great and holds up.
- Use soft wash on delicate siding; standard pressure for masonry and concrete.
- Sequence: wash → dry → sand/repair → prime/stain/paint → seal as needed.
- Driveway sealing, deck staining, and exterior painting all benefit from a wash-first plan.
- In Milton near 316 Bergamot Ave, plan around wind and shade patterns for best results.
Ready for a Cleaner, Longer-Lasting Finish?
If your home needs a reset before stain, paint, or sealer, start with a professional wash. Our crew sequences cleaning with sanding, priming, and premium coatings so everything cures right and looks even from day one.
In our experience, the fastest route to durable curb appeal is coordinated prep. We protect plants and fixtures, select safe settings, and move straight into deck sanding, driveway sealing, exterior painting, or exterior window caulking replacement. Book a Free Estimate Visit and color consultation, and let’s plan your project around Milton’s weather windows for a smooth, on-time finish.
