


Kitchen cabinet spray painting red flags and questions to ask
Top red flags that should stop you from hiring a contractor
When you are collecting quotes for kitchen cabinet spray painting, a few clear warning signs point to poor practice or unnecessary risk. If a contractor shows more than one of these red flags, pause the conversation and compare other bids.
- Requests for a large up-front deposit with no milestones. Legitimate businesses normally explain why a deposit is needed and link it to defined work stages. Excessive deposits without a payment schedule are a common consumer red flag. See guidance on deposit concerns in professional cabinet refinishing advice at Primal Cabinet Painting for context.
- No photo portfolio or only stylized marketing images. Ask for job-by-job photos, before and after sets, close-ups of edges and corners, and pictures of the shop or spray area. Contractors who cannot produce real portfolios are difficult to vet.
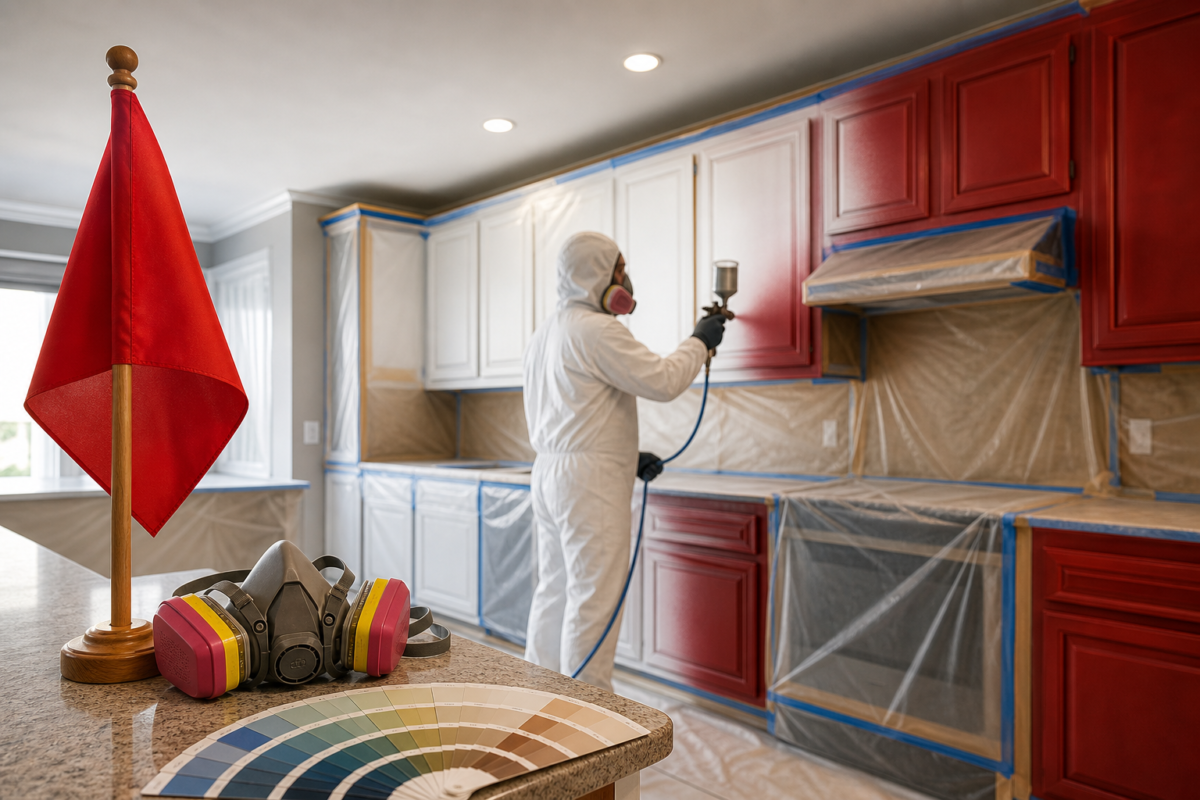
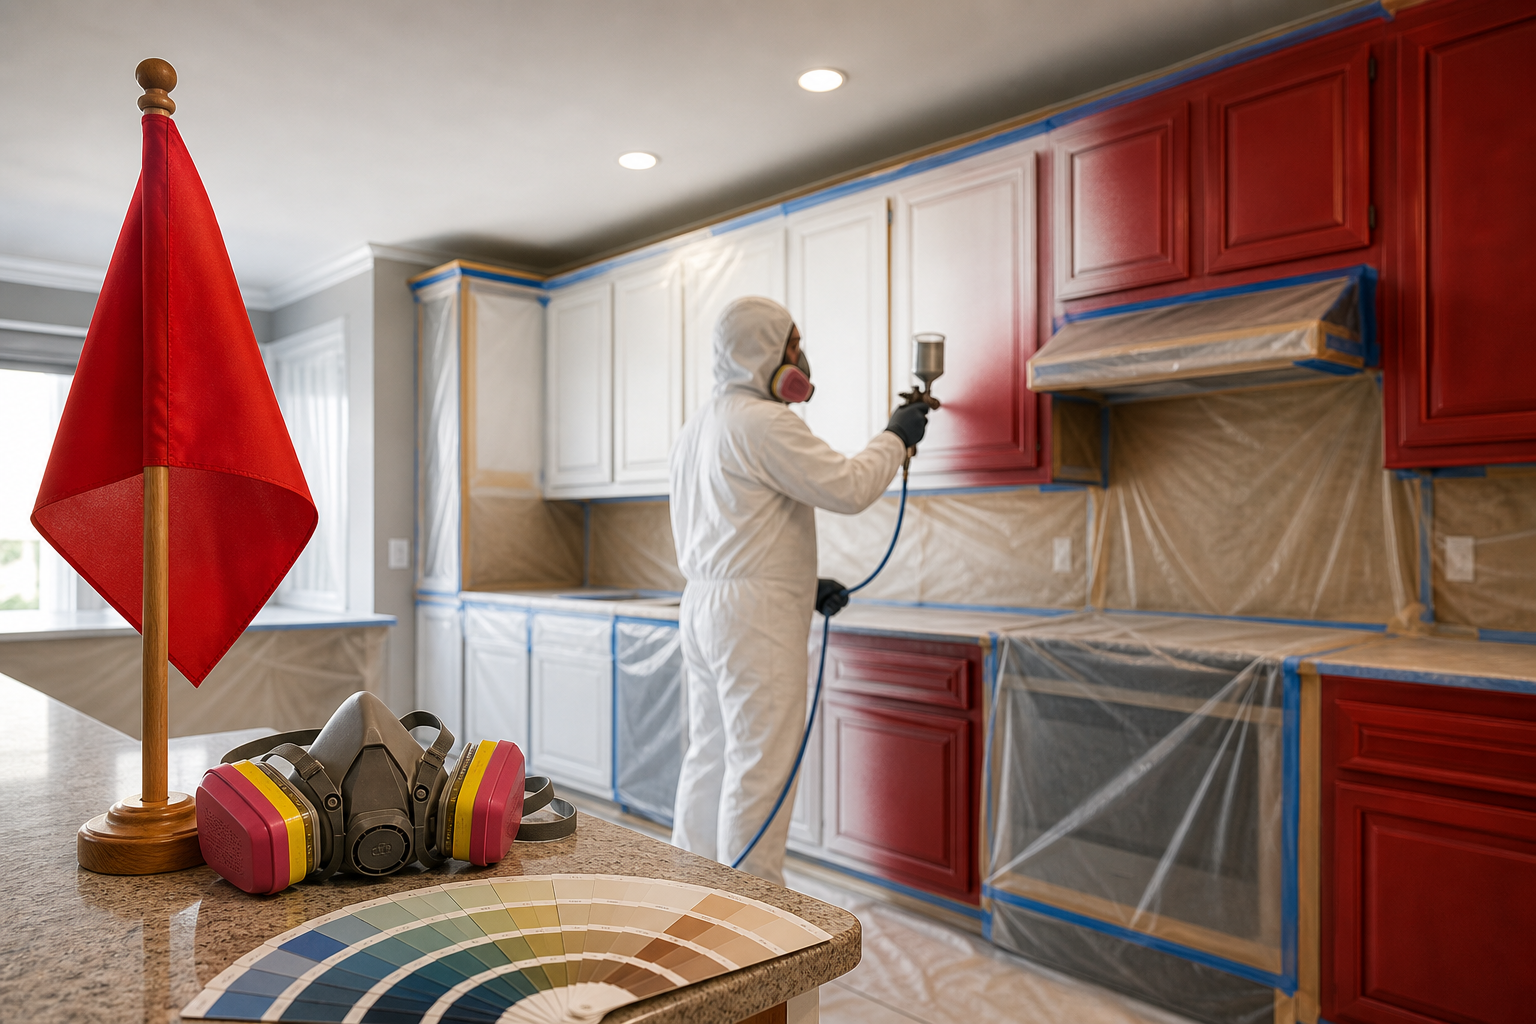
- No shop-based spraying option and no containment plan for on-site work. Shop spraying or a sealed booth prevents overspray and dust contamination. If a contractor insists on spraying in your home without describing containment, that is a red flag. The importance of shop containment is discussed by Primal Cabinet Painting.
- Vague surface-preparation details in the quote. If the quote omits sanding, de-glossing, priming, and defect repair, expect finish problems later. A proper quote lists prep steps and materials.
- No sample panel or colour-matching test offered. A sample panel shows how the colour and topcoat will look after curing. Contractors who skip this step increase the chance of a visible mismatch or finish surprises.
- Unrealistic timelines with no cure-time allowances. Sprayed coatings need time to flash off and cure. Promises of very fast turnaround with no staged milestones often indicate rushed work.
- No written warranty or unclear warranty scope. Ask what is covered, how long it lasts, and what the touch-up policy is. If the contractor cannot commit in writing, view that as a risk.
For practical takeaways on overspray control and why shop spraying matters, read a spray painting guide that explains how controlled spraying and proper equipment affect results at Tameside Paints & Supplies.
Shop spraying versus on-site spraying and what to require
The difference between shop spraying and on-site spraying determines noise, dust, odour, and the level of finish you can expect. Ask directly so you can compare proposals on the same basis.
When shop spraying is the right choice
Doors and drawer fronts removed and sprayed in a dedicated shop or sealed booth generally produce the cleanest, hardest finishes. Shop work allows for controlled temperature, filtered air, and proper curtain containment so overspray does not land on your walls or ceilings. Primal Cabinet Painting outlines why shop containment is a professional standard to prefer.
When on-site spraying is acceptable
On-site spraying can be appropriate for small jobs or when full removal is impractical, but it requires a strict containment plan. Acceptable on-site measures include sealed plastic barriers, negative-pressure extraction, HEPA filtration, and full masking of floors and adjacent surfaces. If the contractor cannot describe these measures, treat the quote with caution. A technical primer on controlled spraying and matching coatings is available from the Tameside guide.
Questions to confirm method and containment
- Do you remove doors and spray them in a dedicated shop or booth?
- If spraying on-site, what containment, masking, and ventilation do you use?
- Can you show photos or videos of your shop setup, booth, or past on-site containment?
- Where will dust and overspray be expected to settle, and how will you protect my home?
What proper surface preparation and coatings look like
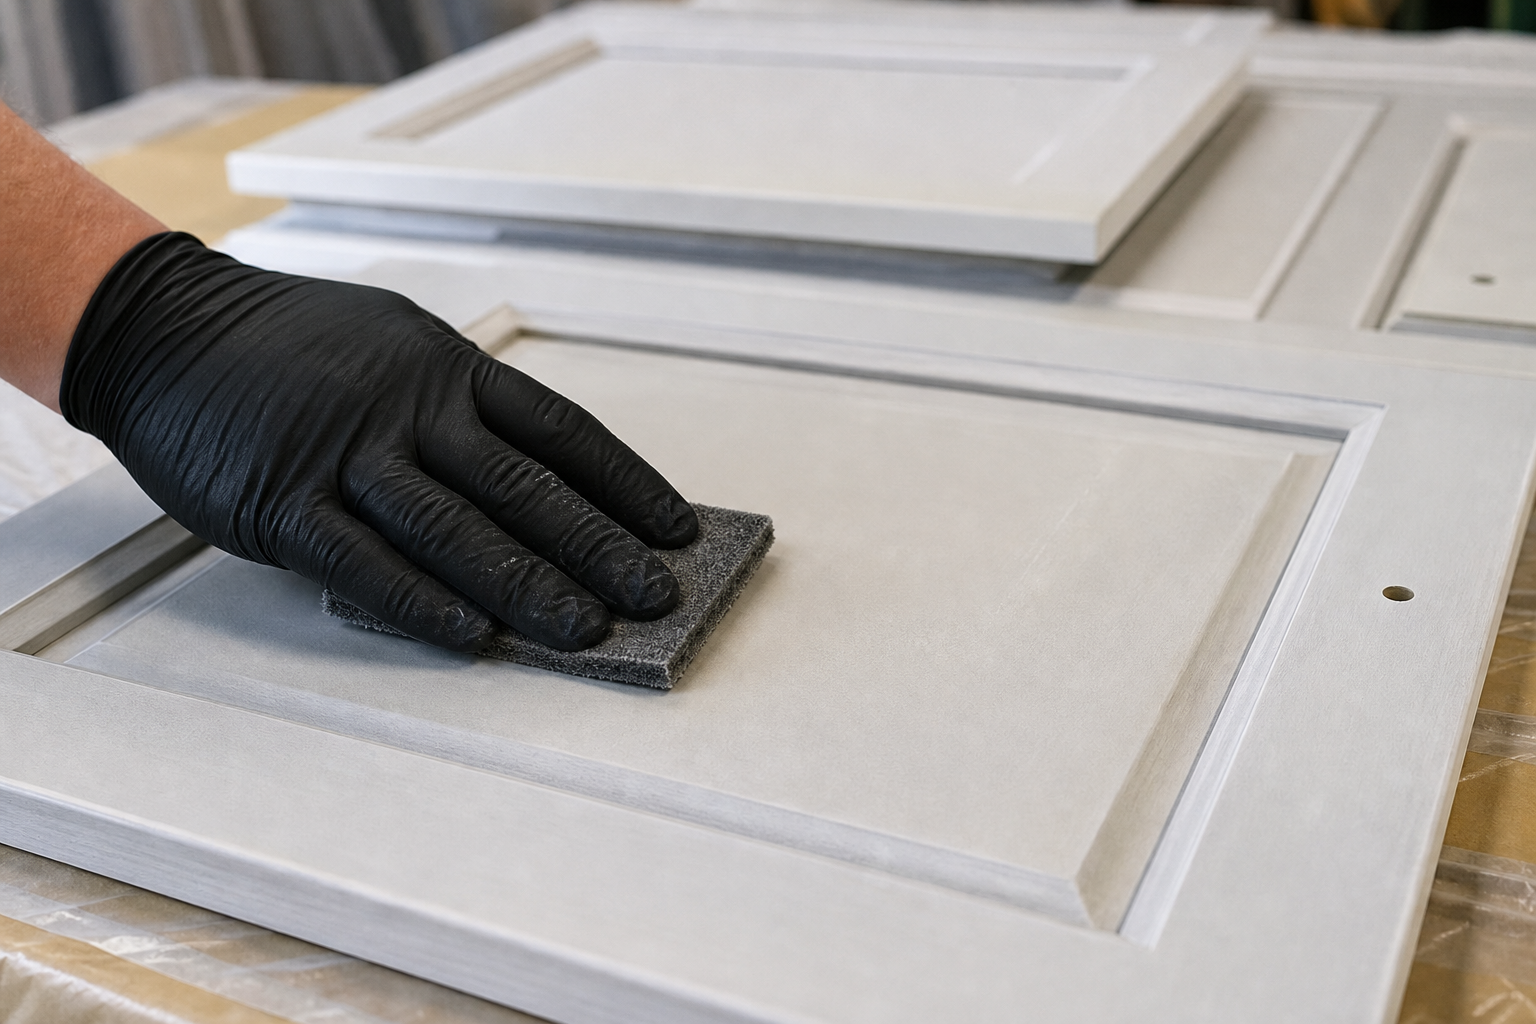
Finish quality is driven more by preparation and coating selection than by the spray technique alone. The right prep steps and compatible primers reduce the risk of peeling, flaking, and poor adhesion.
Observable prep steps to confirm
- Removal and careful labelling of doors, drawer fronts, and hardware so pieces return to the correct position.
- Degreasing to remove cooking oils, followed by sanding or chemical de-glossing to create a mechanical key.
- Patching and filling of dents, gouges, and nail holes, then sanding smooth.
- Tack-cloth wipe and solvent wipe before priming to remove fine dust.
- Numbered staging so doors are reinstalled in the same order and hardware fits correctly after reassembly.
Primers and topcoats to require in writing
Ask the contractor to name the primer and topcoat types for your exact substrate. Examples you should see in the quote include an adhesion primer for laminate, a waterborne bonding primer for previously painted wood, and a factory-grade lacquer or polyurethane topcoat for durability. When a quote describes only “paint” without type or brand, request specifics. Technical guidance on how coatings and prep affect the final finish is covered in spray painting resources from Tameside Paints & Supplies and consumer FAQs such as The Kitchn.
Common finish problems and what causes them
- Flaking and poor adhesion: usually inadequate sanding, wrong primer, or insufficient cure time. The Kitchn highlights the risk of flaking when prep is insufficient.
- Orange peel or runs: often the result of wrong spray pressure, incorrect viscosity, or rushed application.
- Overspray residue: occurs when containment and masking are missing or faulty.
Contract and quote items you must require
Before you sign, insist that the written quote contains these concrete line items. Missing items are negotiation points and sometimes red flags.
- Full scope of work. Include exact counts for doors, drawer fronts, open shelving, and any on-site touch-ups.
- Method statement. Specify shop spraying or, for on-site work, a detailed containment and ventilation plan.
- Materials and brands. Name the primer, mid-coat if used, and final topcoat or at least describe them by type.
- Colour specification. Provide manufacturer, colour name, and code, and require a signed approval of a sample panel before full application.
- Timeline with staged milestones. Include door removal day, spray days, reinstallation day, and reasonable cure times between stages.
- Payment schedule. Limited deposit with milestone payments and final payment due only after inspection and acceptance.
- Warranty terms and touch-up policy. Written statement covering adhesion and finish and a clear process for remedying defects.
- Proof of insurance and workplace coverage. Request evidence of liability insurance and confirmation of local labour coverage requirements before the start date.
Primal Cabinet Painting discusses deposit practices and why unreasonable upfront demands are a warning sign. For local convenience look for contractors who provide an on-site estimate and a clear written scope.
How to verify quality and the contractor’s track record

Vet a contractor with practical proof items that correlate with good outcomes. Do not rely solely on star ratings.
Proof items to request
- Recent job photos with before and after shots and close-ups of edges, returns, and hardware reinstallation.
- References from homeowners with completed cabinet spray projects and permission to view the work in person.
- A sample panel sprayed with the exact colour and topcoat for you to inspect after cure.
- Shop or booth photos showing containment, filtration equipment, and a clean workspace.
Home Painter Services offers factory-like spray finishes and a free colour consultation and estimate visit, which you can use to request photo proof and a sample panel during the appointment.
Common homeowner objections and how to choose
Homeowners often weigh budget, disruption, and indoor air quality. Use these trade-offs to prioritise what matters in your home.
- Replace or refinish? Replacing cabinets is the right choice when layout or storage must change. A high-quality sprayed finish is cost effective when you want a long-lasting aesthetic update with less waste and site disruption.
- Odour and VOC concerns. If household members are sensitive, insist on ZERO VOC options and shop curing before reinstallation. Home Painter Services lists ZERO VOC interior paint options and meticulous prep on its services page.
- Tolerance for disruption. If you cannot be displaced, require full door removal and off-site spraying to minimise in-home work time.
- Partial repainting. Partial work risks visible mismatch. Require test panels and signed approval for any partial application to manage expectations.
What good looks like: a one-page checklist to include in the contract
Copy this checklist into your quote request or contract as negotiation language.
- “Doors and drawer fronts will be removed, labelled, and sprayed in a dedicated shop or sealed spray booth.”
- “Materials: [primer brand/type], [topcoat brand/type], number of finish coats, and cure times.”
- “A sample panel will be produced, approved, and signed before full application.”
- “Containment, masking, and overspray protection plan for any on-site spraying will be provided.”
- “Payment schedule: deposit amount, milestone payments, final payment on client inspection.”
- “Written warranty covering adhesion and finish and the touch-up policy will be provided.”
- “Proof of liability insurance and applicable workplace coverage will be supplied before start.”
For a practical primer on prep and spraying standards consult Tameside Paints & Supplies and for consumer-level cautions about cabinet painting, review The Kitchn FAQ.
Frequently asked questions
Is shop spraying always better than on-site spraying
Shop spraying is generally preferable because it takes place in a controlled, filtered environment that reduces overspray, dust, and odour. On-site spraying can be acceptable for small repairs if the contractor documents a robust containment and ventilation plan. For more on shop containment see expert guidance at Primal Cabinet Painting and the spray process discussion at Tameside.
How long do I have to wait before using cabinets after spray painting
Cure time depends on the products used, temperature, and humidity. A contractor should list expected flash and cure times in the quote. Insist on realistic cure-time allowances in the timeline so you do not risk premature use and marks on the finish.
Will cabinet spraying create overspray or dust in my home and how is it controlled
Overspray and dust are real risks without proper containment. Shop spraying eliminates most of the risk. For on-site work require sealed plastic barriers, negative-pressure extraction, and HEPA filtration. Ask to see photos of previous on-site containment so you can judge their approach.
Is it normal for a contractor to ask for a deposit and how much is reasonable
Deposits are common to reserve materials and schedule labour, but they should be tied to milestones and documented in writing. If a contractor insists on a large deposit with no schedule or refund terms, treat that as a red flag and ask for alternative payment terms tied to deliverables.
Do I need to remove and label every door and drawer before the painter arrives
Yes. Proper removal, labelling, and organisation of doors and drawer fronts prevents reinstallation errors. Professional teams handle removal and labelling themselves as part of the service, but confirm this in the contract so you know who is responsible.
When you are ready to move forward, bring this checklist to your free on-site estimate and ask for a signed sample panel and shop photos before work begins. For local services and a free colour consultation, contact Home Painter Services.
References: shop containment and deposit cautions at Primal Cabinet Painting, spray and coating guidance at Tameside Paints & Supplies, consumer cabinet painting FAQ at The Kitchn, and service details for factory-like spray finishes, ZERO VOC options, and free estimate visits at Home Painter Services.
