


Ready Seal exterior wood stain and sealer: 6 red flags to check before you buy
Key Takeaways
- Understand the difference between penetrating stains and paint to make informed choices for your wood surfaces.
- Be wary of vague product instructions and unqualified durability claims when evaluating exterior wood stains.
- Proper surface preparation is crucial for successful staining; neglecting it can lead to poor results.
- Always conduct a test patch to assess color and absorption before committing to a full application.
- Hiring a professional can save time and ensure quality, especially for complex projects.
Quick answer: what this article helps you decide
If you’re evaluating Ready Seal exterior wood stain and sealer or a similar product, this article gives a focused red-flag checklist to help you pause and verify both product claims and contractor promises. Read the six warning signs, learn how penetrating stains differ from paint, get practical surface-prep and application pitfalls to watch for, and use the interview checklist so you book the right scope of work or avoid a costly DIY error.
How exterior stains protect wood (and how that differs from paint)
Exterior stains protect wood in two main ways: by penetrating the wood fibers or by forming a surface film. Penetrating stains soak into the grain and preserve the wood texture, while paint forms an opaque, surface-level film that hides the grain. This difference matters for appearance and failure modes — penetrating stains tend not to peel like paint but will wear and fade differently. For a clear explanation of these trade-offs and when to choose stain versus paint, see the primer from This Old House.
In practice, choose a penetrating stain when you want to show wood grain and reduce peeling risk; choose paint when you need total colour coverage or a film finish on older or repaired surfaces. The choice also affects prep and maintenance: paint often requires more aggressive surface prep and film repairs, while stain emphasizes penetration, cleaning, and UV protection.
6 red flags to watch for when researching Ready Seal or any exterior wood stain
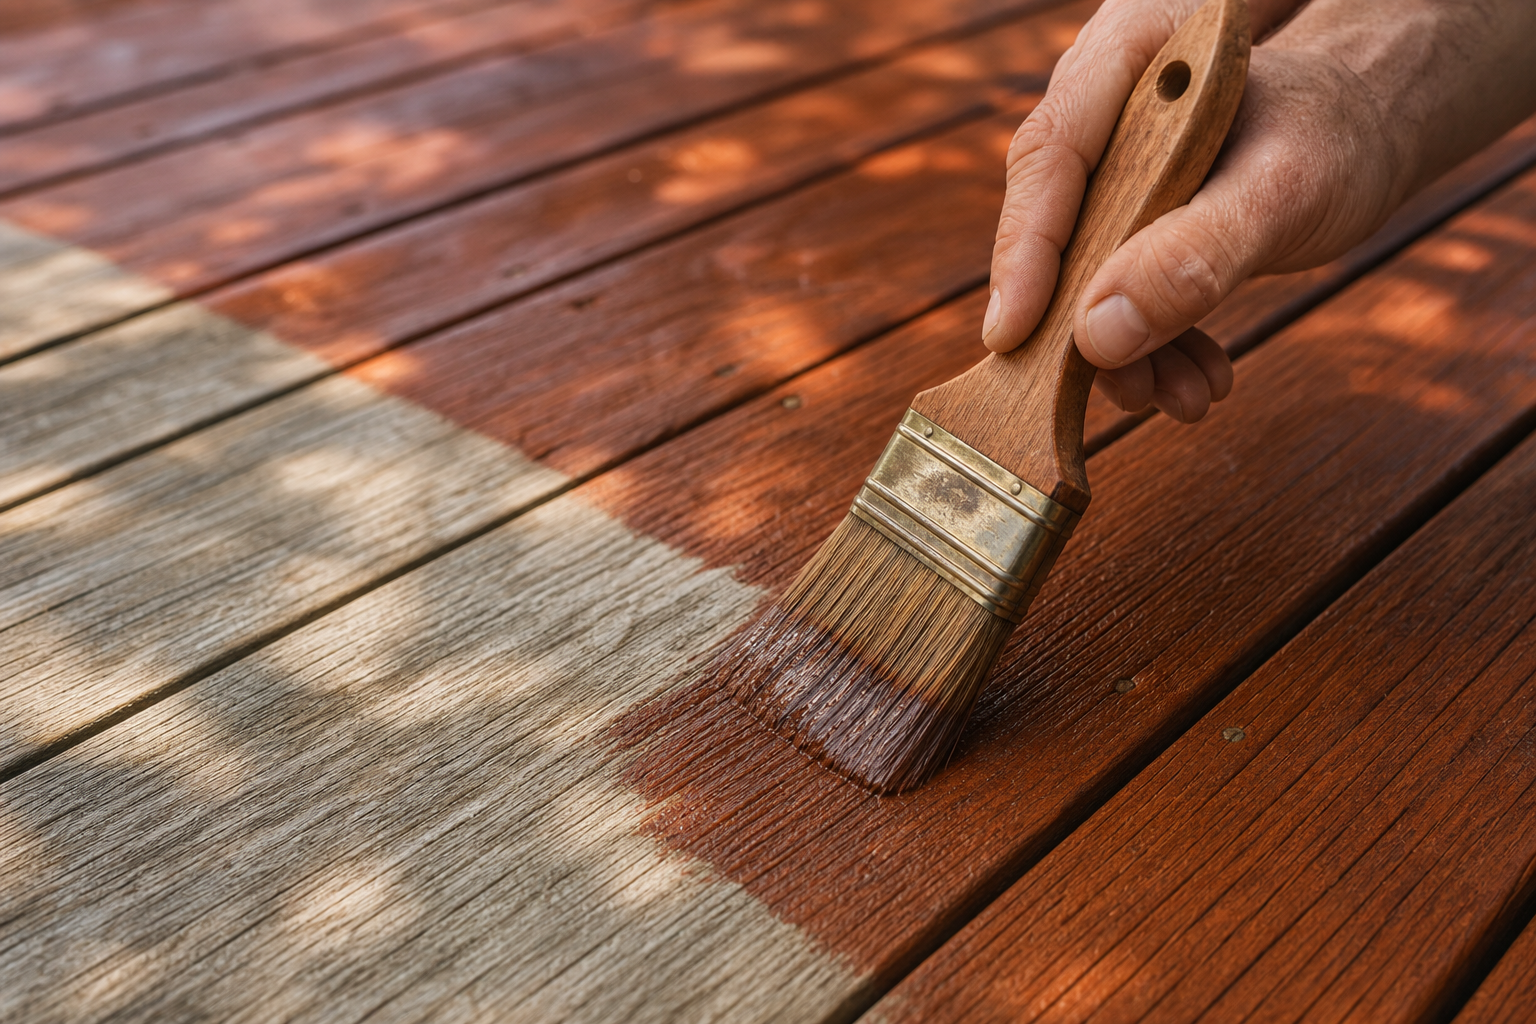
These product and purchasing warnings help you avoid frustrating results or frequent rework. If one or more of these apply, stop and ask questions before you buy or hire.
- No clear guidance on transparency and intended use. Exterior stains come in clear, semi-transparent, and solid formulas; each balances appearance, UV blocking, and protection differently. If a product page or seller doesn’t state the transparency level or recommended substrates (for example, cedar vs. rough-sawn pine), you won’t be able to predict how the finish will look or perform. The Spruce covers why transparency level matters when choosing a deck stain.
- Vague instructions about preparation or site conditions. Good results depend on cleaning, drying, and often sanding. If instructions are limited to a single line like “apply and dry” without mentioning moisture limits, drying time, or surface prep, treat that as a concern. This Old House and Family Handyman both emphasize the prep steps that make staining successful.
- Unqualified durability claims without independent support. Avoid product listings that promise specific years of protection or long intervals between maintenance with no independent testing or reviews to back them up. Buying guides and independent reviews stress realistic maintenance expectations rather than fixed timeframes.
- Application guidance that ignores weather windows. Applying stain to damp wood or immediately before rain reduces penetration and adhesion. If the label or seller omits drying-time or temperature guidance, verify recommended conditions before you proceed — weather and timing matter more than many homeowners expect.
- Installers who skip standard prep tasks. If a contractor proposes staining without cleaning, removing mill glaze on new lumber, or sanding damaged fibers, that’s a red flag. Proper prep avoids premature failure; check the surface-prep checklist below to know what should be included.
- Pressure to skip a test area. A reputable supplier or installer should allow a small test patch so you can judge colour, transparency, and absorption on your actual wood. If they refuse a test or rush you to order or sign before confirming a sample, slow down and get a second opinion.
Common surface-prep and application mistakes that reduce performance
Poor prep is the leading cause of disappointing stain results. Here are practical, observable mistakes to watch for so you can spot poor workmanship or a risky DIY approach:
- Skipping a deep clean: Dirt, pollen, and mildew block stain penetration. This Old House recommends cleaning before staining; use an appropriate deck cleaner or a light power wash and let the wood dry fully before applying stain.
- Ignoring moisture content: Stain will not penetrate or cure correctly on damp wood. Look for several consecutive dry days and consider a moisture meter if you’re unsure.
- Not removing mill glaze or old finishes: New pressure-treated lumber and some factory-milled boards have a glazed surface that prevents penetration; light sanding or an etching cleaner is often needed to reopen the grain.
- Applying in direct sun or too-hot conditions: Rapid surface drying causes lap marks and uneven absorption. Plan application for a cool, overcast morning or late afternoon window to slow surface drying.
- Overthinning or inconsistent coverage: Follow manufacturer spreading rates and work in manageable sections. Multiple thin, even passes are better than one heavy coat where the label recommends a single application.
- No test patch: Colour, grain contrast, and absorption vary by species — always do a test patch on an inconspicuous board and inspect after full cure.
For a homeowner workflow that covers cleaning, sanding, and timing in accessible terms, see This Old House’s staining guide and Family Handyman’s stain-selection advice.
When to hire a pro and the exact questions to ask them

Consider hiring a professional when the project is large, the wood is aged or damaged, there’s complex trim or vertical siding to match, or you want longer-lasting results without DIY risk. Consumer Reports notes that longer-lasting finishes and reduced maintenance are common reasons homeowners choose professional prep and application.
Before you sign a contract, ask potential contractors these specific questions so their scope is clear and comparable:
- Which surface-prep steps are included (cleaning method, sanding, mill-glaze removal, and whether they test moisture)?
- Do you include a test patch for colour and penetration before full application?
- What transparency level and product type do you recommend for my wood species and exposure?
- Do you apply a UV-protective sealer or recommend products with UV inhibitors?
Sources & References
- This Old House – Expert advice on home improvement and maintenance.
- Family Handyman – DIY tips and project ideas for homeowners.
- The Spruce – Home and garden advice for everyday living.
- Consumer Reports – Trusted reviews and ratings for products and services.
