




House interior painting: what to decide before the painter arrives
Planning an interior repaint can feel like juggling colour samples, furniture, and schedules. Use this ordered checklist to decide what to fix and what to leave to the crew, prepare rooms so work starts on time, and reduce dust, smells, and disruption. Home Painter Services offers a Free Color Consultation and Free Estimate Visit to help with early decisions and a Guaranteed On-Time Completion promise for local projects in Mississauga and Oakville: Home Painter Services services. For general prep tips and tool checklists see the practical painting notes used by experienced contractors and retailers.
Decisions to make before you book a painter
Confirming the following items ahead of the estimate keeps quotes accurate and reduces change orders on site. Ask the estimator to note these on the visit.
- Scope: whole-room repaint or single accent wall. Decide whether ceilings, trim, and doors are included.
- Colours and samples: pick a primary colour and two alternates, or request a free colour consultation from the contractor.
- Sheen: choose finishes suited to the room (see the sheen guidelines below).
- Paint formula: request ZERO VOC or low-odor interior paint if household sensitivity is a concern. Home Painter Services lists ZERO VOC options as part of its interior offerings: services information.
- Cabinets and specialty work: decide if you want spray-refinished cabinets, popcorn ceiling removal, or other specialty services so the estimator can schedule proper prep and equipment.
Industry checklists recommend doing these decisions before the crew arrives so work can begin immediately and efficiently (see sample homeowner preparation lists and buying guides for reference).
Why these decisions matter
Professional painters spend most of their time on surface preparation. Clear details about scope, products, and special services, such as cabinet spray or ceiling skim coat, let the crew bring the right materials and estimate accurate time for sanding, priming, and masking. The emphasis on prep is detailed in expert painting advice and consumer store guides, which underline that filling holes, sanding, and priming are core to a long-lasting finish (This Old House interior painting tips, RONA painting tips).
Color and finish decisions
Colour and sheen determine how a room looks and how it wears. Follow these quick rules when you choose.
- Test samples: paint 8-inch test patches on opposite walls and view them at different times of day.
- Sheen rule of thumb: use flat or matte for ceilings and low-traffic walls, satin for family rooms and hallways, and semi-gloss or gloss for trim, doors, and high-moisture areas for easier cleaning.
- Light and texture: high-gloss reflects light and highlights imperfections. Matte hides flaws but is harder to clean.
Manufacturer and trade guides explain finish selection and show the order of painting surfaces for the best result; ask your estimator to confirm the sheen and paint brand that will be used on-site (Bob Vila how to paint a room, This Old House paint buying guide).
Cabinets, ceilings, and specialty services
Some projects need specialty scheduling and equipment. Clarify these choices before booking.
- Kitchen cabinet spray painting: a factory-like spray finish with lacquer or polyurethane yields durable results at lower cost than full replacement, but it requires glove use, masking, and sometimes off-site spray booths. Home Painter Services offers professional cabinet spray options; request details during the free estimate so prep time and curing are included in the schedule: cabinet spray details.
- Popcorn ceiling removal and skim coating: removal is dust-producing by nature, so ask whether the contractor uses minimal-dust techniques and negative-pressure containment. Home Painter Services describes a minimal-dust approach followed by skim coating and ceiling paint; confirm dust-control steps with the estimator: ceiling removal and skim coat.
- Timing and curing: some specialty finishes require longer cure times before you can return furniture to a room; include this in your scheduling conversation.
Room-by-room paint day checklist
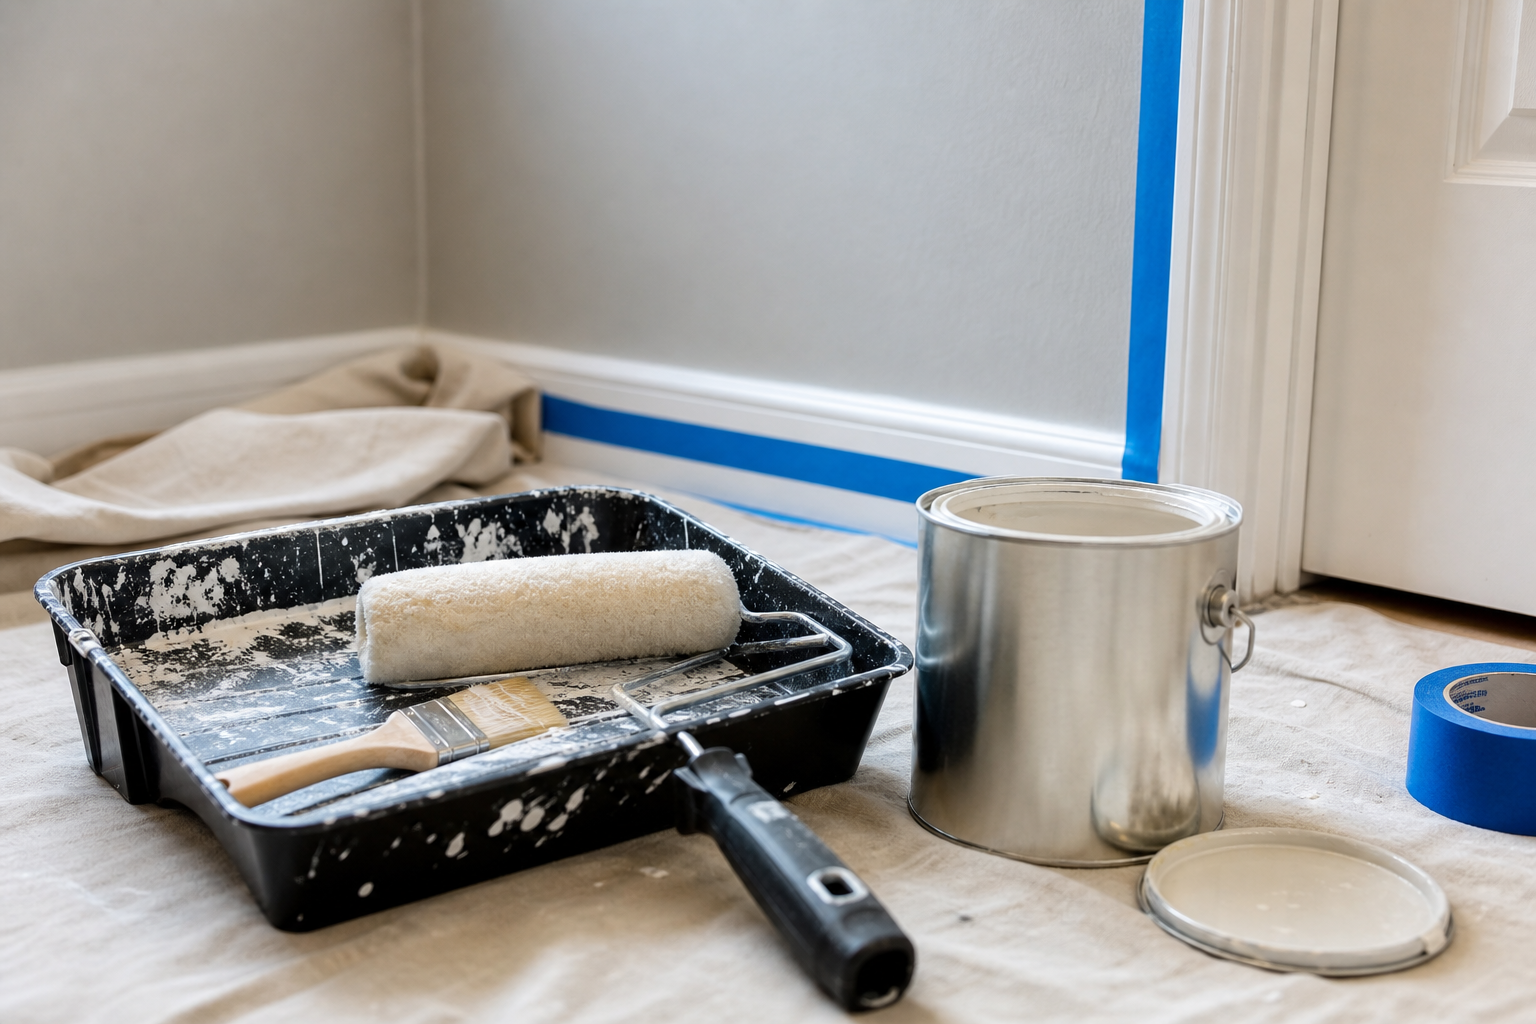
Complete the following tasks the day before the crew arrives. These actions clear the way for a smooth, on-time start and minimize delays.
- Declutter and remove small items. Pack photos, knickknacks, and loose items from shelves and surfaces.
- Move or reduce furniture. Push large pieces to the centre of the room and remove at least two feet of wall clearance when possible. If moving large furniture is not feasible, mark items that the crew should avoid moving.
- Remove wall hangings and outlet covers. Take down art, mirrors, and switch plates where comfortable; leave keys available for locked cabinets.
- Secure valuables and plants. Store fragile items and houseplants elsewhere for dust and fumes control.
- Confirm lighting and HVAC. Make sure the crew can access switches and thermostats, and consider turning HVAC off briefly during sanding to reduce dust spread.
- Plan for pets and children. Arrange pet care or a quiet room away from the work zone for the day.
These practical staging steps mirror professional prep checklists recommended for homeowners and will speed the initial setup on paint day (Damian’s painting preparation checklist, Pro House Painters prep guide).
Kitchen, bathroom, and living area specifics
- Kitchens: clear countertops, remove small appliances, and protect permanent fixtures. For cabinet spray work remove hardware if possible or mark items for the crew to remove safely.
- Bathrooms: choose mildew-resistant paint and ensure good ventilation. Clear towel racks and wall items so trim and ceilings can be accessed.
- Living and dining areas: protect upholstered furniture with plastic or moving blankets and remove area rugs if floors will be sanded or worked near.
What your pro will handle and what you should do
Knowing the division of labour avoids duplicated effort and unmet expectations. Confirm these responsibilities during the free estimate visit.
- What the contractor typically handles: furniture protection plans, scraping and filling holes, sanding, priming, masking trim and fixtures, final coat application, and clean-up. Home Painter Services outlines comprehensive prep and professional priming as part of their service process: service process.
- What homeowners should do: clear small items, pick colours and finishes, move fragile items out of the work area, and provide clear access and parking for the crew.
- Ask at the estimate: request a written list that shows what is included in the price and who is responsible for moving large furniture, fixture removal, and disposal of replaced materials.
Protecting belongings, health, and air quality
Good contractors protect floors, electronics, and HVAC intakes, and they use containment when sanding ceilings or removing textures. If indoor air quality is a priority, request ZERO VOC or low-odor paints; Home Painter Services lists ZERO VOC interior paints as an option for family- and pet-friendly projects: ZERO VOC options. For dust control, ask about negative-pressure containment or HEPA vacuums during sanding and popcorn removal (This Old House tips, RONA workshop notes).
Scheduling, access, and on-site logistics to ensure on-time completion
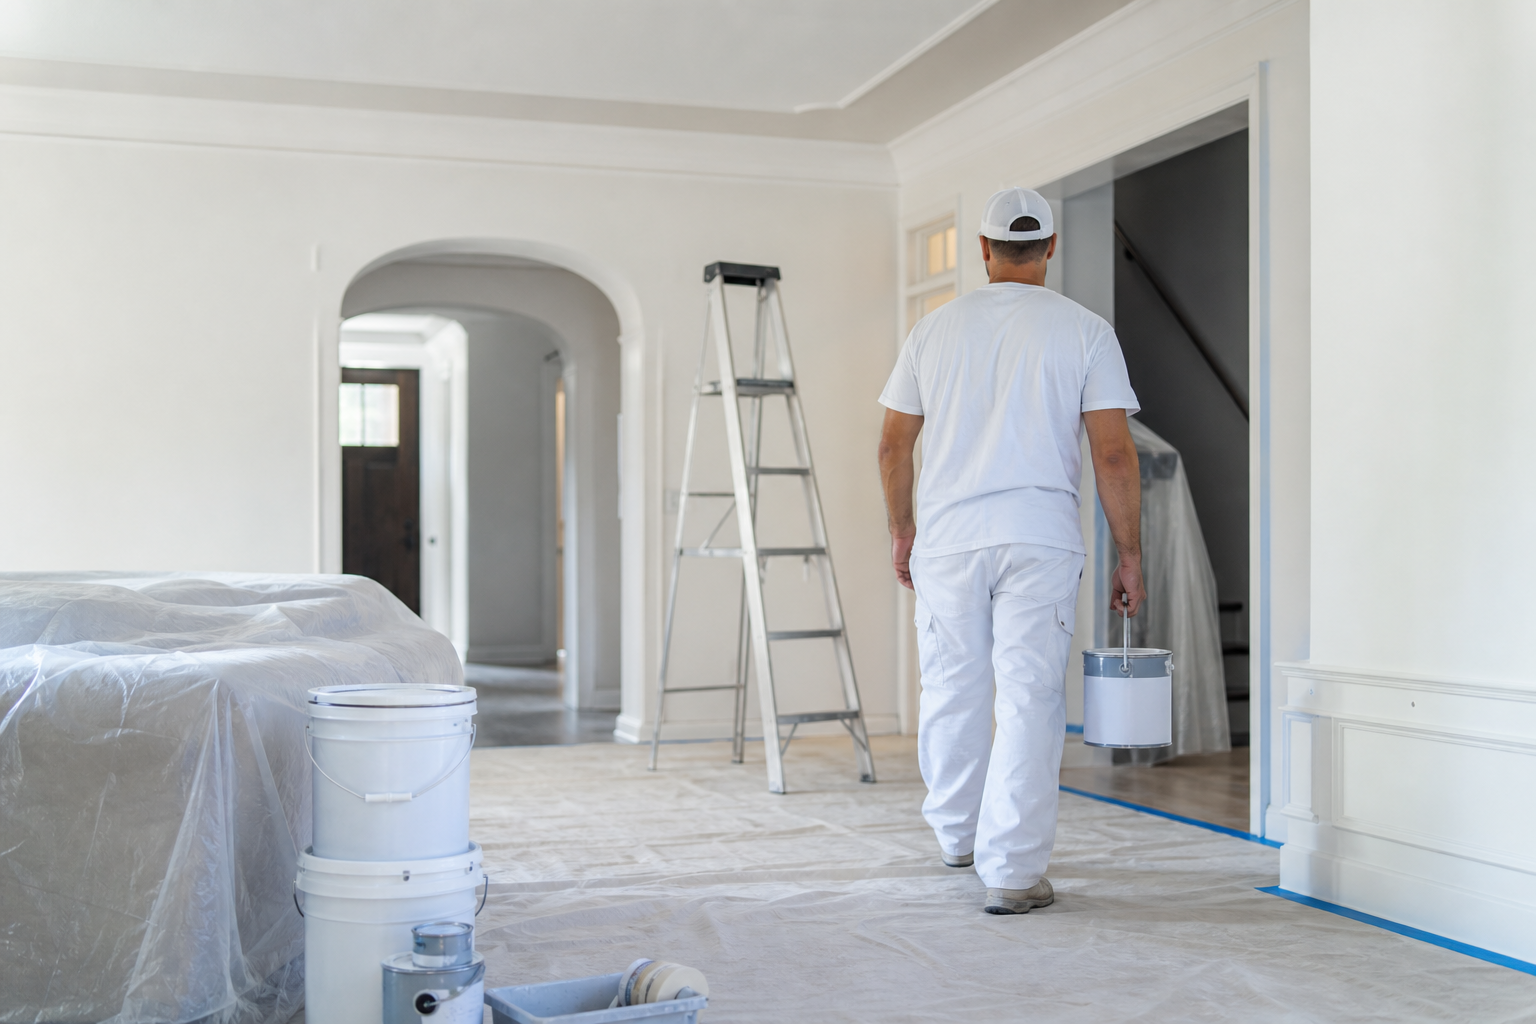
To support the contractor’s on-time completion guarantee, confirm these items when you accept an estimate:
- Start date, expected daily crew hours, and realistic buffers for curing and touch-ups.
- Parking and drop-off area for materials, and where the crew may store ladders and paint overnight.
- Key or access arrangements and a single homeowner point of contact for quick decisions.
- Any building rules or condo requirements that affect working hours or access.
Home Painter Services highlights a Guaranteed On-Time Completion promise and complimentary estimate visit that can help you lock these details into the written job scope: book a free estimate.
Final walkthrough, touch-ups, and maintenance after painting
Before the crew leaves, walk every room with the foreperson and check these items:
- Consistent sheen and even coverage across each wall and trim length.
- Clean edges at ceilings, baseboards, and around switches and outlets.
- Repaired nail holes and agreed touch-up areas noted on the final checklist.
- Instructions for when to return furniture and how to care for the finish during the first 72 hours.
Professional guides suggest documenting touch-up requests in writing during the walkthrough and confirming any warranty or follow-up process with the contractor (Bob Vila final checks, This Old House final tips).
Printable paint day one-page checklist and decision flowchart
For quick reference, prepare a one-page paint day checklist you can hand to the crew that lists start time, room order, colour codes, access notes, and any fragile items. A short decision flowchart helps at the estimate visit: if you want to keep cabinet layout and save money, choose cabinet spray; if ceilings are textured and damaged choose popcorn removal and skim coat; otherwise choose standard repaint. Request a printable checklist or the flowchart when you book a Free Color Consultation or Free Estimate Visit through the company’s contact page: request a printable checklist.
Frequently asked questions
Will ZERO VOC paint eliminate paint smell, and is it suitable for every room?
ZERO VOC and low-odor paints reduce the strong chemical smell associated with traditional paints, making them a better choice for occupied homes and sensitive occupants. They are suitable for most interior walls and ceilings, but always confirm product choice with the contractor and test a sample in the project room. Home Painter Services lists ZERO VOC options on their services page: ZERO VOC options.
How much should I move or remove before the crew arrives, and what will the painters move?
Move small items and fragile objects yourself. Push large furniture toward room centres if you can; contractors generally protect and may shift large items but ask and document this in the estimate. Clarify which items the crew will move during the free estimate visit.
How long will rooms be unusable after interior painting, and when can I return furniture?
Drying and cure times depend on paint type and ventilation. Latex paints feel dry in a few hours but need 24 to 72 hours to fully harden for furniture placement. Ask your contractor for recommended wait times for the specific products used.
Is popcorn ceiling removal dusty, and how do you control dust and debris?
Removal can create a lot of dust. Professionals use negative-pressure containment, plastic sheeting, and HEPA vacuums to limit spread. Confirm the contractor’s dust-control plan before work begins and request a minimal-dust approach where available.
Can you spray my kitchen cabinets instead of replacing them, and how long does that take?
Yes, professional cabinet spray refinishing can deliver a factory-like finish and is often faster and less costly than full replacement. The project timeline varies by scope and curing time; discuss the schedule and whether hardware will be removed during the free estimate visit. Home Painter Services offers cabinet spray services and will detail timing at the estimate: cabinet spray services.
Ready to plan your project — Book a Free Color Consultation or Free Estimate Visit with Home Painter Services to get a written scope, a one-page paint day checklist, and a confirmed start date that supports their on-time completion promise.
