


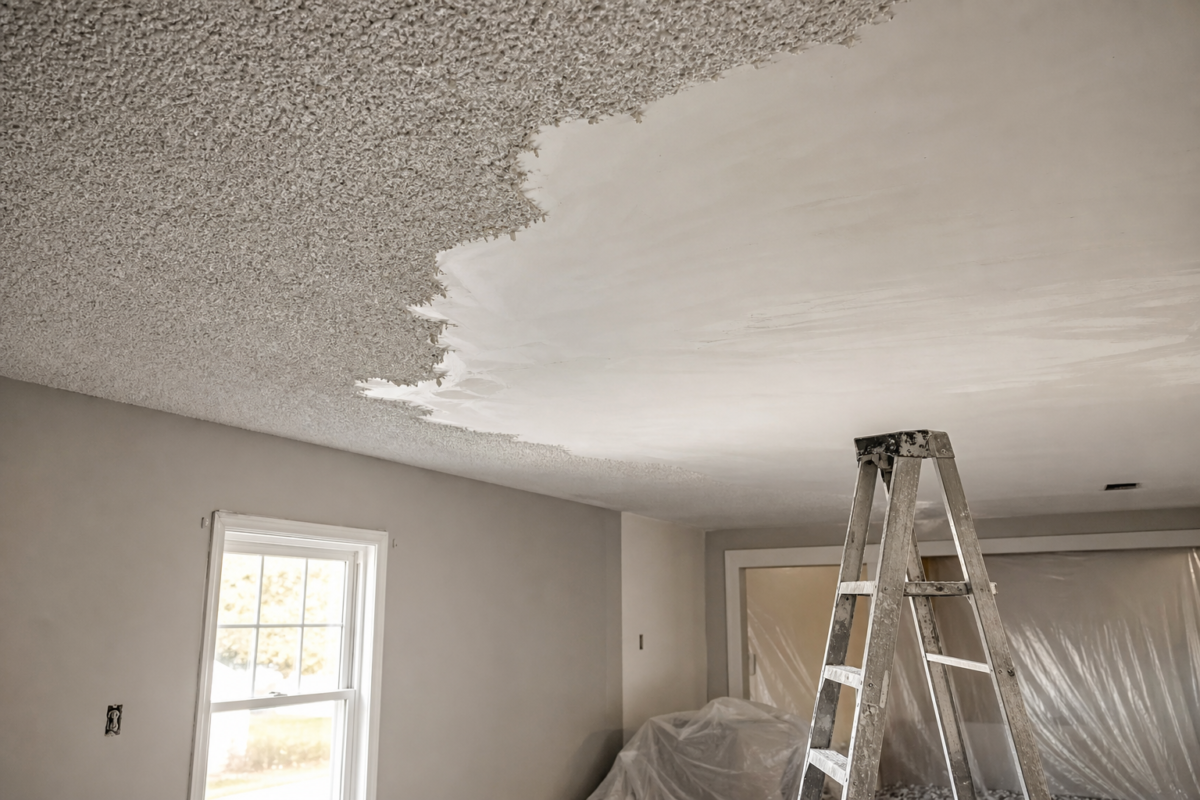
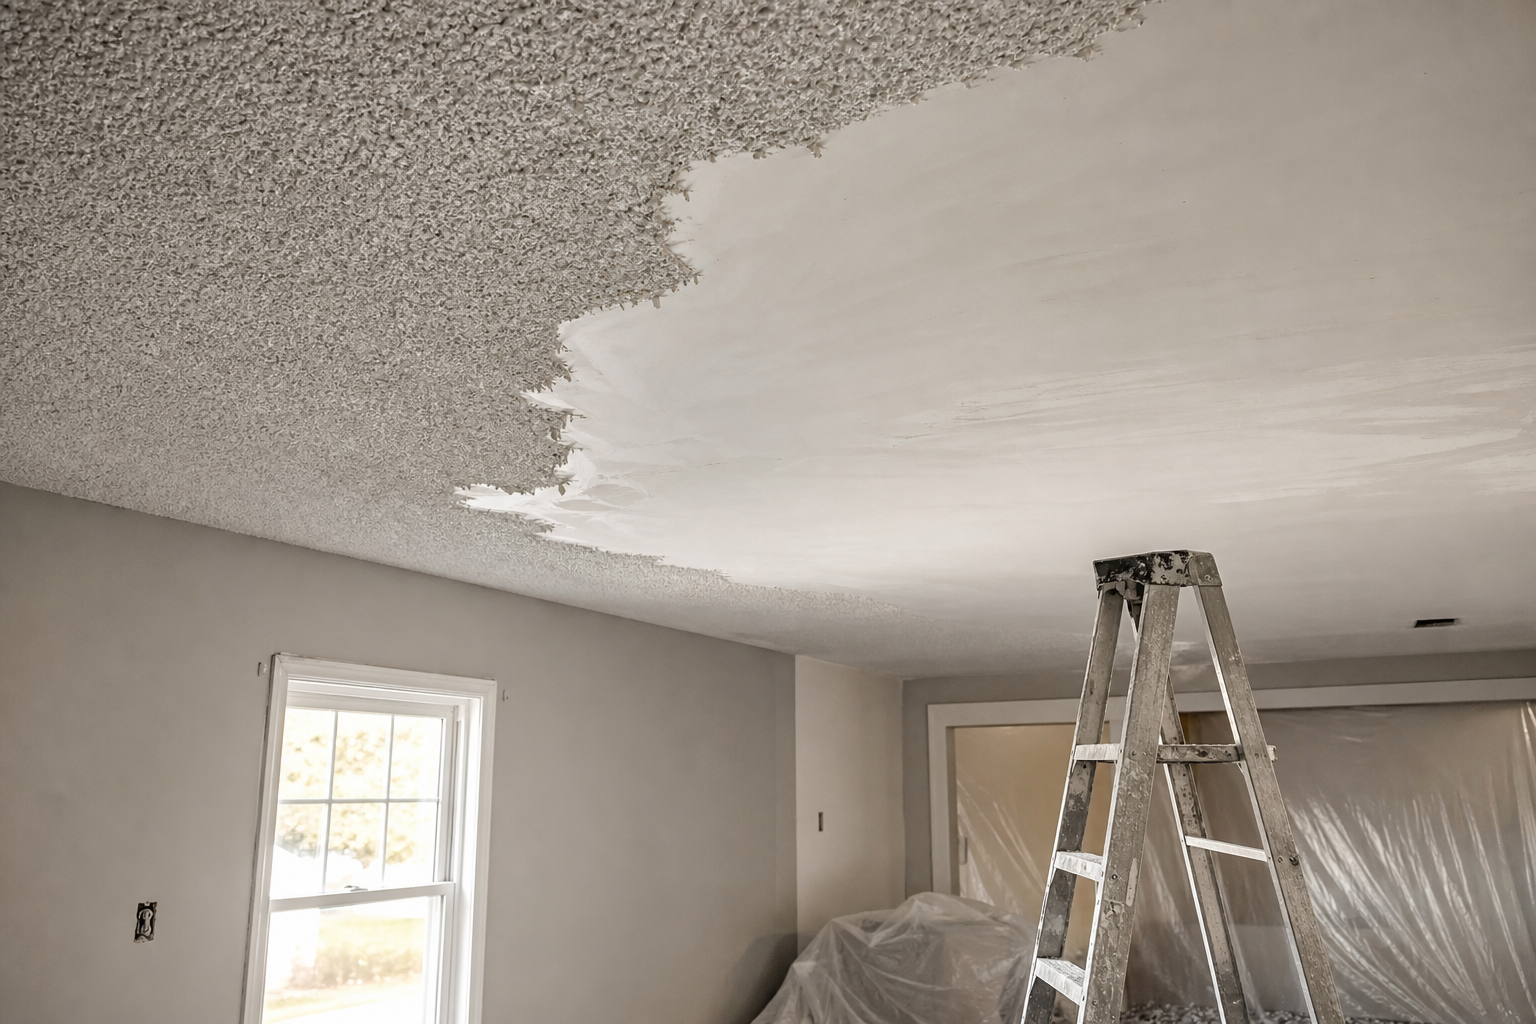
Popcorn ceiling removal services: how to choose, what to expect, and safer options
Popcorn ceilings—also called stipple, acoustic, or textured ceilings—were popular for noise reduction and quick coverage. Many homeowners now prefer smooth, modern ceilings and look to popcorn ceiling removal services for a cleaner look and easier maintenance. This article explains what the process involves, how to compare providers, essential safety considerations, and practical ways to prepare your home and budget.
Why remove popcorn ceilings?
There are several reasons homeowners consider removing textured ceilings:
- Aesthetics: Smooth ceilings pair well with contemporary lighting and paint colors.
- Maintenance: Flat finishes are easier to dust and repaint; textured ceilings can trap dirt and cobwebs.
- Repairs: Matching texture after repairs is difficult; a smooth surface makes touch-ups simpler.
- Lighting: Textures can cast uneven shadows; smoothing often brightens a room visually.
Whether you plan to sell or simply want a refreshed space, choosing the right path—full removal, encapsulation, or overboarding—helps you achieve the look you want with fewer surprises.
Service options and methods
Not all popcorn ceiling removal services use the same approach. A reputable provider will match methods to your ceiling’s condition, paint history, and material.
Wet scrape (common when paint is minimal)
This method lightly saturates the texture, then carefully scrapes to expose the drywall or plaster beneath. It’s typically followed by surface repairs, a skim coat to create a uniform plane, sanding, priming, and painting. It’s effective when the texture isn’t heavily sealed under multiple paint layers.
Dry scrape with containment (for painted or moisture-sensitive areas)
When texture is sealed by paint, careful dry scraping with dust containment may be used. Expect thorough masking, vacuum-assisted sanding where appropriate, and extensive patching and skim coating prior to primer and finish paint.
Skim coat and resurface (when removal is impractical)
If removing the texture risks damaging the substrate, a contractor may apply a bonding layer and multiple skim coats to bury and flatten the texture. This is followed by sanding, primer, and topcoat.
Encapsulation or covering (minimal disturbance)
In some cases, it may be preferable to install new drywall over the textured ceiling, then tape, mud, sand, prime, and paint. This avoids disturbing the existing texture and can create an exceptionally flat finish, though it slightly lowers ceiling height.
Safety first: dust control and asbestos considerations
Ceiling work occurs overhead and can release dust. Ask prospective providers how they limit dust and protect adjacent areas. Typical precautions include:
- Room isolation with plastic sheeting and zipper doors
- Floor and furniture protection, plus HVAC vent masking
- HEPA-filtered air scrubbers or vacuums during sanding
- Controlled removal techniques to minimize airborne particles
Important: Older textured ceilings may contain asbestos. Disturbing asbestos-containing materials without proper testing and qualified handling can be hazardous. Before any removal or sanding, consult a qualified professional for testing and, if needed, licensed abatement. This article provides general information only and is not a substitute for professional assessment or regulated abatement services.
What to expect from the process
Timelines vary by ceiling size, number of rooms, height, and finish goals. The overall sequence generally looks like this:
- Assessment: Examine ceiling age, texture type, prior paint layers, cracking, stains, and repairs. If there’s any uncertainty about composition, arrange professional testing before disturbance.
- Preparation: Move or cover furniture; mask floors, walls, fixtures, and vents; set up containment and ventilation; protect smoke/CO detectors as appropriate.
- Removal or covering: Wet or dry scraping, encapsulation, or overboarding according to the plan. Work is performed methodically to avoid gouges and to limit dust.
- Repairs and skim coat: Patch fastener pops, tape joints, and surface imperfections; apply one or more skim coats to achieve a continuous plane.
- Sanding and quality check: Sand between coats as needed; use raking light to identify remaining imperfections; repeat touch-ups until uniform.
- Prime: Apply a high-quality primer suited to the substrate; primer helps reveal remaining flaws for final spot repairs.
- Paint: Finish with the selected ceiling paint sheen and color; flat or matte sheens typically minimize minor surface irregularities.
- Cleanup: Remove containment, vacuum and wipe-down, reinstall fixtures, and return furniture to place.
Expect some drying time between steps—particularly after skim coats and primer. Light, temperature, and humidity can affect cure times; allow adequate ventilation.
How to choose a provider
Use this practical checklist to compare popcorn ceiling removal services and pick the right fit for your project:
- Clear scope: The written proposal should specify rooms, square footage, ceiling height, chosen method (removal, skim coat, covering), and the number of skim/finish coats.
- Substrate and repair plan: Look for details on fixing tape joints, cracks, stains, and nail pops, plus how they’ll handle problem areas discovered mid-project.
- Dust and protection measures: Ask exactly how they isolate rooms, protect floors and furnishings, and manage dust during scraping and sanding.
- Primer and paint: Confirm the primer type and the finish paint sheen; flat or matte sheens are common for ceilings.
- Schedule expectations: Verify start dates, daily work hours, and how they handle multi-room sequencing.
- Communication: Determine who your point of contact is and how updates or change orders are handled.
- Testing and compliance: If the home was built during periods when asbestos was in use, ensure testing occurs before disturbance and that any abatement is performed by qualified professionals.
- References and photos of similar work: Review examples of smooth ceilings completed from textured substrates.
Choosing a provider who explains each step, sets expectations early, and documents the scope helps you avoid mid-project surprises and rework.
Budgeting and timeline basics
While exact costs depend on your specific space and the chosen method, you can anticipate the following factors to influence price and schedule:
- Square footage and ceiling height: Larger, higher spaces require more time and materials.
- Existing paint layers: Heavily painted texture is typically tougher to remove and may call for additional effort or alternative methods.
- Substrate condition: Ceilings with cracks, stains, or prior repairs often need more patching and skim coats to achieve a uniform finish.
- Number of rooms and fixtures: More rooms and complex lighting layouts (e.g., many pot lights) increase setup and masking time.
- Drying conditions: Humidity, temperature, and ventilation can affect cure times between coating steps.
- Testing and abatement: If testing or qualified abatement is needed, plan for that timeline before finish work begins.
To keep the project on track, consolidate decision-making up front: select your finish sheen, confirm paint color, define any fixture changes, and schedule work around other renovations (such as electrical or HVAC adjustments).
Preparation checklist for homeowners
These simple steps can make removal day smoother and help protect your belongings:
- Remove small decor, drapes, and fragile items from rooms being serviced.
- Clear closet tops if ceilings extend into storage spaces.
- Identify any planned electrical or lighting changes before work starts.
- Reserve a path for moving ladders and tools; protect high-traffic floors.
- Discuss pet containment and access with your provider ahead of time.
- Plan for temporary room closures and ventilation during sanding and painting.
Finish quality and paint selection
The transformation is most noticeable after primer and topcoat. Consider these tips to help your smooth ceiling look its best:
- Sheen choice: Flat or matte sheens typically minimize minor surface variations and glare from raking light.
- Color: Crisp whites can brighten a space, while slightly warm off-whites soften the look; choose a color that complements wall tones and lighting.
- Primer matters: A dedicated ceiling primer helps with adhesion and uniformity; it also reveals remaining imperfections for spot fixes.
- Edge details: Clean, straight cut-lines along crown molding or walls elevate the final appearance.
Aftercare and maintenance
Once complete, a smooth ceiling is easy to maintain. For longevity:
- Use a microfiber duster or soft vacuum attachment for occasional dusting.
- Address small scuffs with gentle spot cleaning; avoid abrasive pads.
- Keep indoor humidity in a comfortable range to reduce seasonal movement and hairline cracking.
- Note any leaks or stains promptly; water marks indicate issues to fix before repainting.
Frequently asked questions
How long does popcorn ceiling removal usually take?
Project duration depends on room count, ceiling height, texture thickness, chosen method, and how much repair and skim coating is required. A single room with minimal repairs can be comparatively quick, while whole-home projects with painted texture and multiple skim coats take longer. Your provider should outline a room-by-room sequence and estimated timeline after assessment.
Do all popcorn ceilings contain asbestos?
No. Some older textures do, while many do not. The only way to know is through testing. Because disturbing asbestos-containing materials is hazardous and regulated in many areas, arrange testing by a qualified professional before any removal or sanding. If asbestos is present, use licensed abatement services before finishing work proceeds.
Is it better to remove the texture or cover it?
It depends on your ceiling’s condition, the presence of heavy paint layers, and your tolerance for disturbance. Removal aims to expose the substrate and deliver a like-new surface with skim coating, while covering (overboarding) minimizes disturbance and can yield an exceptionally flat finish at the expense of a small reduction in ceiling height. A thorough assessment will help determine the best option.
Will smoothing my ceiling make my rooms feel brighter?
Smooth ceilings tend to reflect light more evenly, reducing shadows cast by textured peaks and valleys. Paired with a flat or matte white, many homeowners perceive a brighter, cleaner look under the same lighting.
What sheen works best for ceilings after removal?
Flat or matte sheens are commonly selected because they hide minor imperfections and reduce glare. If you prefer a slightly more washable surface, discuss low-sheen options that balance cleanability with a subdued finish.
