


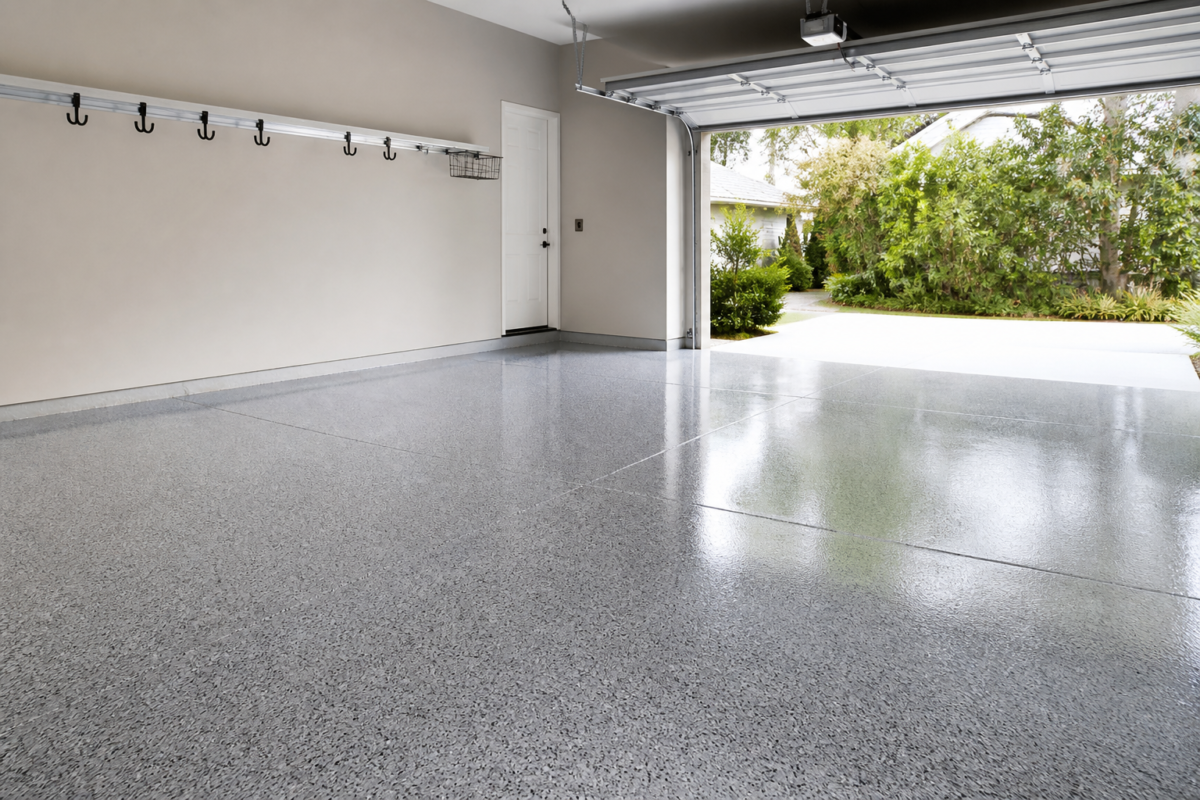
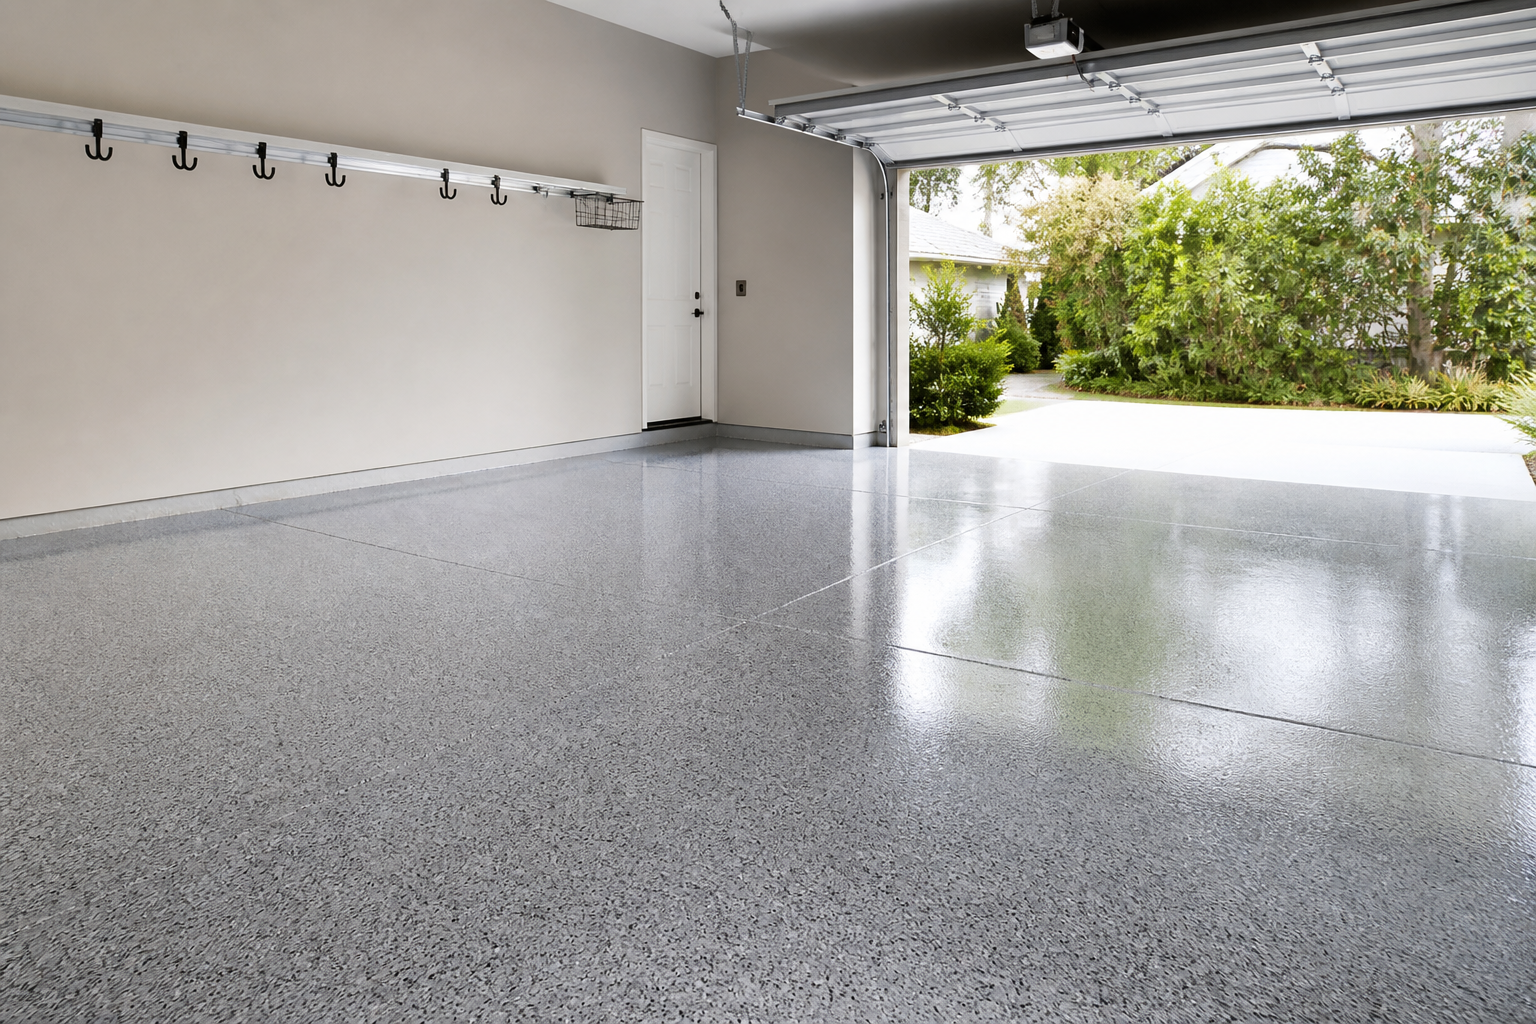
concrete garage floor: how to prep, coat, and maintain for long-term durability
Your concrete garage floor works harder than almost any other surface in the house. It carries vehicles, tools, storage racks, and the mess that comes with all of them. Whether you want a clean, bright workspace or a tough, low-maintenance bay for daily parking, the right plan comes down to three pillars: assess the slab, select the right protection, and apply and maintain it properly. This article walks you through practical decisions and steps that help a concrete garage floor hold up in the real world.
Know your starting point
Before deciding on paint, epoxy, sealer, or anything else, take a clear look at what you have. A little diagnosis up front can prevent peeling, hot tire pickup, and premature wear.
- Moisture: Tape a 16″×16″ sheet of plastic to the concrete for 24–48 hours. If condensation forms or a dark spot appears, moisture is actively moving through the slab. High moisture can undermine most coatings and may require mitigation or choosing a breathable sealer over a film-forming coating.
- Contamination: Oil, grease, and silicone residue repel coatings. Sprinkle water on suspicious areas; if it beads, the surface is still contaminated and needs deeper degreasing or mechanical profiling.
- Surface profile: Coatings need a textured, “open” surface. Smooth, power-troweled concrete often needs mechanical grinding or etching to create profile for adhesion.
- Structural condition: Identify cracks, spalls, and joints. Note whether cracks are hairline (cosmetic) or active (movement). Active movement can telegraph through rigid coatings.
- Previous coatings: If paint or epoxy is present, test adhesion by cross-hatching a small area with a utility knife, pressing on duct tape, and pulling sharply. Widespread failure suggests removal and full prep instead of a simple recoat.
Choose your protection
There is no single “best” finish for every concrete garage floor. The right choice balances appearance, grip, chemical resistance, application window, and maintenance. Here’s a plain-language comparison:
- Bare concrete (cleaned only): Lowest effort. Still dusty, stains easily, and can abrade tires. Works when budget and time are minimal.
- Penetrating sealer: Silane/siloxane or similar chemistry absorbs into the slab, reducing water and stain intrusion while preserving a natural look. Typically more breathable than film coatings and less prone to peeling; won’t provide a color change.
- Acrylic or latex floor paint: Easiest film-forming option to apply and touch up. Least resistant to hot tire pickup and abrasion; good for light-duty shops or where frequent refresh is acceptable.
- Two-part epoxy coating: Popular for a concrete garage floor because it builds a thicker film, bonds strongly to properly profiled concrete, and resists many chemicals. Optional color flakes can mask dirt and add traction. Requires diligent prep and controlled conditions during cure.
- Polyurethane or polyaspartic topcoats: Often used over epoxy for added abrasion and UV resistance. Fast cure can be convenient but shortens working time; adhesion still depends on prep between coats.
- Interlocking tiles or mats: Bypass adhesion risks altogether. They can trap moisture and dirt underneath if not managed, but offer fast installation and easy replacement of individual pieces.
When in doubt, choose systems that match your reality: frequent vehicle traffic, winter road salts, lawn chemicals, dropped tools, and occasional spills. If moisture is a concern, favor breathable sealers or mechanical solutions first.
Surface prep that makes or breaks results
Most coating issues trace back to insufficient preparation. A durable coating needs a clean, dry, and correctly profiled surface.
- Degrease thoroughly: Scrape heavy buildup, then apply a concrete-safe degreaser. Work it in with a stiff brush, let dwell per product instructions, and rinse. Repeat until rinse water no longer beads.
- Open the surface (profiling): Mechanical diamond grinding is the gold standard for uniform profile and removal of weak laitance or old coatings. Acid etching can work on bare, uncontaminated concrete, but thorough neutralization and rinsing are critical. Avoid leaving sludge that can interfere with bond.
- Repair defects: Fill static cracks and spalls with appropriate cementitious repair mortar or epoxy patching compounds, and re-profile flush with the slab. Expect that dynamic joints may need flexible joint fillers instead of rigid patching.
- Dust control: After grinding or sanding, vacuum with a fine-filter shop vac. Wipe with a damp microfiber where appropriate. Any remaining dust becomes a weak boundary layer.
- Drying time and conditions: Allow the slab to dry fully after wet prep. Aim for the manufacturer’s recommended temperature and humidity window for application and cure.
For additional reading on professional substrate preparation methods, see the practical resources from Buildwell Flooring Solutions.
Smart system choices for real garages
Matching a system to use patterns reduces surprises later. Consider these use-case snapshots:
- Daily drivers, road salts, and drips: A pigmented epoxy base coat with full or partial color flakes plus a clear protective topcoat can add thickness, hide dirt, and improve traction.
- Light-duty storage and hobby space: A penetrating sealer or single-component floor coating can brighten and reduce dust with simpler maintenance.
- Showroom look: High-solids two-part coatings with decorative chips or metallic effects can deliver a uniform appearance—just plan for meticulous prep and controlled application conditions.
- Moisture-prone slabs: Where tests suggest vapor transmission, prioritize breathable sealers, moisture-tolerant primers designed for damp concrete, or non-adhered coverings like tiles or mats.
Application basics, step by step
Always follow the exact product data for mixing ratios, recoat windows, and cure times. The outline below helps you plan a typical two-coat epoxy system with optional flakes and a clear topcoat:
- Mask and protect: Tape off walls, base plates, drains, and door thresholds. Stage tools so you can work continuously.
- Prime (if specified): Some systems include a primer or moisture-tolerant base coat to improve wetting and adhesion. Roll or squeegee and back-roll within the stated coverage rate.
- Base coat: Mix components fully, respecting induction times if required. Pour in ribbons and spread with a notched squeegee, then back-roll in perpendicular passes to maintain even film build.
- Broadcast flakes (optional): While the base is still wet, broadcast color flakes to the desired density. This masks roller lines and adds texture. Allow to cure.
- Scrape and vacuum: If using a full broadcast, scrape excess flakes in multiple directions and vacuum to remove loose pieces, creating a level surface for the topcoat.
- Topcoat: Apply a clear or pigmented topcoat compatible with the base. Observe the recoat window—coating too late can prevent chemical bonding and require sanding.
- Cure and return-to-service: Respect light foot traffic, heavy items, and vehicle traffic timelines. Early loading is a common reason for scuffs and imprints.
Traction, visibility, and comfort
A concrete garage floor has to be safe and usable, not just good looking. Keep these practicalities in mind:
- Slip resistance: Color flakes and anti-skid additives improve grip. Additives can be mixed into the topcoat or broadcast between coats; test a small area to balance traction with ease of cleaning.
- Light reflectance: Lighter colors and satin-to-gloss finishes can brighten work areas, but higher gloss can show scuffs more readily.
- Heat and hot tires: Dark, sun-warmed surfaces at door thresholds see the most hot tire stress. Increased film build and a compatible topcoat help; keeping the first few feet clean and dry reduces issues.
Maintenance that actually helps
Once your concrete garage floor looks the way you want, a simple routine keeps it that way.
- Dry clean frequently: Dust-mop or soft-brush sweep to keep grit from acting like sandpaper underfoot and under tires.
- Spot clean promptly: Wipe spills of oil, brake fluid, solvents, and coolant quickly to reduce staining and softening risk. Use cleaner approved for your specific finish.
- Periodic wash: Mop with a neutral-pH cleaner. Avoid harsh acids or strong alkalis unless your product documentation permits them.
- Protect high-wear zones: Place mats where tires stop and pivot, under workbenches, and at entry points.
- Plan recoats: Film-forming systems benefit from timely refresh of a clear topcoat before you wear through to the base. Light scuff-sanding and a solvent wipe (as directed by the product) can prepare the surface for renewal.
Common pitfalls to avoid
- Coating over contamination: Silicone, oil, and tire dressing residue defeat adhesion. If in doubt, degrease again and test.
- Skipping profile: Smooth concrete rarely holds coatings. Mechanical grinding is the most reliable way to open the surface uniformly.
- Ignoring recoat windows: Miss the window and you may need to sand to achieve a mechanical bond before topcoating.
- Rushing cure: Parking too soon leaves tire marks, imprints, or hot tire pickup. Stick to the most conservative return-to-service times in the product sheet.
- Trapping moisture: If your moisture test showed vapor transmission, use breathable solutions or specific moisture-tolerant systems rather than standard films.
Planning checklist
Use this quick list to organize your project and reduce surprises:
- Decide on finish type: penetrating sealer, paint, epoxy system, or non-adhered covering.
- Run a plastic-sheet moisture test and note results.
- Inspect for contamination; degrease until water no longer beads.
- Choose surface prep: diamond grind for uniform profile or properly executed etch for bare concrete.
- Gather tools: grinder or etch kit, vac with fine filter, rollers/squeegees, spike shoes, mixing paddles, tape, and PPE.
- Map your working sequence and exit path; stage materials by zone.
- Confirm temperature/humidity windows and cure times for each coat.
- Plan protection and recoat schedule for long-term upkeep.
FAQ: concrete garage floor
How do I know if my slab needs grinding instead of just etching?
If your concrete is very smooth, was power-troweled, or has a history of coating failure, mechanical grinding is the safer route because it removes weak surface laitance and creates a consistent profile. Etching can work on bare, porous concrete, but it’s less predictable on dense or previously treated surfaces.
Can I coat a concrete garage floor if moisture is present?
Active moisture makes adhesion risky for film-forming coatings. First measure with a simple plastic-sheet test. If moisture is evident, consider a breathable penetrating sealer, a moisture-tolerant primer system designed for damp slabs, or non-adhered coverings like interlocking tiles. Address drainage or vapor issues where possible before installing thick films.
What’s the best way to deal with oil stains before coating?
Scrape residue, apply a concrete-approved degreaser, scrub, and rinse. Repeat until rinse water no longer beads. Persistent spots may need poultice treatments or localized grinding to fully remove contamination before you proceed.
Do color flakes make the floor slippery?
Flakes add microtexture and can improve traction compared to a smooth, high-gloss coat. For extra grip, include an anti-slip additive in the topcoat. Always test a small area to get the balance of traction and cleanability you prefer.
How often should I recoat an epoxy floor?
Frequency depends on traffic and abrasion. Inspect annually. If you notice dulled traffic lanes or minor wear, a light scuff and fresh clear topcoat can renew protection before you wear through to the base layer.
