


A Practical Guide to Power Washing Before Painting
Clean, sound surfaces are the foundation of any durable paint job. Power washing (also called pressure washing) is one of the most efficient ways to remove dirt, chalk, mildew staining, and loose contaminants before you prime and paint. This guide walks you through when to wash, how to choose settings and detergents, methods for different materials, and what to do after rinsing so your paint adheres well and finishes smoothly.
Why power wash before painting
Paint sticks best to a clean, dry, and dull surface. Over time, exterior and some interior washable surfaces accumulate residues that block adhesion. Power washing helps by:
- Removing grime, dust, pollen, soot, and bird or insect debris that interfere with bonding.
- Rinsing away chalky, oxidized paint film that can cause premature peeling.
- Loosening failing paint and exposing areas that still need scraping or repair.
- Flushing out surface salts and residues on masonry that can affect coatings.
- Preparing textured surfaces (like stucco or brick) more evenly than hand-washing alone.
Power washing does not replace all prep. Think of it as the high-efficiency cleaning phase that makes the later steps—scraping, sanding, patching, caulking, and priming—more effective.
When you should and should not power wash
Knowing when to wash is as important as the method you use. Consider power washing:
- Before repainting exteriors (siding, trim, fascia, soffits) to remove chalking and dirt.
- Before staining or painting decks, fences, pergolas, and outdoor furniture.
- On masonry (brick, stone, concrete, stucco) where contaminants collect in pores and joints.
- On gutters, downspouts, and exterior doors for uniform cleanliness before coating.
Avoid or use extreme caution with power washing:
- On delicate materials (older wood, fiber-cement edges, or damaged vinyl) that can be etched or lifted.
- At high pressure near window seals, electrical fixtures, vents, or under siding laps where water intrusion is possible.
- On surfaces with suspected lead-based paint. For older coatings where lead may be present, consult a qualified professional for appropriate containment and cleanup. General DIY guidance is not a substitute for professional advice on hazardous materials.
Tools and setup
You can achieve excellent cleaning with a straightforward kit. Assemble the following:
- Pressure washer with a range of tips (0°, 15°, 25°, 40°) and a low-pressure soap nozzle.
- Garden hose supply and inlet filter (to prevent grit from entering the pump).
- Extension wands for reaching eaves and second-story areas safely from the ground.
- Soft-bristle brush for agitation on stubborn spots.
- Detergent compatible with the surface (wood, masonry, siding) and the washer.
- Tarps or plastic sheeting, painter’s tape, and drop cloths to protect landscaping and fixtures.
- Safety gear: eye protection, gloves, closed-toe shoes with good traction, and hearing protection as needed.
Before you begin, shut windows, cover exterior outlets and fixtures, and move items that might be damaged by spray or overspray.
Detergents and cleaners
Plain water removes loose dust, but detergents lift oils and residues and can reduce the pressure you need to clean effectively. Use cleaners designed for the material you’re washing and follow the manufacturer’s dilution instructions. For organic staining on exterior surfaces, a cleaner formulated for mildew staining can help; always rinse thoroughly. Avoid harsh chemicals that may damage nearby plants or degrade sealants.
Pressure, tips, and technique
Match pressure and nozzle angle to the surface:
- Wide-angle tips (25°–40°) are safer for painted wood and siding because they spread force over a larger area.
- Narrower tips (15°) can help on durable masonry but require more control to avoid etching.
- Use the lowest effective pressure and increase only as needed after a test patch in an inconspicuous area.
Use a consistent method:
- Work top to bottom so dirty water doesn’t run over cleaned areas.
- Maintain a steady distance from the surface; start farther away and move closer until you see effective cleaning without damage.
- Overlap passes slightly for uniform coverage, moving the wand in smooth, controlled motions.
- Let detergent dwell per its instructions, then rinse thoroughly until water runs clear.
Surface-by-surface guidance
Each material responds differently to pressure and water exposure. Use these practical notes to adapt your approach.
- Wood siding and trim: Favor lower pressure with a wide tip. Keep the nozzle angled with the grain and avoid forcing water behind laps or into end grain. Expect to scrape and sand after drying to remove lifted fibers and remaining loose paint.
- Decks and fences: Clean along the grain with moderate distance. Rinse thoroughly from top rails down to posts and boards. Let the wood dry fully before sanding raised fibers and applying stain or paint.
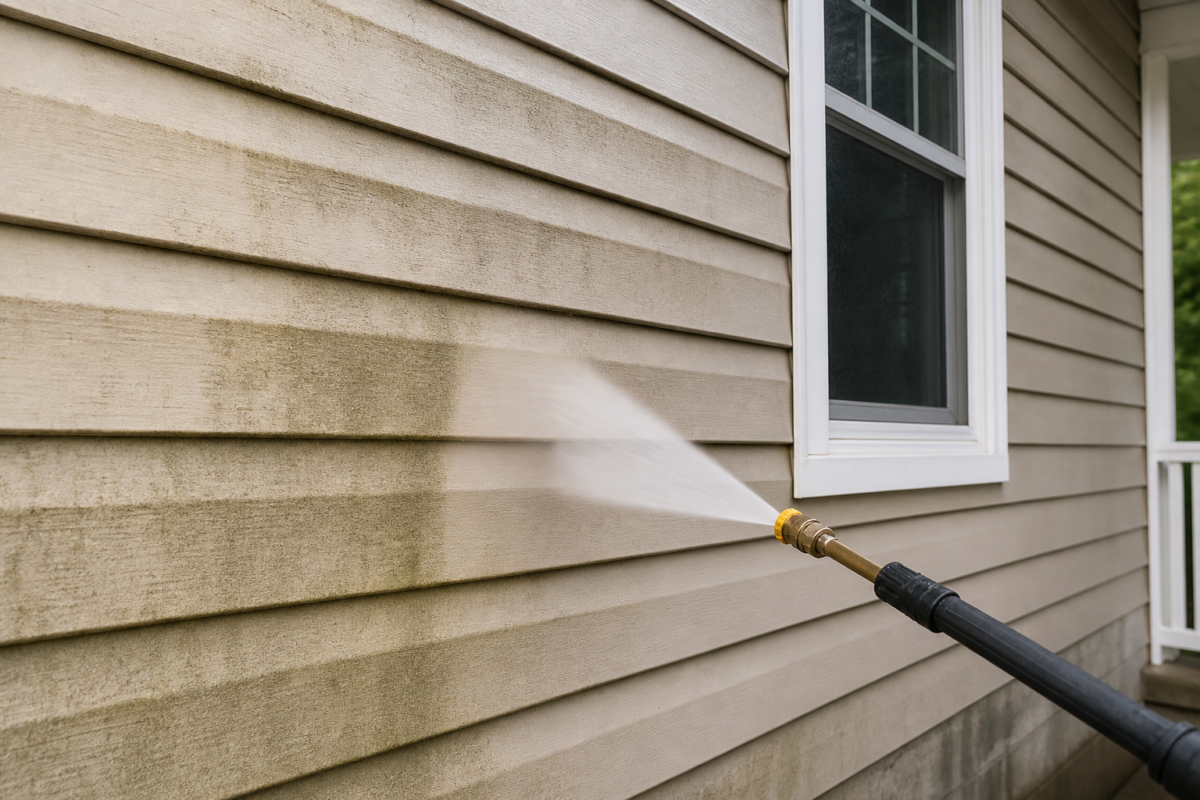
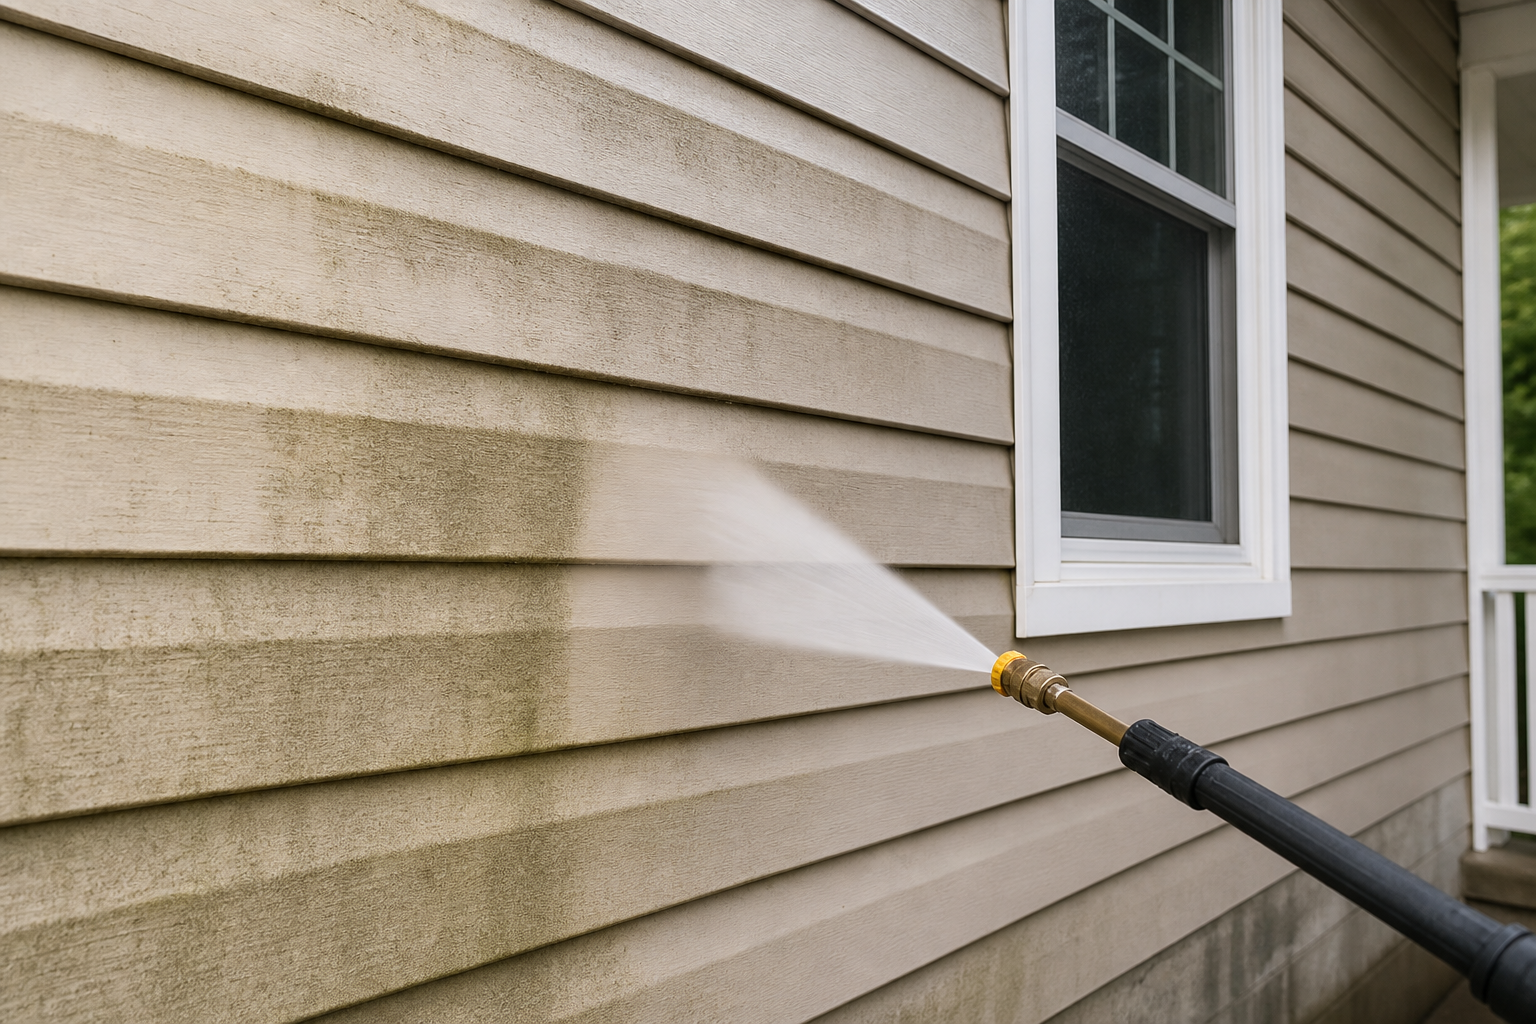
- Vinyl and aluminum siding: Use a wide tip at modest pressure. Spray at a downward angle to avoid driving water behind panels. Pay attention to joints and weep holes; avoid electrical fixtures.
- Brick and stone: Start with a wider tip and moderate pressure to protect mortar. Specialty masonry detergents can help lift soot and efflorescence; rinse completely.
- Stucco: Use gentle pressure and wider tips; keep the wand moving to avoid gouging. A soft brush can help clean textured pockets.
- Concrete: Durable but porous. Detergent and a 15°–25° tip can remove oil and tire marks. For painting or sealing concrete, ensure deep drying before coating.
- Doors, gutters, and trim: Lower pressure and controlled passes reduce splash-back. Hand-scrub intricate areas if needed.
Drying times and moisture checks
Coatings fail when applied over trapped moisture. After power washing, allow surfaces to dry thoroughly before scraping, sanding, priming, or painting. Drying needs vary by material, thickness, and weather. When in doubt, err on the side of more drying time and check shaded, low-airflow areas last. For wood and masonry, verify that surfaces no longer feel cool or damp to the touch and that visible dark patches have lightened uniformly.
Post-wash prep before paint
Washing reveals remaining prep needs. Address these methodically for best adhesion:
- Scrape: Remove any paint that still flakes or lifts after washing and drying.
- Sand: Feather edges where old paint meets bare substrate; degloss shiny areas.
- Repair: Fill holes and cracks with suitable patching materials. Replace failed caulking once the substrate is dry.
- Prime: Spot-prime bare areas or use a full primer coat where needed to seal and improve adhesion.
- Dust control: After sanding, brush or vacuum dust so it doesn’t interfere with primer and paint.
Common mistakes to avoid
- Using too much pressure, which can etch wood and masonry or force water behind siding laps.
- Holding the tip too close, creating stripes or gouges.
- Skipping detergents and compensating with higher pressure.
- Failing to protect fixtures, plants, or electrical components.
- Not allowing ample drying time before scraping, priming, and painting.
- Ignoring remaining loose paint after washing.
- Washing from bottom to top, which pushes dirty water upward and leaves streaks.
Safety essentials
Power washers can cause injury and property damage if used improperly. Keep these basics in mind:
- Wear eye protection and gloves; avoid aiming the wand at skin or unprotected feet.
- Use firm footing, especially on wet concrete, decks, and ladders. Consider extension wands to reduce ladder use.
- Beware of kickback when pulling the trigger; brace yourself before spraying.
- Keep clear of electrical panels, open outlets, and fixtures.
- Do not spray windows, weather seals, or vents directly at close range.
- Never use power washing to disturb coatings that may contain hazardous materials. If you suspect lead-based paint or other regulated substances, consult a qualified professional for assessment and safe procedures.
A simple prep checklist
- Inspect surfaces and note areas of chalking, mildew staining, grease, and peeling paint.
- Close windows and doors; cover outlets, fixtures, and landscaping.
- Choose detergent for the material; mix per instructions.
- Test wash a small, inconspicuous section to confirm settings.
- Apply detergent from the bottom up; rinse from the top down.
- Let everything dry completely.
- Scrape, sand, repair, and caulk as needed.
- Prime bare or repaired areas before painting.
FAQ
Do I always need to power wash before painting?
For exterior projects, washing first is strongly recommended because airborne contaminants and chalking are common. For interiors, use methods appropriate to the room—often a thorough clean with a degreaser and rinse is sufficient on washable surfaces. The goal is the same: remove anything that could block adhesion.
Can power washing replace scraping and sanding?
No. Washing lifts dirt and some loose paint, but firmly attached edges still need feather-sanding, and bare or repaired areas need primer. Skipping mechanical prep can lead to visible edges and premature coating failure.
How do I know the surface is dry enough to paint?
There should be no visible damp patches, the surface should not feel cool to the touch, and moisture-prone areas (shaded corners, end grain, masonry joints) should look uniformly dry. When uncertain, allow additional drying time before priming and painting.
What pressure setting should I use?
Start with the lowest effective pressure and a wider tip (25°–40°) and adjust after testing a small, hidden area. Different materials tolerate different forces; err on the side of gentler settings to avoid damage.
Is detergent necessary?
Detergents improve cleaning, especially for oily residues and organic staining. Using the right cleaner can reduce the pressure you need, lowering the risk of surface damage. Always rinse thoroughly according to the product instructions.
