


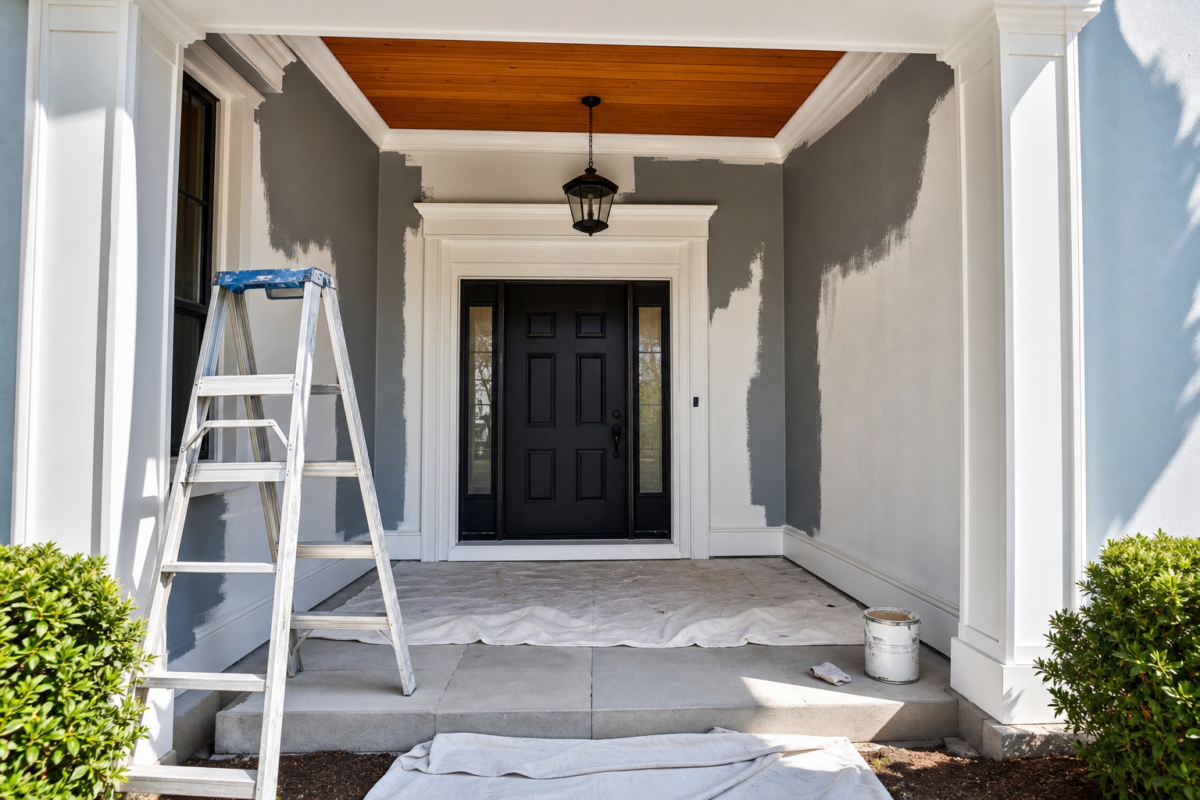
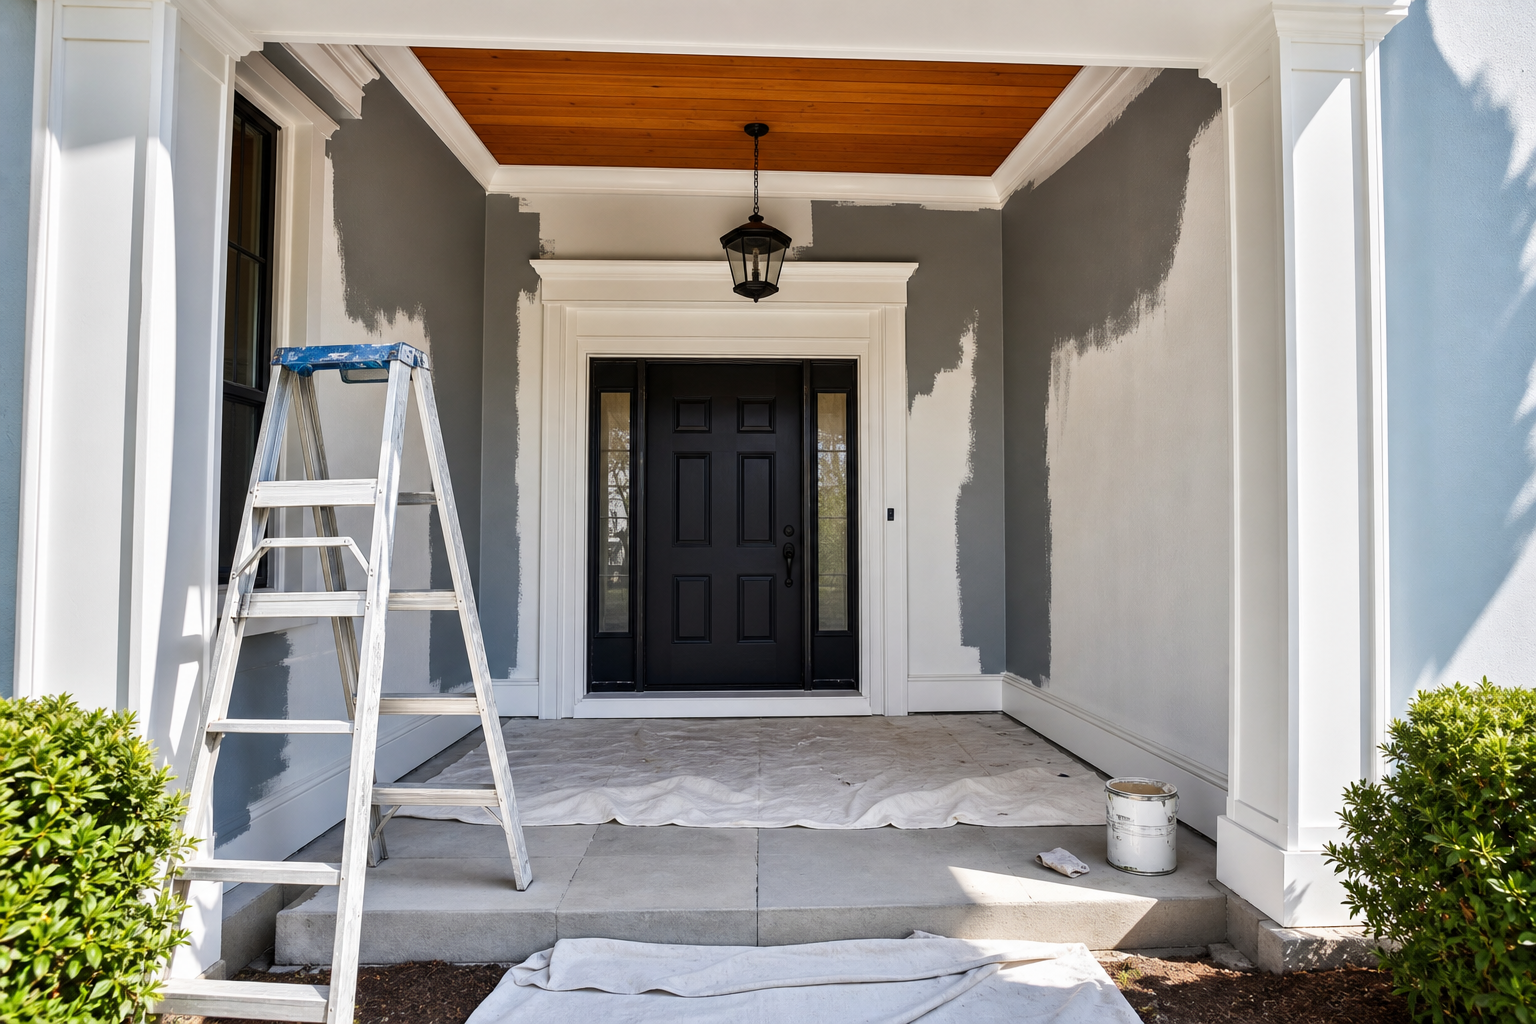
A Practical Guide to Residential Painter
Hiring a residential painter can be one of the fastest, most effective ways to refresh a home. Whether you’re updating a single room, protecting exterior siding, or modernizing cabinets, understanding the process helps you plan with clarity, control costs, and get results you’ll appreciate for years. This practical guide walks you through what residential painters do, how to prepare, the differences between interior and exterior projects, specialty services to consider, and a step-by-step framework for choosing the right professional.
What does a residential painter do?
A residential painter manages surface finishing in and around homes, with responsibilities that extend far beyond rolling paint on walls. Their work combines preparation, protection, product knowledge, and finishing technique. A typical scope can include:
- Initial consultation to understand goals, colors, and finishes
- Surface evaluation for cracks, peeling, moisture spots, or previous coating failures
- Preparation such as cleaning, scraping, sanding, caulking, patching, and priming
- Protection of furniture, flooring, fixtures, landscaping, windows, and walkways
- Application of coatings using brushes, rollers, or spray equipment
- Detailing of trim, doors, cabinetry, ceilings, and specialty substrates
- Final walkthrough, minor touch-ups, and cleanup
Residential painters also help homeowners weigh paint and coating options. For interiors, low-odor, low- or zero-VOC paints are common preferences. For exteriors, weather-resistant paints and UV-protective stains are often recommended to help resist sunlight and temperature swings. The right combination of prep and product typically determines how long a finish will look good and stay protected.
Preparing for an interior painting project
Preparation is the backbone of an attractive, durable interior finish. Here’s how to get your home and schedule ready before a residential painter arrives.
How to prepare rooms
- Edit belongings: Remove decor from walls and shelves. Box small items to keep surfaces clear.
- Furniture plan: Move furniture to the center of the room when possible. Discuss heavy or built-in items with your painter in advance.
- Access and ventilation: Ensure clear pathways, functioning outlets, and adequate airflow.
- Pet and child safety: Set up temporary boundaries to keep curious hands and paws away from wet paint and tools.
Surface readiness checklist
- Clean walls to remove dust, oils, or residues that can interfere with adhesion.
- Identify problem areas such as nail pops, hairline cracks, and water stains.
- Confirm repair expectations: Will the painter handle patching, sanding, and priming?
- Confirm caulking for trim gaps and window/door casing seams.
- Discuss sheen selection by room: matte/eggshell for living areas, satin for hallways, and semi-gloss for trim and doors are common choices.
Color and finish decisions
- Samples: Test swatches in several spots and view them at different times of day.
- Finish durability: Higher sheen is typically easier to wipe but can show more imperfections.
- Sensitivity: Consider low-odor or zero-VOC products for bedrooms, nurseries, or frequently used spaces.
Ask your painter to outline their masking, floor protection, and dust-minimizing approach. Clear expectations around daily cleanup, door access, and bathroom use help the project run smoothly.
Exterior painting basics
Exterior work protects your home’s envelope while shaping first impressions. Because outdoor surfaces face moisture, UV light, temperature changes, and abrasion, preparation and product selection are critical.
Inspection and timing
- Walk the exterior: Note peeling, chalking, mildew, failing caulk joints, exposed wood, and rust.
- Moisture matters: Surfaces must be dry and sound before priming and painting.
- Seasonal planning: Aim for stable, mild conditions without extreme heat, wind, or precipitation.
Prep and protection essentials
- Cleaning: Many projects begin with power washing or gentle washing to remove dirt and growth.
- Scrape and sand: Remove loose paint and feather edges for a seamless finish.
- Repairs: Replace rotted trim, address loose nails, and patch holes.
- Priming: Bare spots, stains, or tannin-rich woods often need targeted primers.
- Caulking: Replace failed exterior window and door caulking to reduce drafts and moisture entry.
- Masking: Protect windows, fixtures, rooflines, plants, and hardscapes.
Coating considerations
- Material match: Masonry, fiber cement, wood, stucco, and metal may each require specific primers and topcoats.
- Exposure: South- and west-facing elevations typically receive more UV; areas near sprinklers may see more moisture. Ask about UV- and water-resistant options.
- Number of coats: Clarify whether the plan includes spot-priming or full priming, followed by one or two topcoats.
Finally, confirm how your painter stages the project—elevations, access points, and daily cleanup—so you can coordinate parking, pets, and outdoor living during the work.
Specialty services to ask about
Many residential painters provide services beyond standard wall and trim painting. If you’re planning a broader refresh, consider asking about:
- Kitchen cabinet spray painting: A factory-like finish can modernize cabinets without a full remodel. Discuss lacquer or polyurethane options, sheen levels, and labeling/rehanging hardware.
- Garage epoxy flooring: Durable, stain-resistant coatings often start with concrete preparation such as grinding. Options may include flake or metallic finishes.
- Deck and fence staining: UV-protective stains and sealants help preserve color and resist weathering. Ask about sanding, cleaning, and moisture content before staining.
- Popcorn ceiling removal and skim coat: Removing textured ceilings is usually followed by skim coating and paint for a smooth, modern look.
- Driveway paving and sealing: Filling cracks and sealing can refresh appearance and help protect surfaces.
- Exterior window caulking replacement: Re-caulking can reduce drafts and moisture intrusion before repainting.
- Power washing: Useful for seasonal refreshes or as pre-paint preparation on siding, fences, and hardscapes.
If you expect to combine services, ask for a single, detailed scope and sequence so prep and curing times are coordinated, especially when weather or indoor access windows are limited.
How to choose the right residential painter
Use this decision framework to compare bids confidently and spot differences in quality and value.
Define the scope clearly
- Rooms, ceilings, trim, doors, closets, and built-ins: list each surface.
- Repairs: identify holes, cracks, caulking, and drywall fixes.
- Sheen and color: specify finish per room and color plans (including ceilings and trim).
- Access: note furniture to move, fragile items, or special protection needed.
Request comparable proposals
- Preparation steps: cleaning, sanding, patching, priming, and caulking.
- Product details: brand-agnostic but with the type, sheen, and any low- or zero-VOC requirements.
- Coats: primer (spot or full) and number of topcoats.
- Inclusions: masking materials, floor protection, hardware removal/reinstall, daily cleanup.
- Schedule: start date, working hours, estimated duration, and sequencing by area.
Check the process, not just the price
- Communication plan: who is your point of contact and how often you’ll receive updates.
- Quality controls: how surfaces are inspected between prep, prime, and finish coats.
- Protection: how furniture, flooring, fixtures, and landscaping are covered or shielded.
- Waste and cleanup: end-of-day procedures and final site cleanup standards.
Assess fit and professionalism
- Alignment with your schedule and access needs.
- Willingness to provide references or portfolio images when requested.
- Clear documentation: written scope, products, and project steps.
When proposals are similarly priced, the tie-breaker is often clarity of scope, thorough preparation steps, and confidence in communication. The more detailed the plan, the fewer surprises during the project.
Estimating timeline and budget
Every home is unique, but a few variables consistently influence schedule and cost. Clarify these early to set accurate expectations:
- Scope size: Number of rooms, ceiling heights, built-ins, and trim complexity.
- Condition: Surface repairs, sanding intensity, patching, and priming requirements.
- Product choices: Specialty primers, low- or zero-VOC paints, and high-durability enamels.
- Access and logistics: Furniture moving, stairwells, tight hallways, or limited parking.
- Sequence: Whether painters can complete areas in uninterrupted blocks or must phase work to keep everyday life running.
- Weather (for exteriors): Drying windows, wind, and temperature may change day-to-day pacing.
Request a written schedule with milestones (for example, prep completion, priming, first coat, second coat, and punch-list). If multiple spaces are being painted, ask which areas you’ll regain first to resume normal routines quickly.
Indoor air quality and safety
Modern coatings include a range of formulations, including low-odor and zero-VOC interior paints. If you’re sensitive to smells or planning to occupy the home during painting, discuss products, ventilation, and cure times upfront. A few simple steps can help:
- Choose low- or zero-VOC interior paints where feasible.
- Ventilate with fans and open windows when conditions allow.
- Stage rooms: Paint bedrooms and main living spaces in a sequence that lets you continue daily life.
- Keep pets and children away from work zones and stored materials.
On exteriors, confirm ladder or lift safety, pedestrian pathways, and protection for vehicles, plants, and outdoor furniture. Clear communication about daily start/stop times and property access reduces the chance of disruptions.
Quality checks and final walkthrough
A good finish is the sum of many small, consistent steps. Before the job begins, ask how quality will be verified at each stage. During the final walkthrough, use this punch-list to review results in natural and artificial light:
- Coverage: No visible holidays (missed spots) or thin areas.
- Cut lines: Straight, crisp edges where walls meet ceilings and trim.
- Surfaces: Smooth patches and sanded repairs without ridges or fuzz.
- Caulk lines: Neat, continuous beads at trim and casing.
- Hardware and fixtures: Reinstalled and functioning; no paint on hinges or outlets.
- Cleanup: Floors, windows, and countertops clear; masking materials removed.
- Leftover materials: Labeled paint cans and a small touch-up kit, if included in your agreement.
Frequently asked questions
How many coats of paint do I need?
It depends on color change, surface condition, and product type. Dramatic color shifts or surfaces with stains often require a primer plus two finish coats. Subtle color updates on well-primed, sound surfaces may cover in fewer steps. Ask your painter to specify the primer plan and number of topcoats in writing.
Should I paint or replace my kitchen cabinets?
Spray painting cabinets can be a cost-conscious, time-efficient way to modernize a kitchen without a full remodel. The process typically includes cleaning, sanding, priming, and spraying with durable coatings in your chosen sheen (matte, satin, or high-gloss are common). Replacement may be preferable when box structures are damaged, layouts are changing, or hardware and hinge updates won’t address functionality concerns.
What’s the difference between power washing and soft washing?
Power washing uses higher pressure to remove dirt and loose material from hard surfaces like concrete or some siding types. Soft washing combines lower pressure with cleaners to remove organic growth on more delicate surfaces. Ask your painter which approach they plan to use and how they’ll protect nearby landscaping.
How do I pick the right sheen for each room?
As a general guide, matte or eggshell finishes are common for living rooms and bedrooms because they hide minor imperfections. Satin is frequently used in hallways and family rooms for better cleanability, while semi-gloss or gloss is typical for trim and doors. Kitchens, baths, and laundry rooms benefit from more washable finishes. Always view samples on your walls in daytime and evening lighting before finalizing.
When is staining better than painting for exterior wood?
Stain can be a good option when you want the wood’s grain to show and when the surface is previously stained (which can be easier to maintain with re-coating). Solid-color stains offer an opaque look with wood-like flexibility, while paint delivers a film-forming barrier in the color of your choice. Exposure, desired look, and maintenance preferences should guide the decision.
Final checklist and next steps
Before you sign any agreement, capture the essentials in one place:
- Clear scope: rooms, surfaces, repairs, patching, priming, and number of coats.
- Products: interior and exterior paints or stains, sheen levels, and any special requirements (such as low- or zero-VOC).
- Protection: masking methods, floor and furniture coverage, plant and exterior surface protection.
- Schedule: start date, daily working hours, sequence by area, and estimated completion.
- Communication: primary contact, progress updates, and how changes will be handled.
- Cleanup and closeout: site cleanliness expectations, touch-ups, and how leftover materials are labeled and left with you.
- Documentation: a written proposal that summarizes all of the above.
With a defined plan and a painter who explains prep, products, and sequencing clearly, your project will be easier to live through and more likely to meet your expectations. If you’re ready to map out your scope, gather a few comparable proposals using the checklists above and select the one that best aligns with your home’s needs and your schedule.
