


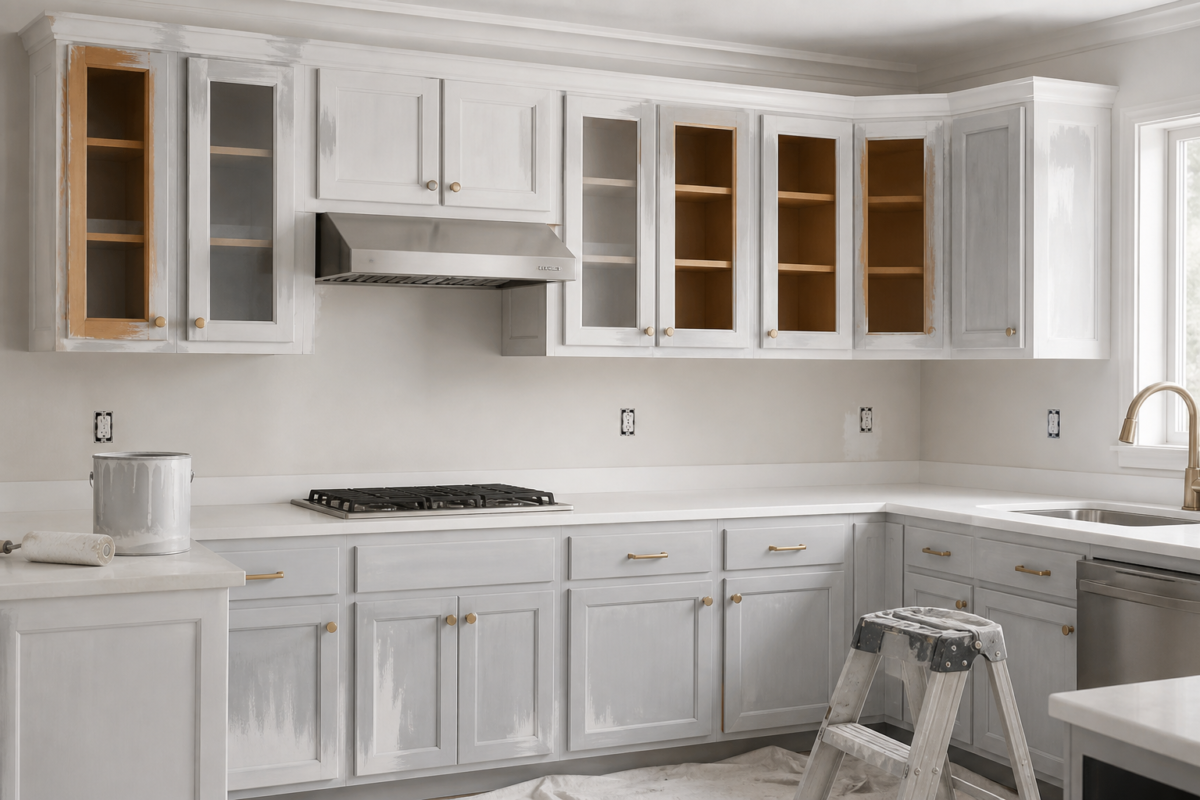
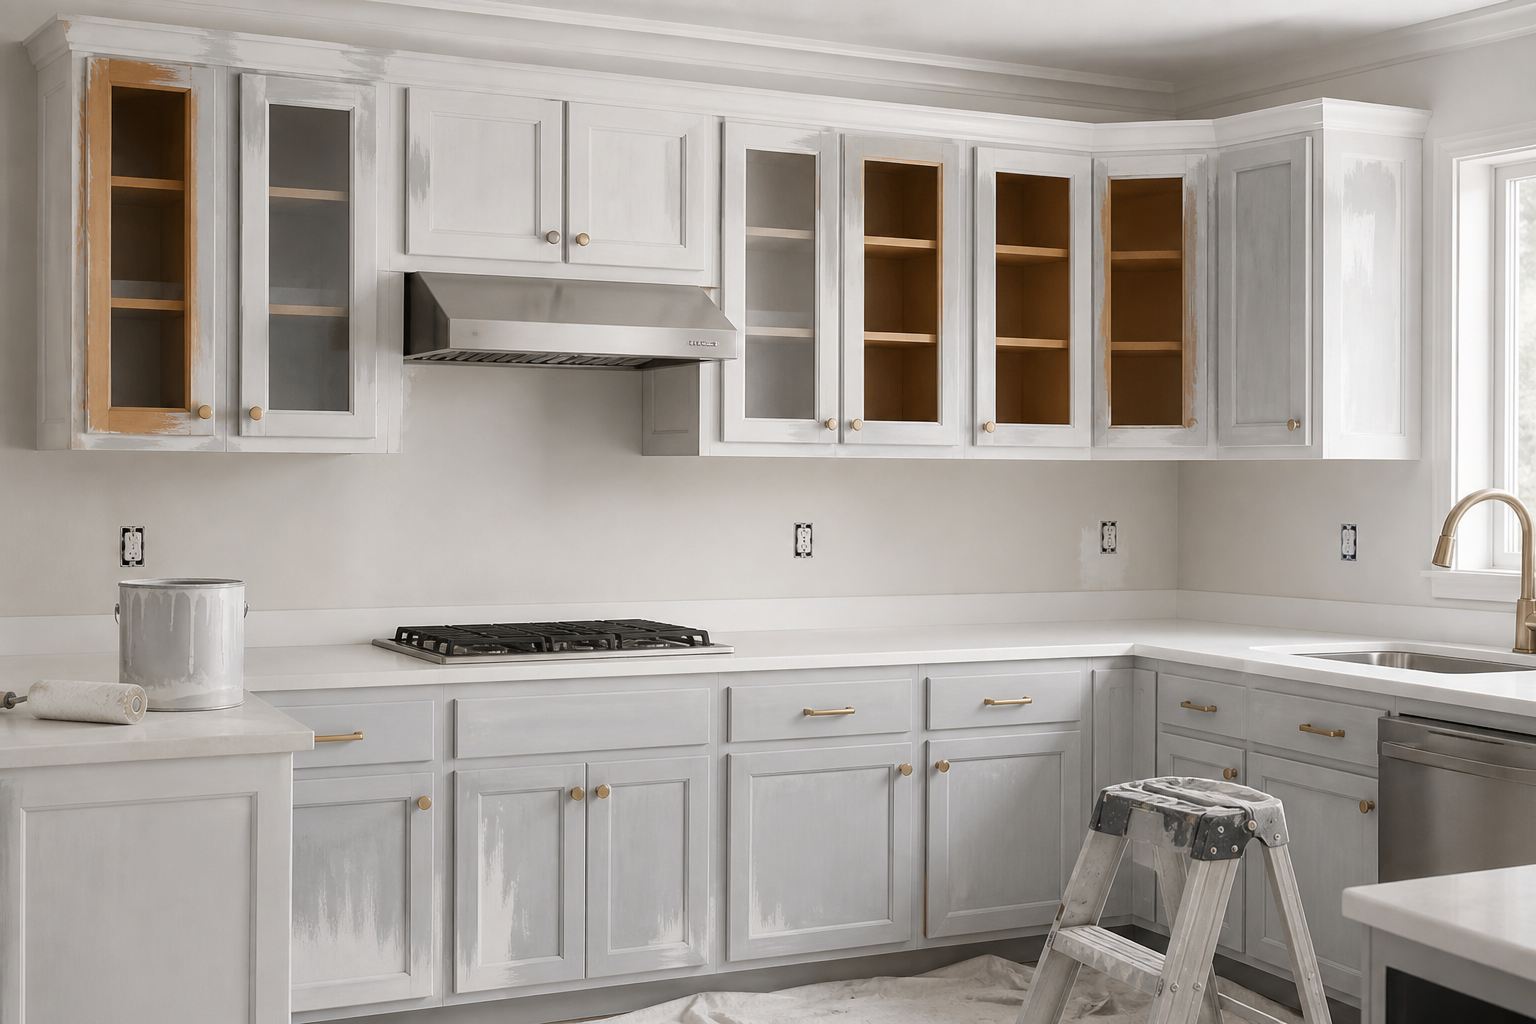
A Practical Guide to Kitchen Cabinets Painting Services
Painting kitchen cabinets is one of the most effective ways to refresh a kitchen without the cost and disruption of a full renovation. Whether you are considering a subtle color change or a complete style shift, understanding how kitchen cabinets painting services work will help you set expectations, plan your timeline, and get results that look great and last. This guide explains the essentials—from evaluating your cabinets and selecting finishes to the step-by-step process, common pitfalls, and post-project care.
What to Expect from Professional Cabinet Painting
Cabinet painting is more than brushing a new color on doors. A well-run service is a structured process designed to bond coatings to high-touch, slick surfaces and produce a smooth, consistent finish across doors, drawer fronts, and face frames. You can generally expect the following elements, though exact details vary by provider and scope:
- Assessment of cabinet material and existing finish (paint, stain, factory laminate, thermofoil, or wood species).
- Clear plan for labeling, removing, and transporting doors and drawers (either on-site or to a controlled workspace).
- Surface preparation steps aimed at adhesion and appearance, such as de-greasing, sanding/scuffing, and priming.
- Application method and finish selection (for example, brush-and-roll or spray application, and sheen levels like matte, satin, or semi-gloss).
- Drying/curing windows and reassembly, including hardware reinstallation and alignment checks.
The success of cabinet painting depends on careful prep, compatible primers, and controlled application. When these fundamentals are respected, a painted finish can transform the look and feel of your kitchen.
How to Evaluate Your Cabinets Before You Paint
Not all cabinets are equally suited for painting. Before you book services—or decide to DIY—inspect the following areas to confirm your cabinets are solid candidates and to anticipate any extra steps:
- Material: Solid wood, wood veneers, and many previously painted cabinets typically accept new coatings well after proper prep. Laminate and thermofoil can be more challenging and often require specialized primers and careful technique.
- Condition: Look for peeling finish, water damage around sink bases, swollen particleboard, cracked door frames, and loose joints. Minor flaws are common and addressable; significant structural damage may call for repairs or replacement of affected parts.
- Grease and residue: Kitchen environments accumulate oils and cleaning residues that inhibit adhesion. Heavy de-greasing is non-negotiable.
- Previous coatings: High-gloss or factory finishes are slick; they typically need mechanical scuffing and a bonding primer. Unknown coatings warrant adhesion testing on a small area.
- Hardware and hinges: Decide whether to keep, clean, or replace hardware. New pulls may change hole spacing, which influences patching and drilling needs.
If you discover severe water damage, unstable substrates, or significant warping, discuss alternatives, such as select door replacements or a hybrid refacing-and-painting plan. Clarity upfront helps you align budgets, timelines, and expectations.
Choosing the Right Products and Finishes
Cabinet paints are engineered to resist fingerprints, moisture, and frequent cleaning. The right combination of primer, topcoat, and sheen makes a noticeable difference in appearance and durability.
- Primers: For previously finished cabinets, adhesion (or bonding) primers are commonly used. Stain-blocking primers help prevent bleed-through on species like oak or on surfaces with tannins and dyes.
- Topcoats: Cabinet-grade coatings are formulated for hardness and cleanability. In many professional workflows, lacquer or polyurethane-based finishes are used for their smooth feel and resistance, while waterborne enamels are also popular for lower odor and easier cleanup. Confirm compatibility with your primer.
- Sheen: Satin and semi-gloss are frequent choices. Satin offers a soft glow that hides minor imperfections; semi-gloss provides crisper reflections and added cleanability. Matte can look modern but may show wear sooner in high-traffic zones.
- Color strategy: Lighter colors can brighten spaces and highlight shadows or grain, while deeper tones create contrast with counters and backsplashes. Sample boards and test doors are invaluable under your kitchen’s actual lighting.
Ask for a written spec that lists primer type, topcoat product, and sheen. A documented system helps ensure consistency and simplifies future touch-ups.
Step-by-Step Overview of the Process
Each provider has its own workflow, but the sequence below reflects common best practices for kitchen cabinets painting services:
- Planning and labeling: Doors and drawer fronts are numbered and mapped to positions. Hinges, pulls, and screws are removed and organized in labeled bags.
- Protection: Countertops, appliances, floors, and adjacent rooms are masked and covered. Ventilation and dust-control plans are set.
- Cleaning and de-greasing: Surfaces are scrubbed to remove oils, waxes, and cleaners that can repel paint.
- Repairs: Dings, gaps, and holes are filled and sanded. Open grain or deep profiles may receive additional filling or grain-filling passes, depending on the desired final look.
- Mechanical prep: Scuff-sanding increases surface profile for adhesion. Dust is removed with vacuum and tack wipes.
- Priming: A compatible primer is applied to doors, drawers, and boxes. Spot priming or full priming may be chosen based on substrate and coverage goals.
- Intermediate sanding: Once the primer dries, light sanding levels fibers and minor nibs for smoothness.
- Topcoats: One or more top coats are applied to reach target coverage and film build. Spray application can yield a factory-smooth appearance; brush-and-roll can also achieve excellent results with the right products and technique.
- Curing, reassembly, and adjustments: After sufficient dry time, doors and drawers are reinstalled. Hinges are adjusted for alignment, and hardware is fitted.
- Final walkthrough: Surfaces are inspected under strong light to identify touch-ups. Care instructions are reviewed.
This sequence balances adhesion, appearance, and efficiency. Adhering to dry times and cure windows is especially important; rushing any stage can compromise finish quality.
Project Planning: Timeline and Prep
Timelines vary by kitchen size, number of doors and drawers, product system, and whether doors are finished on-site or off-site. While every project is unique, this planning framework can help you prepare:
- Kitchen size and complexity: More boxes, crown moldings, glass-front doors, and island panels add steps.
- Product choice and cure time: Some coatings reach handling strength quickly but continue to cure for days. Plan for gentle use immediately after reassembly and expect full hardness later.
- Household routines: Meals, pets, and work-from-home schedules influence masking, ventilation, and access to sinks and appliances.
To make the process smooth for your household, consider the following prep checklist:
- Empty or partially clear cabinets as advised so doors and shelves are accessible.
- Set up a temporary meal plan (small appliances, outdoor grill, or pre-prepped meals).
- Identify a dust-free, low-traffic staging area if doors are processed on-site.
- Discuss start times, daily cleanup expectations, and pathway protection for workers and materials.
Care and Maintenance After Painting
Even durable cabinet finishes benefit from simple care habits—especially during the cure period. Follow these general guidelines to help protect your investment:
- Avoid harsh chemicals: Skip abrasive pads and strong solvents. Use mild soap and water with a soft cloth.
- Go easy at first: During the initial cure window, avoid hanging heavy items on doors and minimize impact on edges.
- Wipe spills promptly: Standing water near sink bases and dishwashers can soften wood fibers and stresses joints.
- Mind the microclimate: Steam from kettles or undermounted appliances should be vented when possible.
- Touch-up kit: Keep a small labeled jar of your topcoat and the exact color code for future nicks or hardware changes.
With routine cleaning and mindful use, painted cabinets can maintain their appearance for years and simplify updates whenever you’re ready for a new color.
Common Pitfalls and How to Avoid Them
Cabinet projects sometimes disappoint when stages are skipped or products are mismatched. Watch for these red flags and mitigation tips:
- Insufficient de-greasing: Paint that fisheyes or separates often points back to surface contamination. Thorough cleaning before sanding is essential.
- No adhesion primer: Slick surfaces need a primer engineered for bonding. Without it, coatings may scratch easily.
- Rushing dry times: Stacking doors or reinstalling hardware too soon can imprint finishes and cause sticking.
- Poor dust control: Dust nibs telegraph through paint. Tack-wipe between coats and maintain clean staging areas.
- Mismatched sheen or color: Without labeled samples and a written spec, batch variations can occur. Keep a record.
- Skipping test sections: On unknown substrates, a small adhesion and appearance test helps confirm the system before scaling.
Questions to Ask Before You Book
Use this checklist to clarify scope, products, and expectations with any kitchen cabinets painting service provider:
- What is your complete process for cleaning, sanding, priming, and finishing?
- Which primer and topcoat will you use, and why are they appropriate for my cabinet material and current finish?
- Will you spray or brush-and-roll the doors and boxes? Do you have sample doors that demonstrate the finish quality?
- How do you label and track doors, drawers, and hardware to ensure accurate reassembly?
- Where will finishing occur—on-site, off-site, or both—and how will you control dust and overspray?
- What are the estimated drying and curing times, and what restrictions should I follow after reinstallation?
- How will you protect counters, appliances, floors, and adjacent rooms?
- What surface repairs are included (dings, holes, seam cracks), and what would be considered additional scope?
- Can you provide a written spec listing primer, topcoat, sheen, and color codes?
- What is the anticipated schedule, daily start/finish times, and cleanup routine?
FAQ
How long does cabinet paint take to cure?
Dry-to-touch and cure are different milestones. Many cabinet coatings are dry enough to handle within hours and ready for careful reassembly on a provider’s schedule, but full hardness typically develops over days. During the first week, avoid harsh cleaners and limit impact to edges and high-touch areas.
Can all cabinets be painted?
Most solid wood and previously painted cabinets are good candidates with the right prep. Laminate and thermofoil may require specialized primers and careful adhesion testing. Severely water-damaged or swollen substrates might be poor candidates and could need partial replacement.
What sheen is best for kitchen cabinets?
Satin and semi-gloss are common choices because they balance cleanability with an attractive finish. Satin tends to hide minor imperfections; semi-gloss offers increased reflectivity and wipeability. Match sheen to your lighting, cabinet style, and maintenance preferences.
Is spraying better than brushing?
Spraying can deliver a very smooth, uniform finish, particularly on detailed profiles. Brush-and-roll can also produce excellent results with quality products and technique. The best method depends on your goals, the workspace, and dust/overspray management.
