


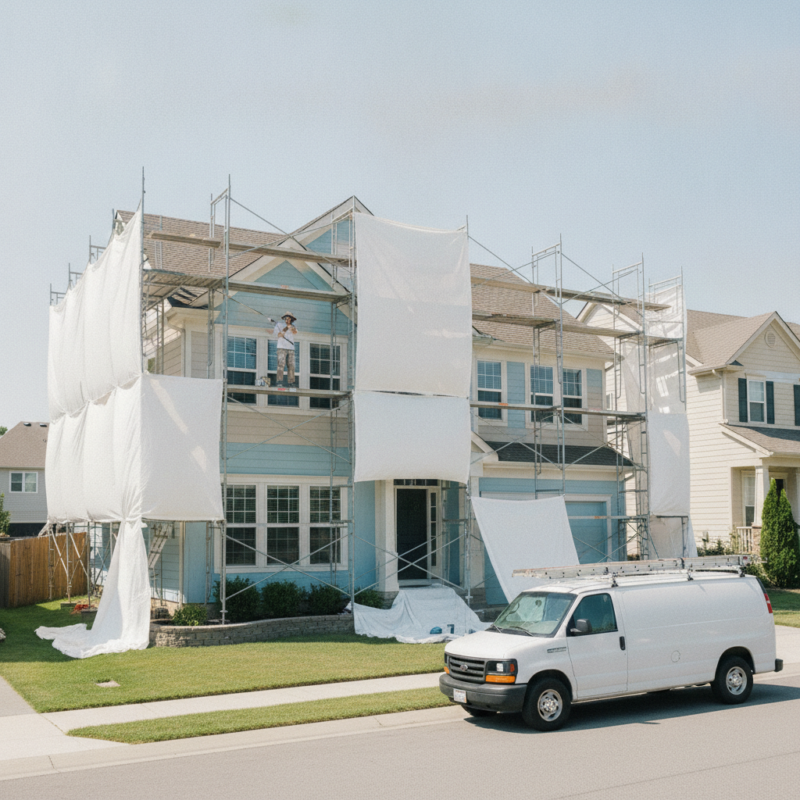
Exterior house painting is the full prep-and-coat system that cleans, repairs, primes, re-caulks, and finishes your home’s siding and trim to block moisture and UV damage. In Milton and Mississauga, the goal is a film that rides out freeze–thaw swings without peeling. The right sequence and products matter more than brand names.
By ZIKRIA MUJAHID • Last updated: July 10, 2026
Milton–Mississauga field notes (why local prep lasts)
We see splash-back saturate the lower 18–24 inches of siding in heavy rains, especially over clay soil. We double-prime the first course and end-cuts, and we re-caulk window perimeters with a high-movement (±50%) paintable sealant. Wind exposure near open fields by Walker Park? Work smaller panels and maintain a tight wet edge.
Overview
A long-lasting exterior finish starts with moisture control, sound substrate, and matched primers. Two uniform coats at the right film build, applied in a dry, mild window, protect against UV and water. Local climate calls for flexible caulk and disciplined dry times to prevent early peeling.
Homeowners usually ask, “Will it peel by spring?” It won’t—if you control moisture and build the film correctly:
- Target film build: 3–4 wet mils per coat on smooth siding (about 1–1.5 dry mils).
- Spread rate: plan 250–350 sq ft per gallon per coat on lap siding; rougher textures need more.
- Example: ~2,000 sq ft of paintable wall area uses ~8–10 gallons per coat for proper coverage.
- Dry/recoat: at 70–80°F and ~50% RH, many acrylic primers dry to recoat in 1–2 hours; topcoats in 2–4 (always follow the label).
Local considerations for the Bergamot Ave area
- Lake humidity slows curing after 4 p.m.; plan second coats to finish by mid-afternoon on shaded sides.
- Open wind corridors near Walker Park cause lap marks if sections are too wide—cut panels smaller and back-brush.
- Freeze–thaw in shoulder seasons opens trim joints; use flexible, paintable caulk and let it skin before priming.
What You Need Before You Start (Prerequisites Checklist)
Confirm the surface is clean, dry, and sound. Gather safe access gear, dust control, and substrate-matched primers. Plan for re-caulking and measure paint needs from spread-rate math, not guesswork. A precise checklist prevents adhesion failures and delays.
Before paint, line up tools, products, and numbers. Skipping this step is why repaints fail.
Tools and safe access
- Extension ladders with stabilizers; scaffold or lift for 24–30 ft gables.
- Drop cloths, masking tools, plastic sheeting; HEPA vac for dust control.
- Scrapers, carbide sanders, 3/8–1/2 inch roller covers, quality angled brushes.
- PPE: gloves, safety glasses, respirator for sanding dust.
Materials and specs that actually matter
- Primers by substrate: bonding acrylic for weathered wood/fiber cement; stain-blocker for cedar/redwood tannins; alkali-resistant for fresh masonry (paint when pH is safe).
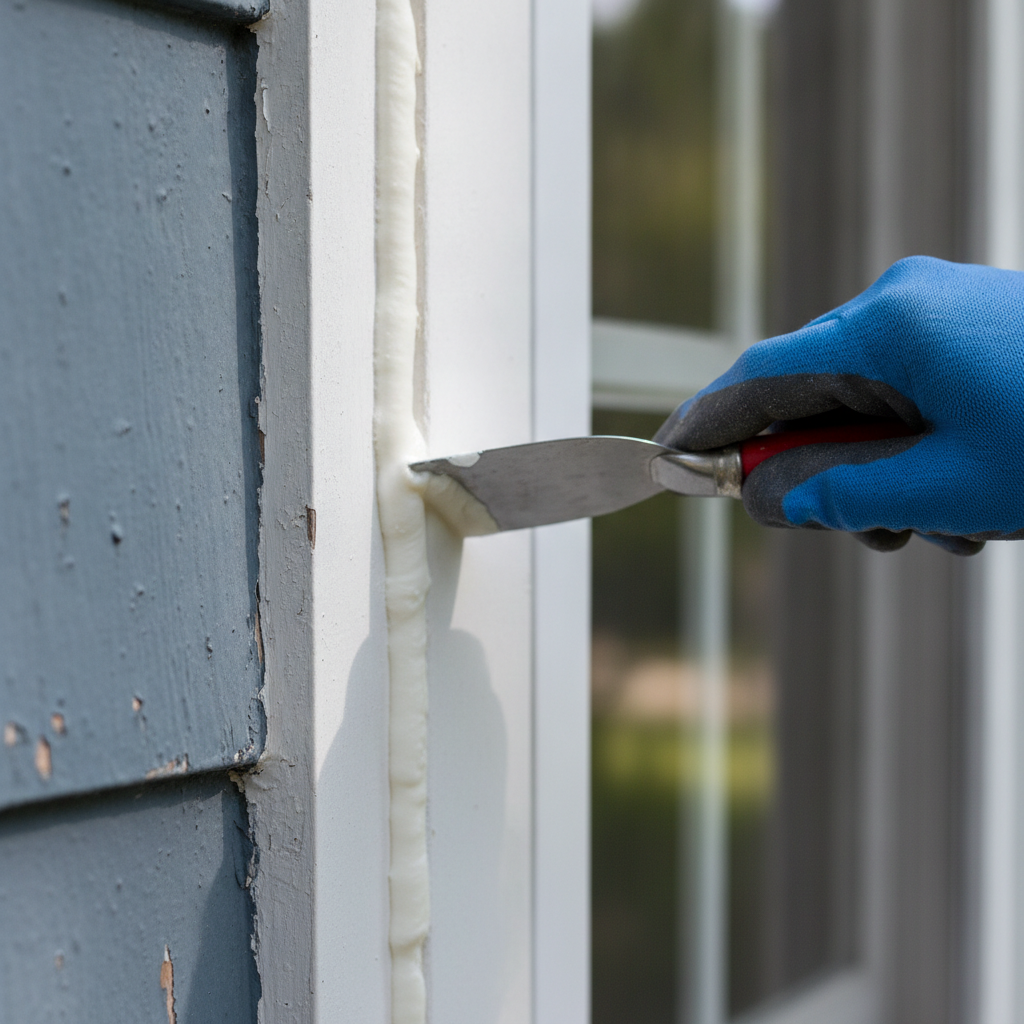
- Flexible caulk: paintable sealant with ±50% movement for windows/doors and trim seams.
- Topcoat: exterior acrylic designed for UV, mildew resistance, and color retention.
- Spread-rate plan: add 10–15% buffer for rough or thirsty areas.
For a concise prep sequence, according to Celestial Painting’s prep checklist, proper washing and dry time come first, then feather-sanding, repairs, priming, and caulking. That order mirrors our field process.
Need help sizing paint? Our paint calculator tips explain how to estimate gallons by surface type and texture.
Step-by-Step Exterior House Painting Process
Wash, scrape, sand, repair, prime bare/stained areas, re-caulk, then apply two coats top-to-bottom—working in shade with a steady wet edge. This order locks adhesion, seals gaps, and produces an even film that survives local weather.
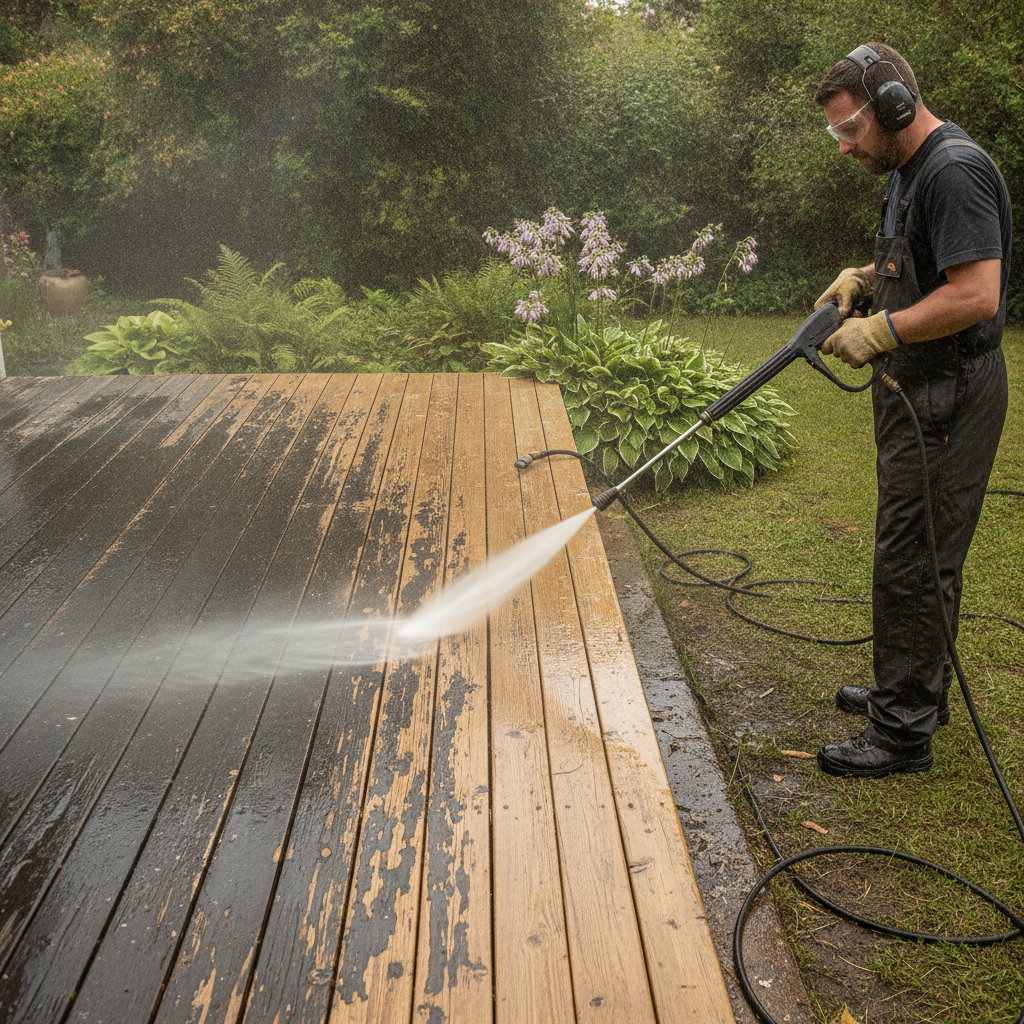
- Wash and rinse: Low-pressure wash with cleaner to remove dirt, chalk, and mildew. Rinse well; allow 24–48 hours to dry.
- Scrape and sand: Take paint back to sound edges; feather transitions; dull glossy spots with 120–150 grit.
- Repair and patch: Replace soft wood; fill checks; set and seal fasteners; prime epoxy repairs.
- Spot-prime bare areas: Use bonding primer on exposed wood/metals; stain-blocker for tannin bleed.
- Re-caulk joints: Tool a smooth, paintable bead at windows/doors, trim seams, and penetrations.
- First coat: Brush/roll or spray-and-back-roll siding and trim; aim 3–4 wet mils.
- Second coat: Recoat per label within the window; keep coverage consistent for uniform sheen.
Technique callouts: Back-brush cedar shakes to drive paint into texture. On masonry, back-roll after spray to fill pores. Keep surface temps at least 5°F above dew point to avoid flashing. For a plain-English walk-through, according to Brilliant Brush Painting’s exterior guide, steady sections and shade-first workflow reduce lap marks—exactly how we stage teams.
Common Problems and How to Fix Them Before You Paint (Troubleshooting)
Solve moisture and movement first. Replace rot, re-flash or seal leaks, clean biological growth, bond chalky surfaces with primer, and upgrade to flexible, paintable caulk. Treat causes before paint—coatings can’t fix wet wood or moving joints.
Real issues we fix weekly—what they look like and what we do
- Moisture wicking at fascia and first course: Bottom boards cup or peel first. We cut back to solid wood, prime all cut ends twice, and raise splash grade if needed.
- Chalking you can wipe off on your hand: That powdery residue kills adhesion. We wash until a white rag stays clean and then use a bonding primer.
- Mildew/algae film: Green/black sheen returns if you only paint over it. Cleaners need dwell time; rinse thoroughly and dry before coating.
- Failed caulk: Spider cracks at window corners signal movement. We remove the bead, clean, and install a high-movement, paintable sealant before priming.
- Tannin bleed on cedar: Yellow-brown stains push through new paint. We spot-prime with a stain-blocking primer and allow full dry before topcoat.
- Rust at nail heads: Streaks telegraph through coatings. We spot-prime with rust-inhibiting primer and, where practical, swap to stainless fasteners.
Local homeowners often call us about brick. Our painted brick guide explains breathability and why alkali-resistant primers help reduce blistering.
DIY vs. Hiring a Local Exterior Painter — Honest Breakdown
DIY is viable for single-story homes with safe access, minor prep, and one substrate. Hire a pro when height exceeds 24 ft, multiple substrates meet, there’s widespread peeling or rot, or tight timelines. Those are the jobs where failure is expensive to redo.
| Situation | DIY viability | Why pros win |
|---|---|---|
| One-story vinyl with small wood trim | Reasonable | Light prep, safe access |
| Stucco + wood lap siding transition | Low | Two primer systems; lap zone often fails if sequence is wrong |
| Gables over 24–30 ft | Low | Scaffold/lift, tie-offs, wind management |
| Heavy peeling and rot | Low | Selective replacement, epoxy repairs, stain-blocking primers |
| Older homes with potential lead | Low | Lead-safe containment and cleanup procedures |
Take a stance: If your house mixes stucco on the lower half with wood or fiber cement above, DIY almost always underestimates prep. The transition joint is where we see blister lines because primers weren’t matched and the recoat window slipped. A regional listing, according to HouseUp’s painting directory, shows pros offering substrate-specific prep—exactly what prevents those callbacks.
Thinking about interiors while you’re at it? Our interior painters guide covers low-odor, ZERO VOC choices for family spaces.
How Home Painter Services Handles Exterior Painting in Mississauga
Our crews stage for shade-first workflow, low-pressure washing, disciplined sanding, rot repairs, substrate-matched primers, and flexible exterior window re-caulking—finished with two calibrated coats. We schedule around dry windows and verify dew point margins before we open a can.
Here’s how we build durability into every step:
- Moisture-first decisions: We re-caulk windows/doors, seal penetrations, and prime cut ends twice on exposed edges.
- Primer matching: Alkali-resistant on masonry, bonding/stain-blockers on wood as needed, rust-inhibiting on metals.
- Film control: Aim for 3–4 wet mils per coat. We back-brush rough textures to pack the coating in.
- Clean sites: Landscaping and walkways are masked and protected; daily cleanup keeps jobs livable.
If you’re pairing the repaint with a seasonal clean, see our power washing guide and our power washing services. Refreshing outdoor structures too? Coordinate with our deck sanding checklist so stains and paints cure on schedule.
FAQ
Longevity depends on moisture control, primer match, and weather timing. Dry surfaces, flexible caulk, and two uniform coats in the right window are non-negotiable. Quick answers below.
How long should I wait after washing before painting?
Usually 24–48 hours in mild weather. Shaded sides and porous substrates can need longer. If you can feel cool dampness or a meter shows moisture, wait—trapped moisture causes blistering.
Do I have to prime the whole house?
Not if the existing paint is sound. Prime all bare wood, sanded-through spots, stains, chalky areas (with a bonding primer), and any substrate transitions. Full prime is smart for drastic color changes or failing coatings.
What weather is best for exterior house painting?
A dry, mild stretch within the product label’s range. Work shaded sides first, avoid hot surfaces, and keep surface temps at least 5°F above dew point to prevent flashing and poor adhesion.
Should I re-caulk before or after priming?
After scraping/sanding and spot-priming bare wood, but before topcoat. Use a paintable, flexible exterior caulk, tool it smooth, and let it skin per label so the paint bonds cleanly.
Key Takeaways
Prep and moisture control make exterior paint last. Build the film correctly—matched primer, flexible caulk, two coats—and schedule around dew point and shade. Local crews trained for Milton–Mississauga weather deliver more durable results.
- Exterior house painting fails early when moisture or movement is ignored.
- Use substrate-specific primers and a high-movement, paintable caulk.
- Target 3–4 wet mils per coat and finish in shade-first sections.
- Plan dry windows; keep surfaces 5°F above dew point.
Want a pro eye on your exterior? Home Painter Services offers free color consultation, a free on-site estimate, and an on-time completion promise. Share a few photos and timing, and we’ll map the safest path to a durable finish.
