


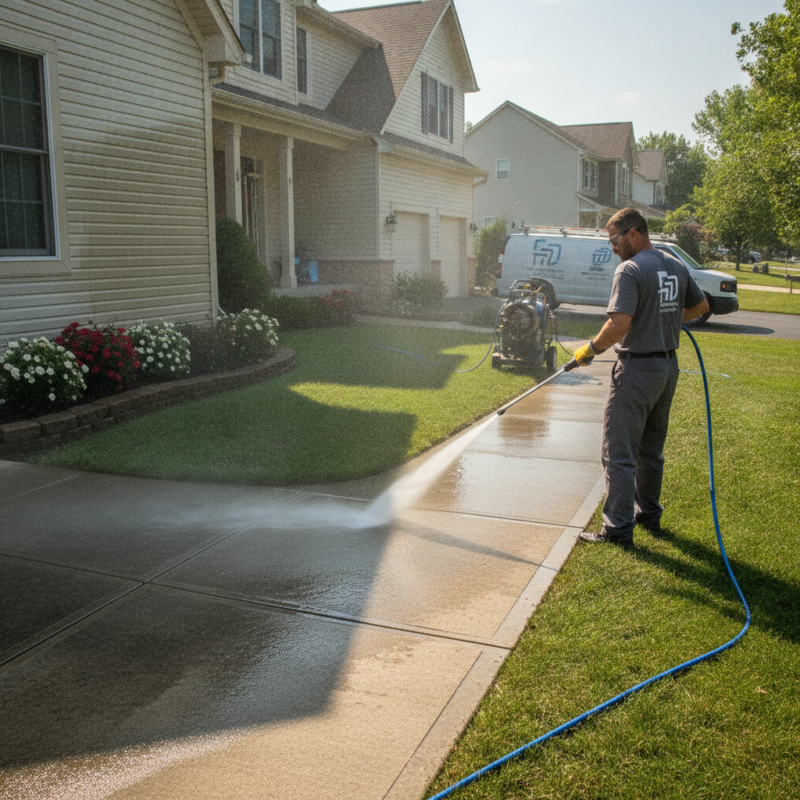
Power washing per square foot refers to estimating exterior cleaning based on the area of a surface, then adjusting for material, soil level, and method. For homes near 316 Bergamot Ave in Milton, it’s a way to scope siding, concrete, decks, and fences fairly while aligning prep with paint or stain goals.
By ZIKRIA MUJAHID • Last updated: 2026-07-01
Quick Summary
Power washing per square foot is a scoping approach, not a flat price. You measure the area, classify the surface (siding, concrete, wood), choose the right method (soft wash vs pressure), and adjust for prep goals like paint adhesion or stain depth. The result is a fair, outcome-based plan without overspray or damage.
- What it means: area-based scoping with material and soil adjustments
- Why it matters: prep quality drives paint, stain, and sealer performance
- Where it fits: siding, driveways, patios, decks, and fences
- How we help: power washing that aligns with exterior painting, deck staining, and driveway sealing
- Safety & runoff: protect landscaping and keep detergents where they belong
What is power washing per square foot?
Power washing per square foot is an area-based planning method used to scope exterior cleaning. Crews measure the surface, match the cleaning method to the material, and factor in soil level and access. The goal is consistent results and safe prep for painting, staining, or sealing—without overpressure or wasted passes.
In our experience preparing homes around 316 Bergamot Ave, per-square-foot thinking works best when tied to outcomes. If you’re painting siding, the wash must prioritize adhesion. If you’re staining a deck, the wash must lift graying lignin and prior stain uniformly.
Where the square-foot method applies
- Vinyl and aluminum siding: Gentle soft wash to avoid forcing water behind panels.
- Brick and concrete: Controlled pressure for driveways, walkways, and patios.
- Wood decks and fences: Low-pressure cleaning with detergents; rinses that preserve fibers.
- Garage floors: Degrease and rinse before epoxy prep.
- Pre-paint cleaning: Before exterior painting or deck sanding and staining.
What most homeowners get wrong
- Thinking PSI alone equals clean: Flow rate, nozzle angle, chemistry, and dwell time matter.
- Assuming one setting suits all: Wood, vinyl, and masonry have different tolerance.
- Rushing prep: Skipping detergent or dwell leads to streaks and poor paint adhesion.
Local considerations for 316 Bergamot Ave
- Schedule soft washing on calm days to limit overspray near Walker Park pathways and landscaping.
- Spring and late summer are ideal for deck prep; aim for dry spells before staining near Tremaine at Bergamot.
- Ask us to stage hoses and containment to keep rinse water off new hardscape installs common in the area.
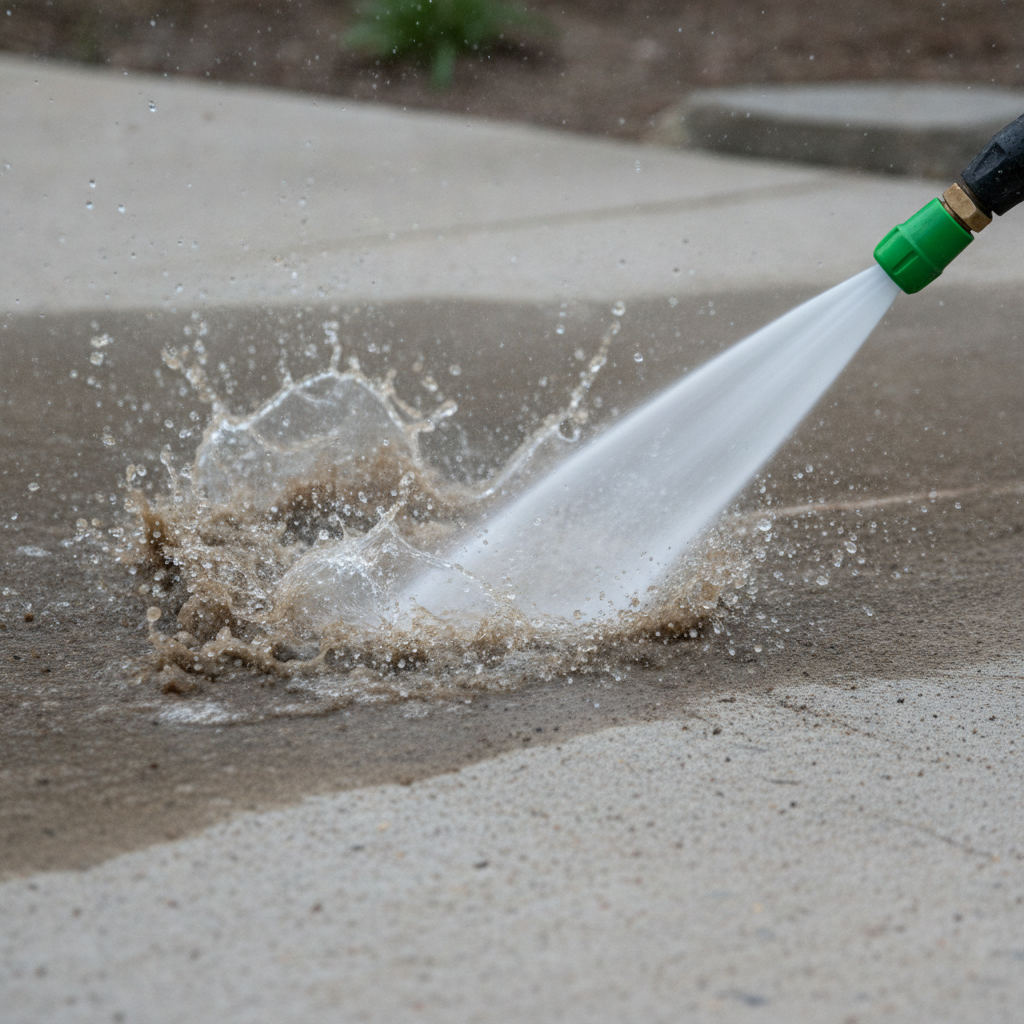
Why this scoping method matters for homeowners
Per-square-foot scoping links cleaning to results you care about: curb appeal, coating longevity, and fewer callbacks. It standardizes prep for paint and stain, reduces surface damage, and makes scheduling predictable. You get clear expectations, cleaner lines, and finishes that actually last.
Here’s the thing: exterior cleaning isn’t only about “looking better.” It’s about setting up coatings to bond. A well-prepared surface holds paint or stain more reliably, which cuts future maintenance, reduces peeling risk, and supports warranties.
Benefits you can see and feel
- Reliable paint adhesion: Clean surfaces allow primers and topcoats to anchor.
- Even stain penetration: Uniform deck prep avoids blotchy boards.
- Cleaner edges and trim: Masking and angle control protect caulk lines.
- Predictable timelines: Scope by area helps plan crew time and weather windows.
- Health and comfort: Pair washing with ZERO VOC interior paints to keep indoor air fresh during multi-trade projects.
On exteriors we service near Milton, we align washing with follow-up work: exterior painting, deck staining, driveway sealing, and exterior window caulking replacement. That sequencing reduces rework and keeps finish layers clean.
How the square-foot method works (step-by-step)
Measure the area, classify the surface, choose method and chemistry, set pressure and flow, control dwell and rinse, then inspect. This repeatable flow scales from siding to driveways. It minimizes damage risk and ensures the surface is ready for paint, stain, or sealer.
Step-by-step workflow
- Measure: Capture length × width or trace irregular shapes in sections.
- Classify: Wood, vinyl, fiber cement, brick, concrete each need tailored settings.
- Select method: Soft wash for delicate materials; controlled pressure for hard surfaces.
- Mix chemistry: Use substrate-safe detergents; stage dwell to loosen organic growth.
- Set nozzles: Favor wider fan tips for siding and wood; tighter for tough concrete spots.
- Manage dwell: Allow cleaners time to work; agitate where needed.
- Rinse in passes: Top-down for siding; with the grain for wood; sectional grids on concrete.
- Final check: Look for streaks, furring, residue, or seepage behind trim.
Process table: Planning by surface
| Surface | Preferred Method | Nozzle Angles | Key Checks | Next Step |
|---|---|---|---|---|
| Vinyl/Aluminum Siding | Soft wash | 25°–40° | Water intrusion behind laps; chalking removal | Prime chalky areas; exterior painting |
| Brick/Masonry | Controlled pressure | 15°–25° | Mortar integrity; efflorescence | Seal or paint (as specified) |
| Concrete (Driveways/Walks) | Pressure + surface cleaner | 15°–25° (edging) | Oil stains; striping risk | Driveway sealing |
| Wood Decks | Low-pressure + detergent | 25°–40° | Furring, raised grain | Deck sanding, then stain |
| Fences | Low-pressure | 25°–40° | Splintering; uneven color | Fence staining |
Inspection cues between cleaning and coating
- Tape test on siding: If chalk transfers heavily, prime before paint.
- Deck water-bead test: If water beads, old sealer remains—plan a sanding pass.
- Concrete absorbency: Even darkening after rinse indicates uniform porosity for sealer.
Methods: pressure vs soft wash (and when to use each)
Use soft washing for delicate surfaces like siding and wood to avoid damage, and controlled pressure for durable materials like concrete and brick. Method choice depends on the substrate’s strength, soil type, and the next finish layer you plan to apply.
Soft washing relies on lower pressure with detergents to lift organic matter. Pressure washing uses higher force to dislodge grime from dense surfaces. We often combine both on the same project—soft wash the siding; controlled pressure the driveway.
Soft wash scenarios
- Vinyl or aluminum siding: Prevent water from driving behind panels and trim.
- Painted wood: Keep fibers intact; protect caulk lines and window seals.
- Deck prep: Lift gray weathering before deck sanding and staining.
Pressure wash scenarios
- Concrete driveways: Pair with a surface cleaner to avoid tiger-striping.
- Brick and pavers: Watch joints; use edging passes with wider fan tips.
- Garage floors: Degrease before epoxy prep and diamond grinding.
Blended approaches
- House + hardscape: Soft wash siding; then pressure clean the paths.
- Deck + railings: Low-pressure deck boards; gentler hand on balusters.
- Pre-paint wash: Soft wash body; precision rinse around window caulking.
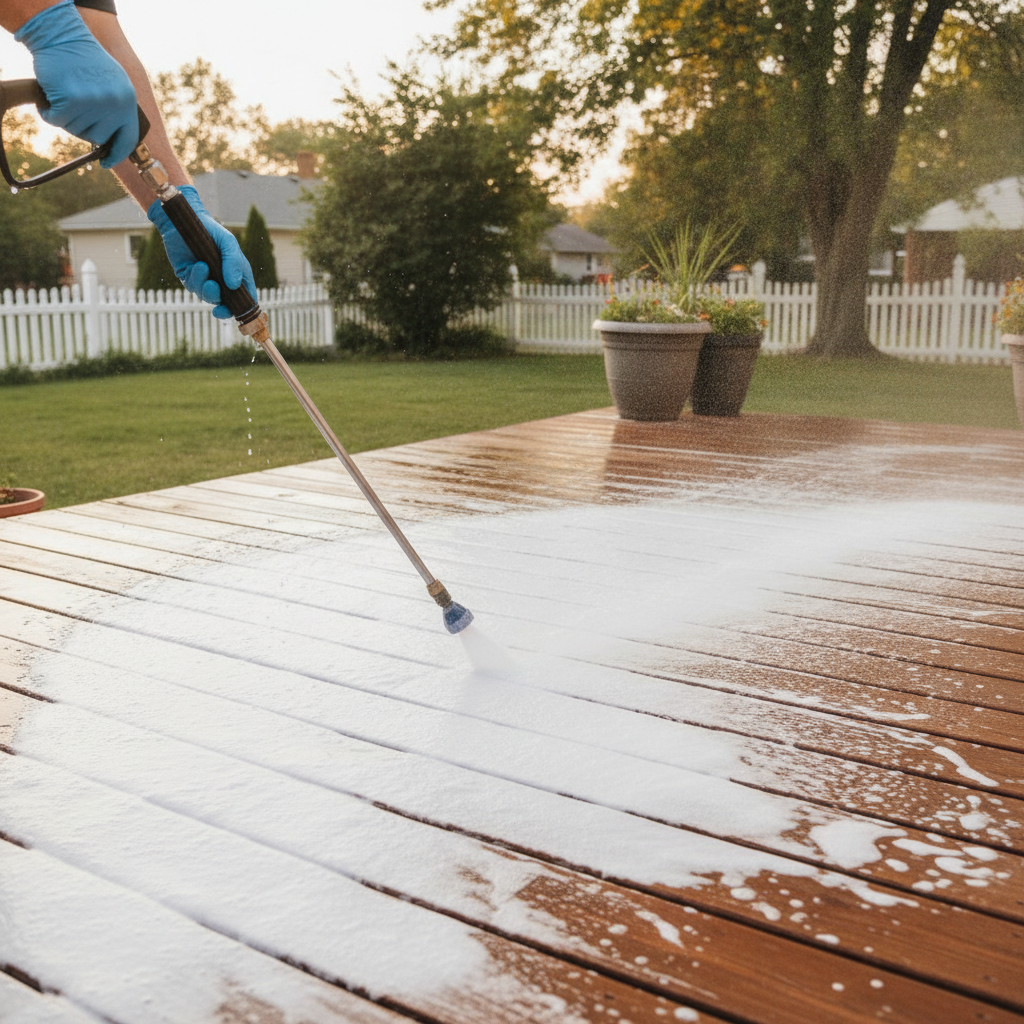
Best practices that protect paint, stain, and sealers
Protect finishes by matching pressure to the substrate, pre-wetting plants, controlling dwell, and rinsing methodically. Mask delicate areas, avoid direct jets on laps and seams, and sequence washing just before painting, staining, or sealing for the cleanest results.
Surface-safe technique
- Angle control: Keep fan tips moving; favor wider angles on siding and wood.
- Distance discipline: Stand off the surface; close only for stubborn concrete spots.
- Grain-aware rinsing: Rinse wood with the grain to reduce raised fibers.
- Containment: Capture rinse where practical to protect fresh landscaping.
Sequencing with other services
- Exterior painting: Wash → mask → prime → paint; minimize time between wash and coat.
- Deck projects: Wash → dry → deck sanding on problem boards → stain.
- Driveway sealing: Wash → dry → repair cracks → seal for clean bonding.
- Window caulking: Wash trims → allow to dry → re-caulk for tight seals.
Quality checks you can do
- Glove swipe: Minimal residue after a swipe indicates clean, paintable siding.
- Board uniformity: Deck boards should look consistently refreshed, not patchy.
- Edge clarity: Trim lines and light fixtures free of streaks or residue.
Tools and resources (nozzles, detergents, safety)
Choose the right nozzles, detergents, and protective gear for each surface. Favor wider fan tips for siding and wood, sectional passes for concrete, and substrate-safe cleaners. Pair with gloves, eye protection, and stable footing to reduce risk and improve results.
Nozzles and accessories
- 0° (red): Pinpoint jet; avoid on siding and wood.
- 15° (yellow): Stubborn concrete stains and prep edges.
- 25° (green): General cleaning; safer on many surfaces.
- 40° (white): Rinsing siding and wood; gentle approach.
- Surface cleaner: Even passes on flat concrete to prevent striping.
Detergents and dwell
- Organic growth removers: Target algae and mildew on siding and decks.
- Degreasers: Loosen oil spots on driveways and garage slabs.
- pH balancing rinses: Helpful on wood before staining.
Safety and environmental basics
- Eye and hand protection: Shield from splashback and detergents.
- Stable footing: Avoid ladders when possible; use extension wands.
- Runoff awareness: Keep wash water off fresh plantings and hardscapes.
For an in-depth homeowner primer, see our internal guide on power washing fundamentals. If you’re addressing drafts around windows post-wash, our note on better window seals can help you plan sequencing.
We align power washing with your finish goals and our Guaranteed On-Time Completion. Ask about a Free Estimate Visit and Free Color Consultation for connected projects.
Book a prep assessment to scope your wash and coating plan together.
Mini case studies: siding, concrete, decks, and fences
Outcome-first washing pairs the right method with the next finish layer. On siding, prioritize paint adhesion; on decks, uniform stain absorption; on concrete, clean porosity for sealer. Local projects show that sequencing reduces callbacks and keeps lines sharper.
Vinyl siding near 316 Bergamot Ave
- Challenge: Airborne dust and algae at shaded elevations.
- Approach: Soft wash with wide fan; protect window seals; top-down rinse.
- Result: Chalking removed for primer bonding; trim stayed crisp.
- Next step: Exterior painting with weather-resistant coatings.
Concrete driveway prep
- Challenge: Vehicle drips and winter residue.
- Approach: Degreaser dwell → pressure wash → surface cleaner passes → edge rinsing.
- Result: Even appearance and open pores ready for driveway sealing.
- Next step: Crack repair and sealer application.
Cedar deck refresh
- Challenge: Graying boards, uneven past sealer.
- Approach: Low-pressure wash, wood-friendly detergent; inspect for furring.
- Result: Uniform tone ready for targeted deck sanding and stain.
- Next step: UV-protective stain matched to sun exposure.
Frequently Asked Questions
Homeowners ask how per-square-foot scoping works, whether soft washing is safer than pressure, and how washing ties into painting, staining, or sealing. The answers focus on material safety, method choice, and sequencing for long-lasting finishes.
Does power washing per square foot mean a flat price?
No. It’s a planning framework that starts with area, then adjusts for material, soil, access, and outcome goals. Two concrete pads of the same size can require different passes depending on stains and surrounding landscaping.
Is soft washing better for siding than pressure washing?
For most siding, yes. Lower pressure with the right detergent reduces water intrusion and protects laps and trim. Use controlled pressure on hardscapes like concrete and brick, where the surface can tolerate more force.
How soon after washing can you paint or stain?
After the surface is visibly dry and passes quick checks for residue or moisture. For decks, confirm fibers haven’t raised excessively and that water doesn’t bead, which signals remaining sealer that may need sanding.
What tools help avoid streaks on concrete?
Use a surface cleaner for the main passes and a wider fan tip for edges. Work in overlapping sections and maintain a steady pace to prevent tiger-striping and swirl marks.
Key Takeaways
Per-square-foot planning clarifies scope and protects surfaces. Pair soft wash or pressure with the right chemistry, control dwell and rinse, sequence work with painting or staining, and inspect before coating. Done right, prep enhances curb appeal and coating durability.
- Per-square-foot is planning, not a flat price.
- Match the method to the material and soil level.
- Sequence washing before paint, stain, or sealer.
- Inspect for adhesion cues like chalk and water beading.
- Coordinate with services like exterior painting and driveway sealing.
For broader context on exterior cleaning practices, see these industry resources: overview of commercial power washing, a brief safety discussion for power washing, and a soft washing profile.
Ready to align washing with your next finish? Book a discovery session near 316 Bergamot Ave so we can plan your wash, paint, stain, or sealer sequence together.
